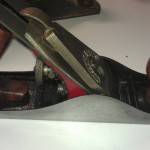
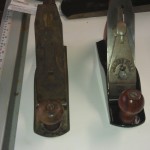
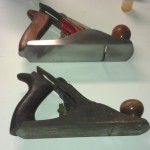
Awhile back my Dad gave me two smoothing planes (Stanley #4 equivalents). Today I finished restoring the first, which is a Miller Falls 9. The main body and sole I used sandpaper on a granite block, from a really low grit to get the rust and tarnish of all the way up to 2000grit to get a mirror like finish on it again. The plane was well used by its original owner, so it will never be perfect again, but I think I got it looking pretty good. For the parts that the sandpaper method would work, I used evaporust. That stuff is great, as it works well, and is non-toxic! The knob and tote were in bad shape. The wood was very dry with a crack in the base of the knob. I was concerned that they would break. So I bought a 6″x6″x2″ turning blank. Used the band saw to get a 2″x2″x6″ turning blank that I cut down and used to turn the knob on the lathe. I resawed the remaining piece on the band saw, cut a blank to size for the tote. The tote was a real challenge to make, and took a lot of hand work to get it to the right shape. However, I believe the effort has paid off! I have included pictures of both smoothing planes, as they were both in pretty much the same bad shape when I got them, including the paint on the bottom!


