
T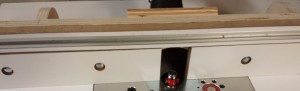 he fence from the old table was another area of the router table that had some room for improvement. Overall the new fence is mostly a bigger version of the old one, with a sliding split front that I can have an opening that is sized to the bit being used, with a length of t-track for attaching feather boards, stops, and a guard. The big improvements I made are how the fence attaches and clamps down to the table, and the dust collection. On the old table I routed a couple grooves that a couple of carriage bolts would travel in. Those bolts went through a couple of holes the base of the fence with a couple of wing nuts to lock it in place. This worked fine, but what I didn’t like about it is that I had to completely disassemble them to remove the fence from the table.
 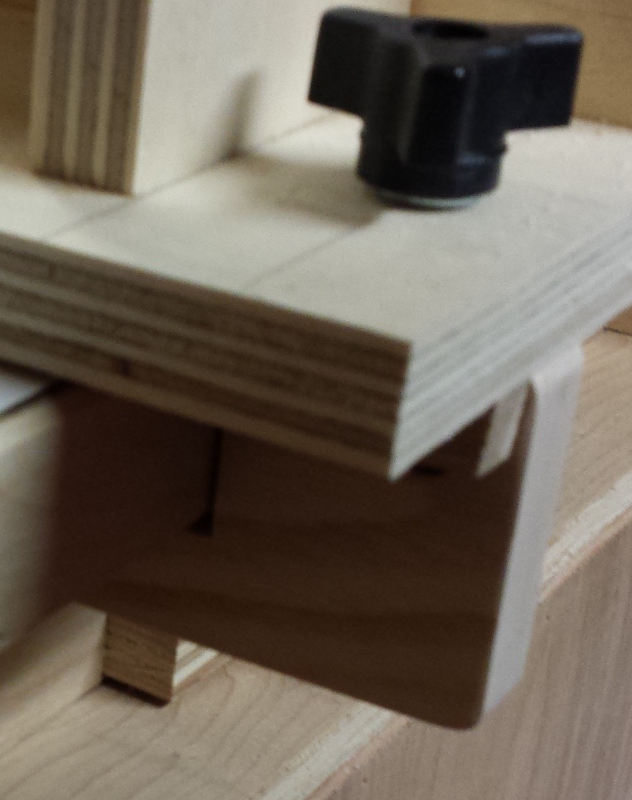 I have observed several fence designs where the fence extends over the table on either side and then uses wood blocks to clamp the fence to the table. While it was a bit of a trial and error process, this is the design I went with. What I found is the clamp blocks work best when the wood clamp blocks slightly engage the bottom of the table. The top of the block is tapered just a bit so that it will cause the block to pull up evenly to the bottom of the table, resulting in a very strong fit, as well as releasing cleanly.
 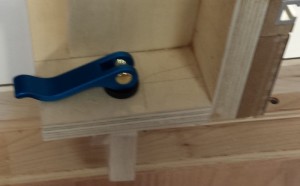 The first iterations when I loosened the knob, the clamp blocks remained engaged. Once I finally got the clamps working as needed I switched out the knobs with cam levers from Rockler, which work very well to quickly lock and unlock the fence.
 One of the top priorities for a new router table was dust collection. The router table has always been a big source of shavings and dust. The dust collection for the router table is done in two parts, divided between the space under the router table that contains the router and lift, and the fence. To accomplish this, I got a 4″ Y fitting where one of the forks is reduced to 2.5″. Using a scrap piece of hardwood, I marked the perimeter of the Y, that I then cut out the hole using the band saw and the oscillating spindle sander to get a good fit. Since I kept the back of the router table removable, I marked approximately where I wanted the DC to go in, and took off the back. I then used the piece I just made to mark precisely where the dust collection would go in. I cut out the opening with a jig saw. From there I double side taped the reference piece to the back, and used a flush trim bit on the router to get the opening properly sized and shaped. On the inside portion I ran a chamfer around the perimeter of the hole as well, which should help the flow a bit. While the back was off, I decided I didn’t want to glue the fitting to the back directly so that I could make tweaks as needed, so I lined up the scrap piece I had made to the hole and screwed it in place where I then glued the Y to it with Gorilla Glue. The foaming did very well to close up any gaps.
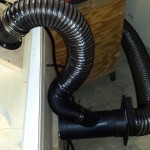
 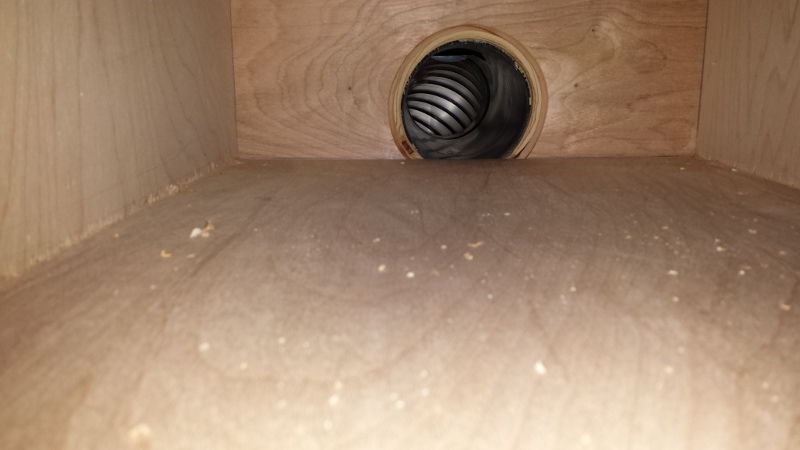 While the glue dried, I turned my attention to the fence. I bought a 2.5″ connector that would attach to a piece in the back of the fence. I used the jig saw on a square piece to get the approximate hole I needed. With the connector attached, I used the flush trim bit on the router table to get the hole sized perfectly. I then made a couple triangular wedges that I attached to the back of the fence, and then attached the connector piece. Once the glue dried on the Y, I cleaned up any excess foam and attached it to the back of the router table. I then took the 2.5″ hose, pushed the fence as far forward as I would ever need it to determine the length, and cut the hose to length, a little longer than needed. Using hose clamps I attached the hose to the fence and to the Y. On the open end of the Y, and blast gate was attached, that was then tied into my dust collection system. With that, I made sure all the other blast gates, opened up the one on the router table, lined up the fence close to the bit, and power up the dust collector. I could feel plenty of air moving through the table, so I made a few passes with a round over bit. I am happy to say the dust collection works very well both on top of the table at the fence, and below the table!
I am going to have one more post on the router table, where I will cover the drawer pulls, finish, and some finishing touches.