 Before my woodworking hobby became as serious as it is today, when I bought a tool, I would go to a box store and bought what I thought was a good value on a good tool. For many years, this worked well for me, especially as most of my projects were more DIY home improvement, where tolerances were a little more lax, and putty was available. 🙂 Most of those tools were bought during the early years of my home ownership. As much as I hate to say, nearly all the power tools I bought during this period of have been replaced, over a period of the last 4-5 years. Granted, these tools were bought for a different purpose and a much more limited budget than I have today, so in most cases it is hard to say I regret buying “x” tool because it did serve its purpose at one time, until my needs changed. However, there were also some uninformed tool purchases over the years that I did regret. Today, I take a very different view on my process for tool buying.
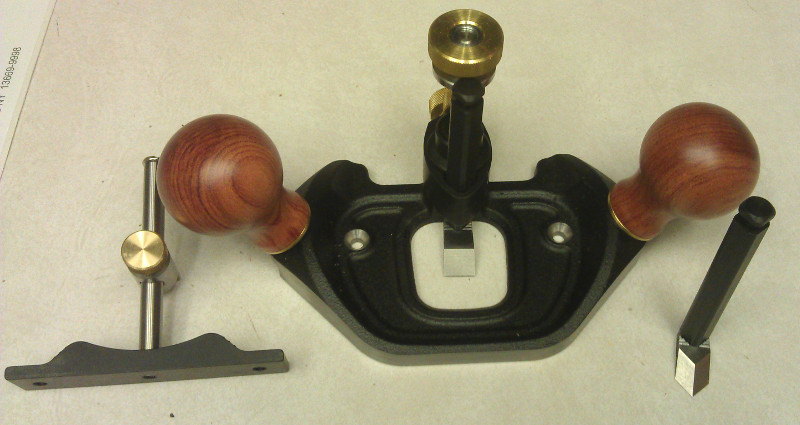
 So what do I look for when buying woodworking tools today? First lets look at hand tools. When I buy a tool that I know I am going to get a lot of use out of, I tend to go for the premium tools. My feeling is that these are truly once in a lifetime purchase, so I want to buy something that I know is held to a high standard of quality so that I can get that lifetime of usage out of it. Also, a premium hand tool, while expensive, are easier to save up for than premium power tools. I am not necessarily brand loyal when it comes to these tools, in fact my collection has tools from many different companies. In fact, even though it is a premium brand, I still do my homework on them. Also, with hand tools, I think it is important to hold them in my hand and give them a try. Both Lie-Nielsen and Veritas travel around the country and give opportunities to take their tools to wood. Typically, the one that feels best in my hands while using them is the one I buy.
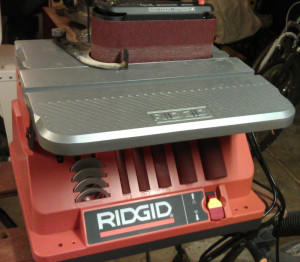
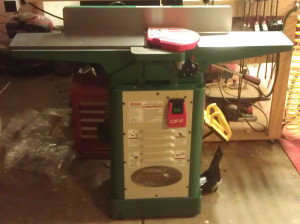
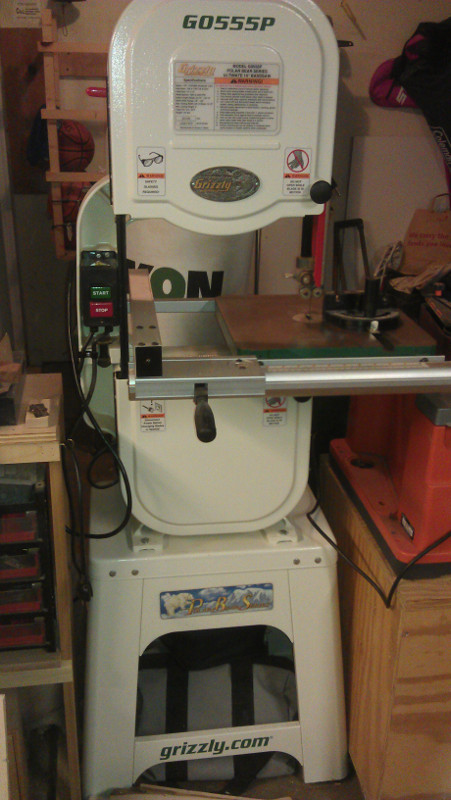
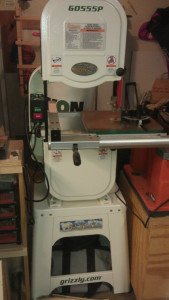 When it comes to power tools, I would love to say I buy premium brand machines as well. But, I can’t. Unlike a premium hand tool which sells for a few hundred dollars, a premium machine sells for thousands of dollars, and lets face it, not all of us have the budget for these machines. To make matters more challenging, very few places will let you fire up a saw and make test cuts right in the store, so getting a feel for a machine before purchase may not be possible. I typically buy what I consider middle of the road machines. With this level of machine, there are some real gems out there, but there are also some real stinkers as well. To me, this is where it becomes vital to do my homework. I still expect these machines to be long term purchase, and with this level of machine, this is feasible. The first thing I look at is the construction and motor of the machine. When possible I want the machine body, or at the very least the machines work surface to be cast iron. The next thing I look at is the motor. Is it a belt driven induction motor, or a direct drive universal? The belt driven induction motor in most cases is superior to a direct drive system, with less vibration and more power. Next, I look at what are the machines capabilities, and more importantly what are its limitations. With the type of machines I buy, there are often trade offs to buying the premium version. This can mean less power, smaller work surface, and possibly less precision & accuracy. If I am willing and able to work around these limitations, that machine will go on my short list. Finally, I check out reviews, forums, blog posts, and various other means of information about the machines on the Internet. Once I have all the information I need, I make a decision on which tool I will buy. 🙂
 When buying tools, it is possible to buy quality without busting your budget. It may take some time to do your homework, as well saving up a little extra to meet your needs. Most importantly, whatever you do buy, read up on how to safely use it, and them start making sawdust!

 Okay I did have some fun, perhaps too much fun with this one, but both our cat and dog make a guest appearance in this video. 🙂 I will state for the record, despite the light cast on the Pudge, our cat, she is a very good cat.


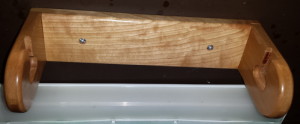
 It is Get Woodworking Week, a week that every woodworker should find time to get out to the workshop! Tom Iovino over at tomsworkbench.com has organized this once again to help motivate us all to get out to the shop! Realizing that many of us have garage shops that can only be heated for short period of times, it is worthwhile to find projects that can be completed in a short period of time. When looking for project to produce as a video for this week, I turned to one of my very first projects I ever made. In 7th grade wood shop class we each made a knick knack shelf. The shelf I made has been with me all these years since then and has a prominent spot on our mantel. This project has very simple joinery that can easily be taken on by any woodworker of any skill level. This project also fits the bill that it can be completed in a couple of days.