Today I have reached a ![]() milestone on my blog, the 100th post!
milestone on my blog, the 100th post!
When I started this blog nearly 4 years ago, I felt like a total newbie when it came to my woodworking. I have looked back on some of my projects, some turned out well, others….. well they were a great learning experience! 🙂 Awhile back I thought about changing the name of the blog to something not so “newbie”. However, I took the time to reflect on what the purpose of this blog is for, what it means to me, and most importantly what it is for my readers. This  blog is about trying new things, pushing ones skills, and making something out of nothing. In a way, that is what a newbie is, someone who is trying something new to learn from it. So regardless of my skill level, I feel that SawdustNewbie is still very relevant for what I am trying to accomplish.
So where do I go from here? Most definitely I will continue trying new things, both in the shop and for the blog. This includes more video! I have a few ideas lined up for videos that will come in the near future, but if there is anything you want to see, post in the comments below.
 While I don’t want this, or any of my posts about making money, I do still think it is worthwhile, I have started looking into selling some projects I have made. Any sales I make will go right back into my woodworking or this blog. Currently I have a very small Etsy store, but I am exploring other avenues as well.
 Finally, but most importantly, thank you for taking the time to read my blog! I enjoy my time in my shop and I find it encouraging that I am able to share my experiences so that you can enjoy time in your shop as well! To all my readers a huge THANK YOU! Looking forward to the next 100 posts!
 I have had many conversations about machine setup and have found many strong opinions on this subject. Therefore this could prove to be my most controversial article to date! 🙂
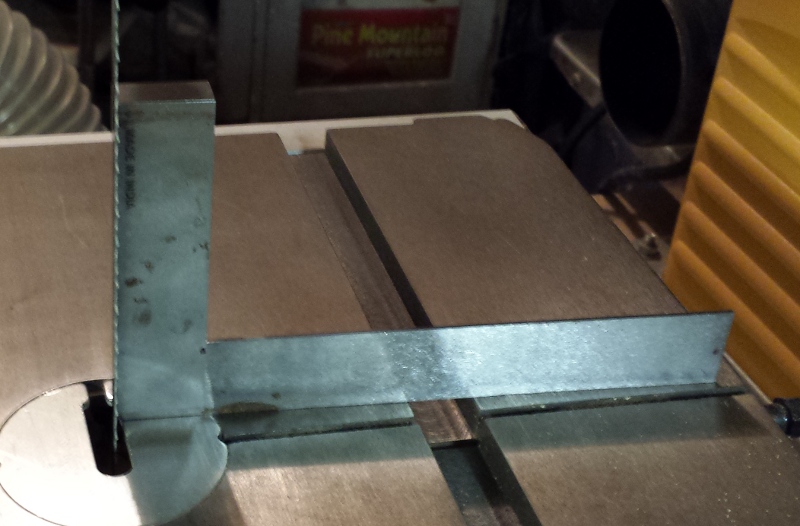
 The next step after aligning my machines is to send test pieces though. Whether you are setting up machines with just the tools I have mentioned, or you are using dial indicators to get everything within the nearest thousandth of an inch, this is the most critical step in setting up a machine. The proof is in the results. What you may think is a perfectly dialed in machine could be proven wrong with the test piece. The good news is, if it is off, the error in the test piece will help indicate what needs to be adjusted.
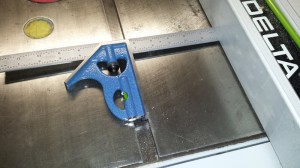 The next aspect is keeping a machine tuned. Most decent machines will hold their setups well over time, however that doesn’t mean that they will always stay perfectly aligned. There are many things that can cause a tool to come out of alignment. Things like adjusting settings, vibration, bumping into the machine, and changes in temperature can all take a machine out of alignment. It is good to set a schedule for each machine to double-check alignments. Also, if you start to see you are not getting the expected results from machine operations, it is good to start checking up on alignments as well.
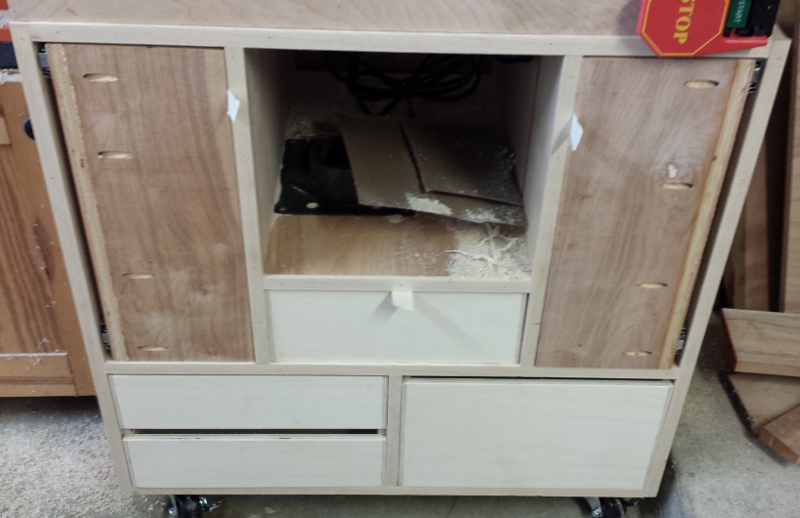
 Two quick tool gloats. Back in April, I went to the Lie-Nielsen tool event host at the Popular Woodworking Magazine headquarters near Cincinnati Ohio. I had a great time there, but also picked up their new tapered cross-cut saw. I have used it a couple of times to help lay out some short dados, and it is a great saw. While I was at the tool event I tried out their new tapered dovetail saw. I did not buy it yet as I have the Veritas saw, but I can tell you , Lie-Nielsen has a winner there! This may be a future purchase for me. I have also been wanting to update my jack plane, as the one I have is not well made Stanley Handyman. I tried out the #62 while I was there, and I am seriously considering that as the replacement for the jack plane.
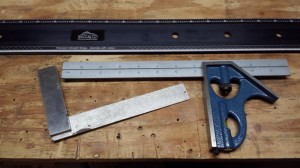
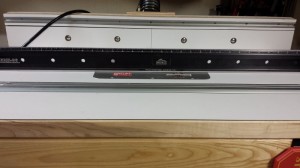
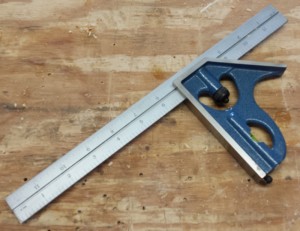 Last weekend I also swung by Gerstner’s yearly warehouse sale. While they had a real nice discount on most of the stuff there, one of their tool chests is unfortunately outside my budget. I will say this though, they are beautifully made chests. Maybe some day! 🙂 I didn’t leave empty-handed though. They at want time sold rebranded PEC squares and they were closing them out for a very low-cost. So I picked up a nice, and much-needed, 12″ combination square.
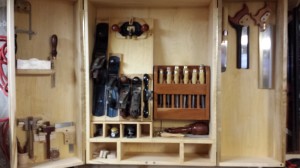 Finally, I did some shop maintenance as well. First I rearranged a few things in the hand tool cabinet so it can better accommodate my now growing collection of hand saws. I actually started using the second door, and moved my hand saws over to it. I still need to make the drawers for cabinet though. One of these days!