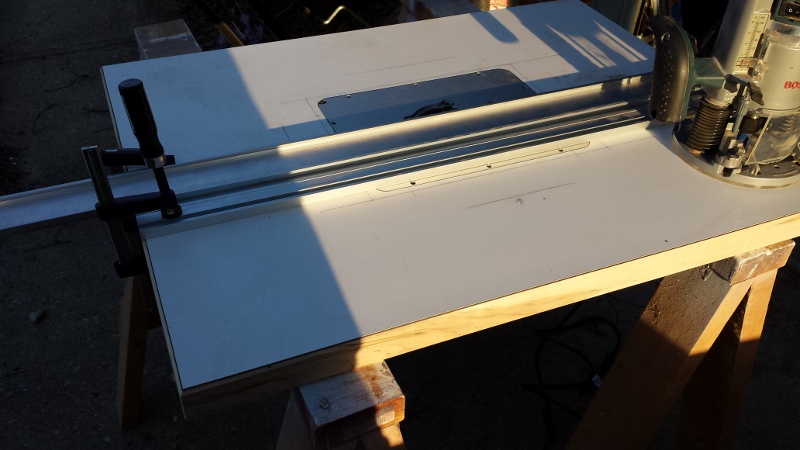
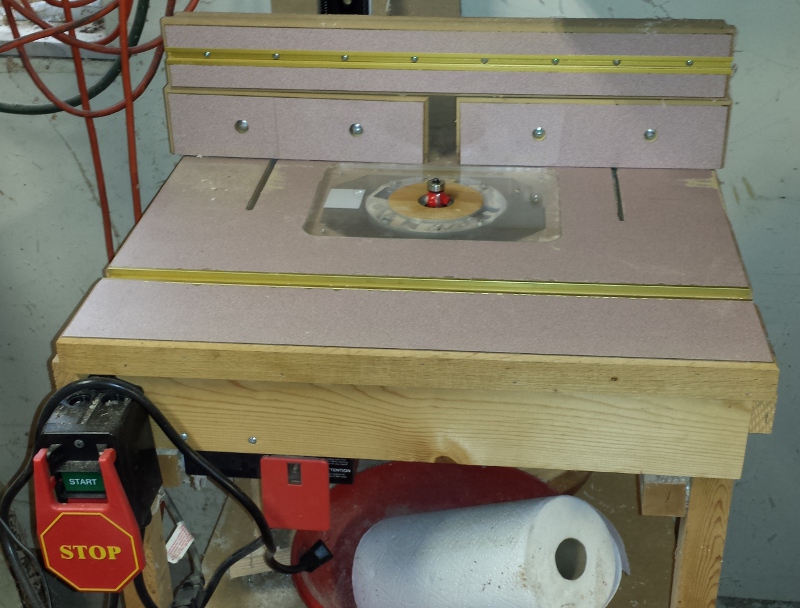
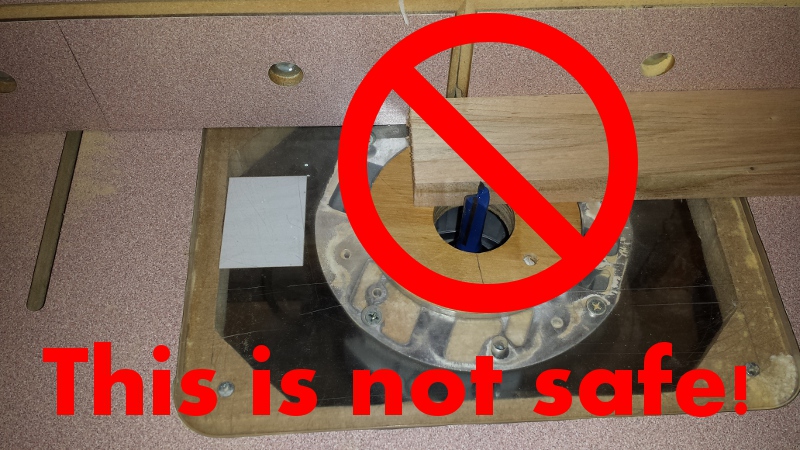
 It seems like this time of year my postings tend to drop off, though it is always for a good reason. Rather than spending time typing a post, I am out in the woodshop working!! The last couple weekends, as I have got time, I have worked on the drawer boxes for the new router table. While the boxes are all done and in place, I still have some work to do on them, mainly making the fronts for them. Once those are done, I will do a follow-up post of what went into making the drawers. The good news is the router table is useable, and it really is a joy to use. It is hard to believe that the same router is in this one that was in the old one. The bigger work area is definitely a bonus. Also, because of the increased overall weight, there is virtually no vibration. I am really looking forward to getting the drawers done so I can start to really utilize the storage features of the cabinet.
 Two quick tool gloats. Back in April, I went to the Lie-Nielsen tool event host at the Popular Woodworking Magazine headquarters near Cincinnati Ohio. I had a great time there, but also picked up their new tapered cross-cut saw. I have used it a couple of times to help lay out some short dados, and it is a great saw. While I was at the tool event I tried out their new tapered dovetail saw. I did not buy it yet as I have the Veritas saw, but I can tell you , Lie-Nielsen has a winner there! This may be a future purchase for me. I have also been wanting to update my jack plane, as the one I have is not well made Stanley Handyman. I tried out the #62 while I was there, and I am seriously considering that as the replacement for the jack plane.
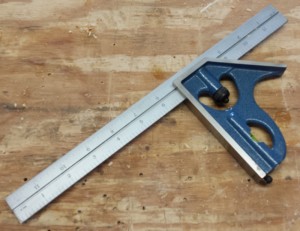 Last weekend I also swung by Gerstner’s yearly warehouse sale. While they had a real nice discount on most of the stuff there, one of their tool chests is unfortunately outside my budget. I will say this though, they are beautifully made chests. Maybe some day! 🙂 I didn’t leave empty-handed though. They at want time sold rebranded PEC squares and they were closing them out for a very low-cost. So I picked up a nice, and much-needed, 12″ combination square.
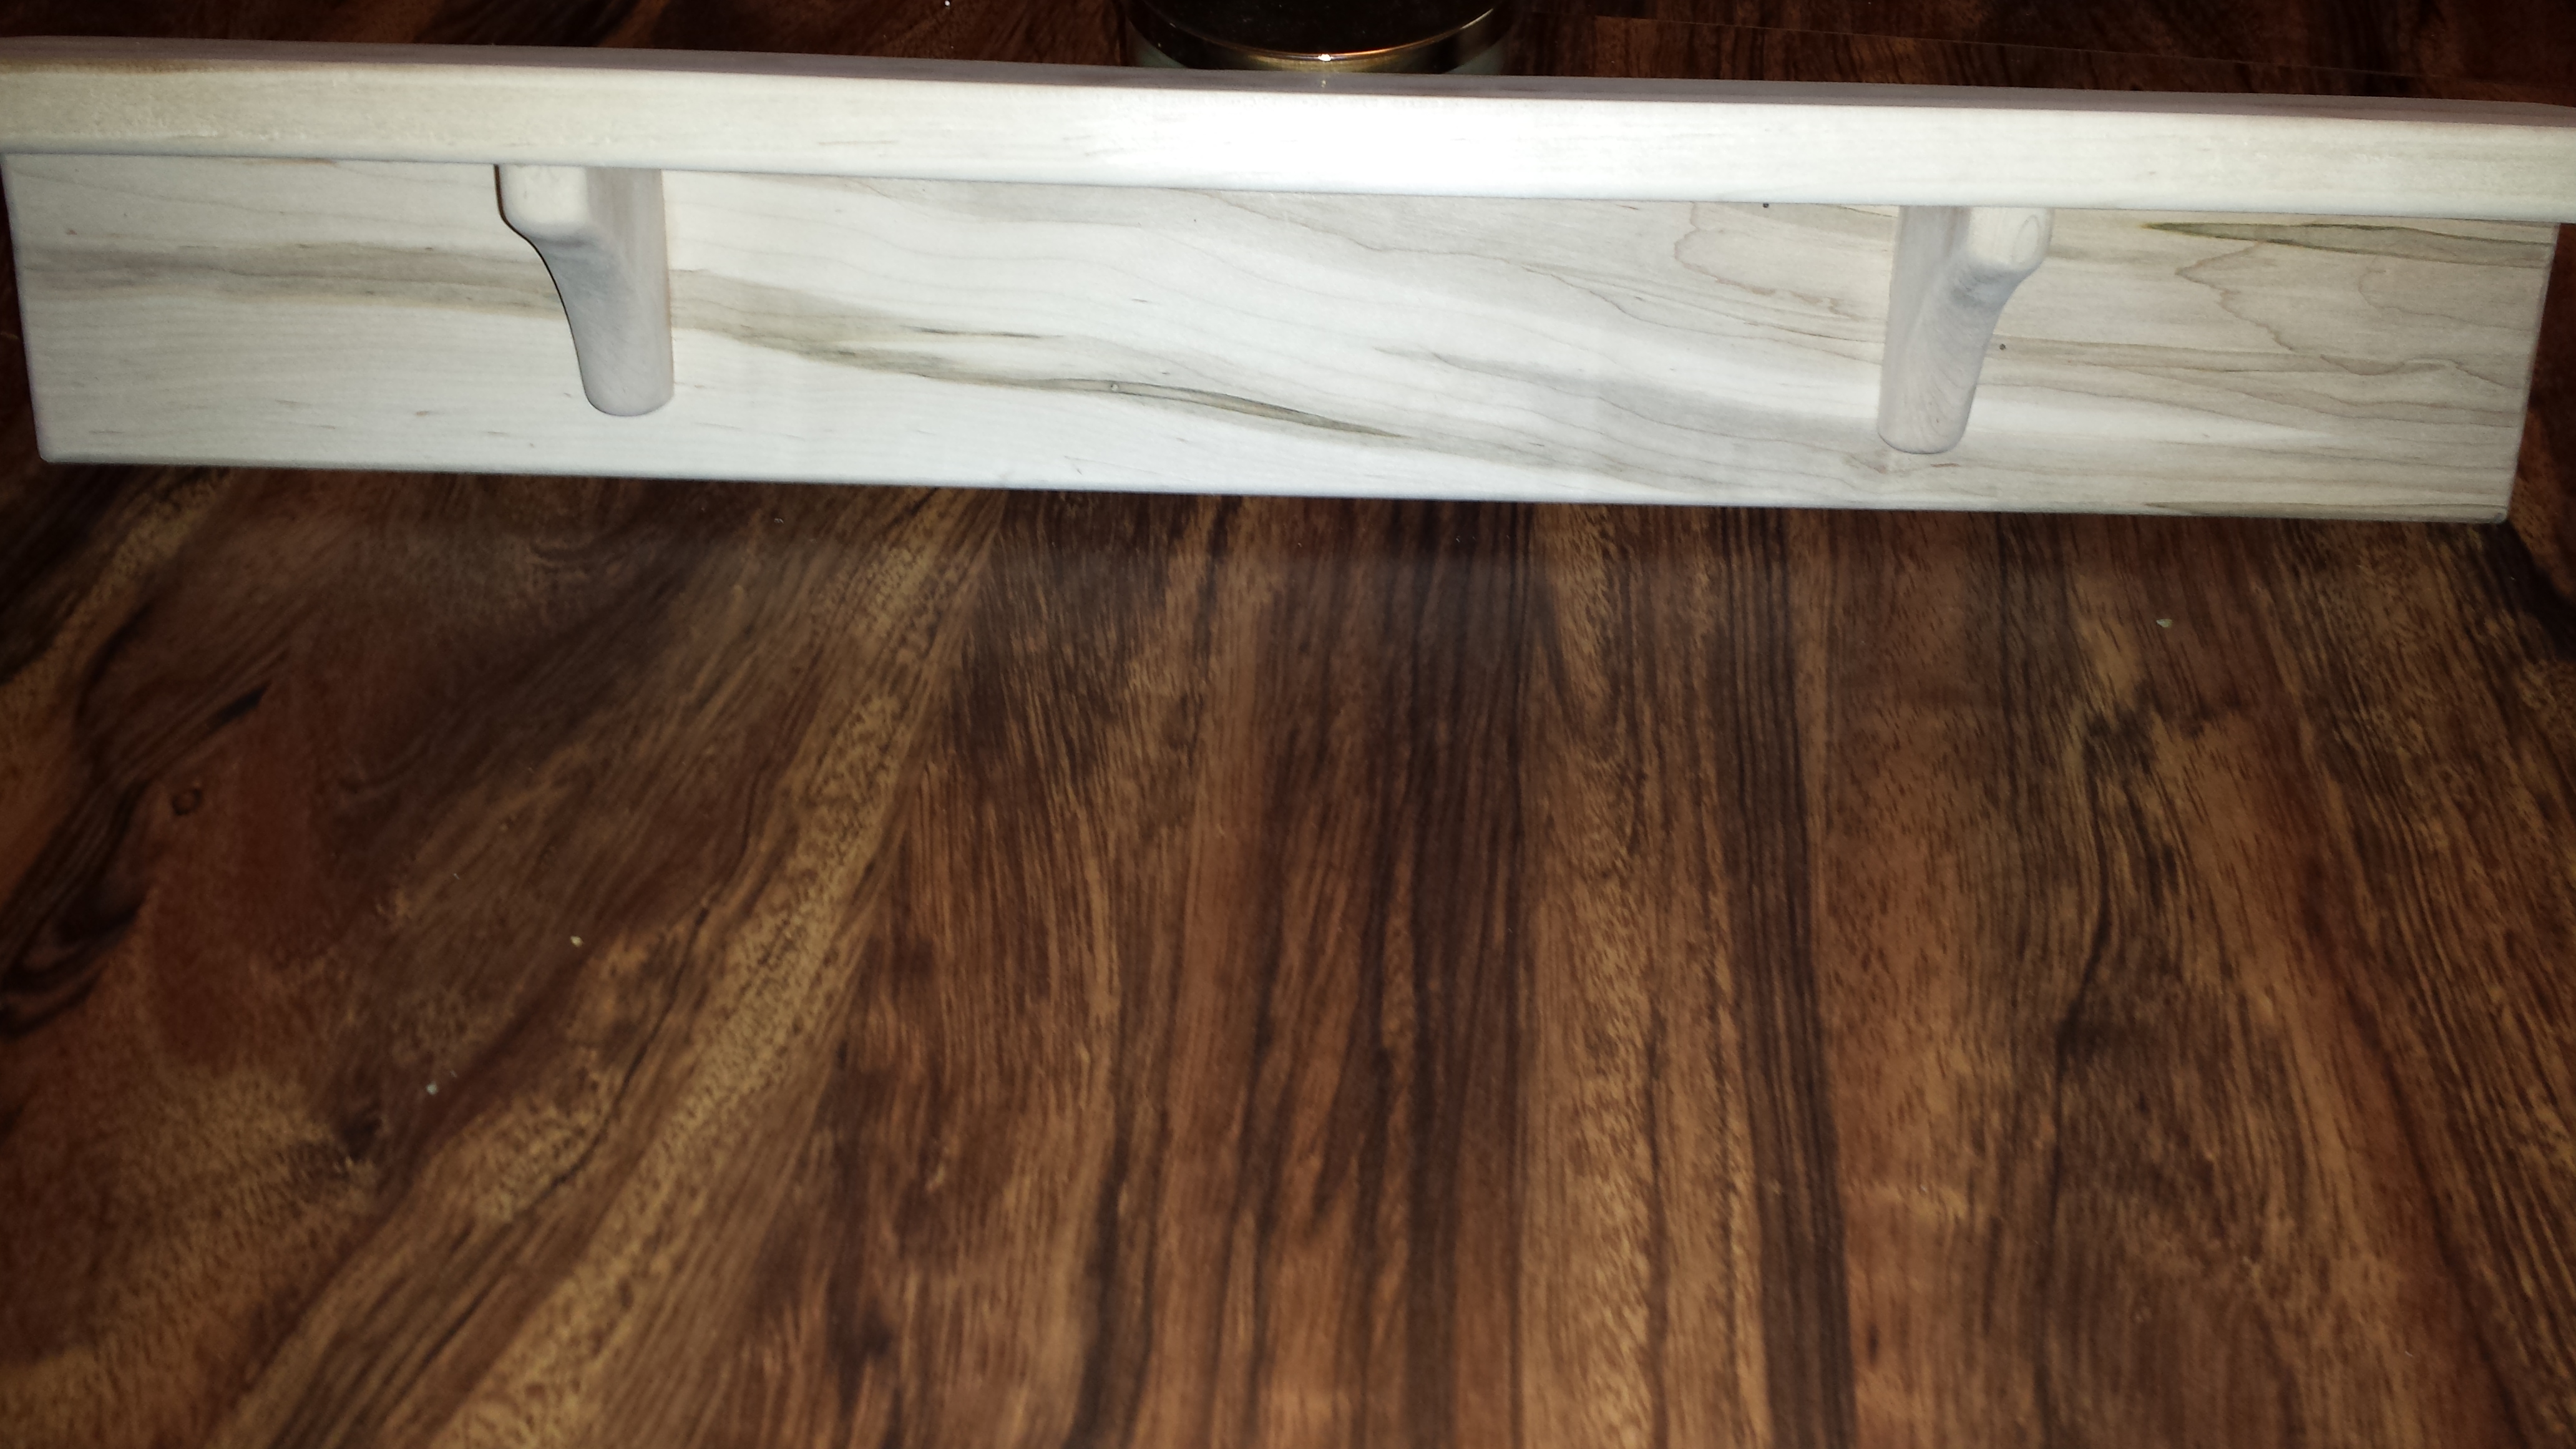
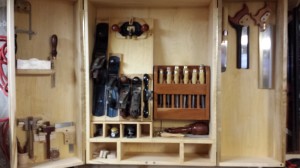 Finally, I did some shop maintenance as well. First I rearranged a few things in the hand tool cabinet so it can better accommodate my now growing collection of hand saws. I actually started using the second door, and moved my hand saws over to it. I still need to make the drawers for cabinet though. One of these days!
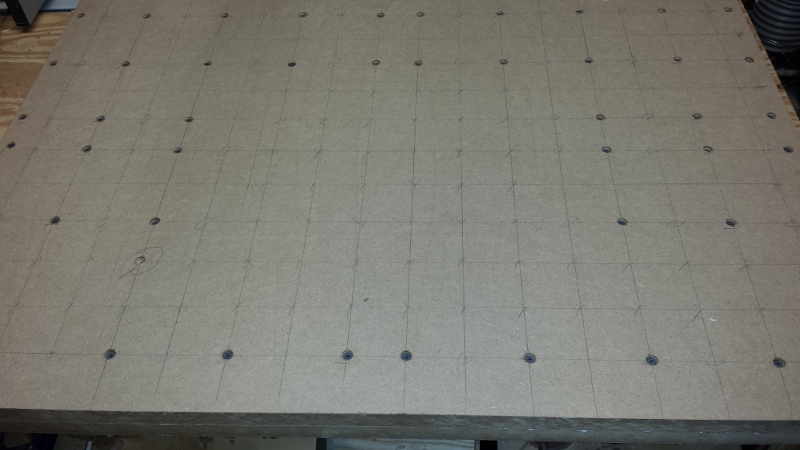
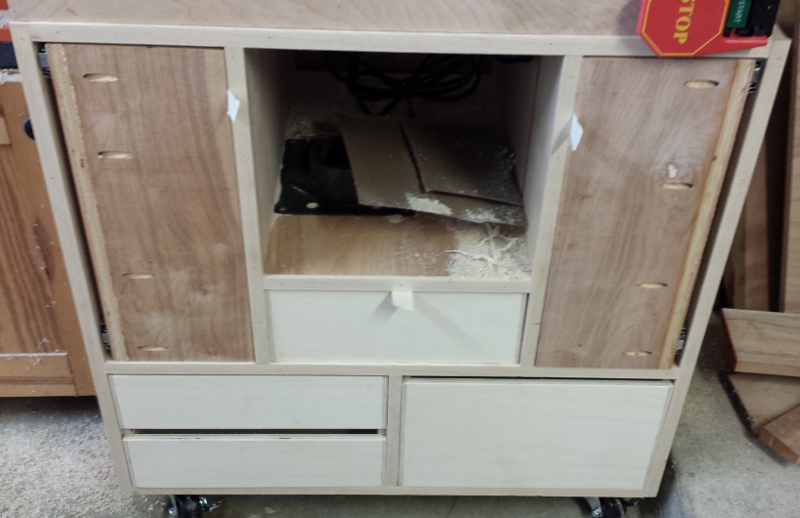
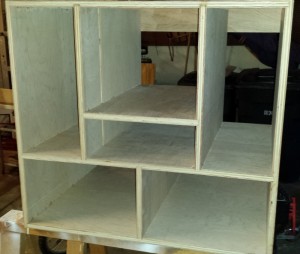 The cabinet is largely made from birch plywood from a big box store. I drew a rough sketchup drawing so I could get an idea of how much plywood I would need. Turned out I needed a sheet and a half. I went ahead and bought two full sheets. Always good to have extra on hand. I went with ~3/4″ thick ply for its strength.
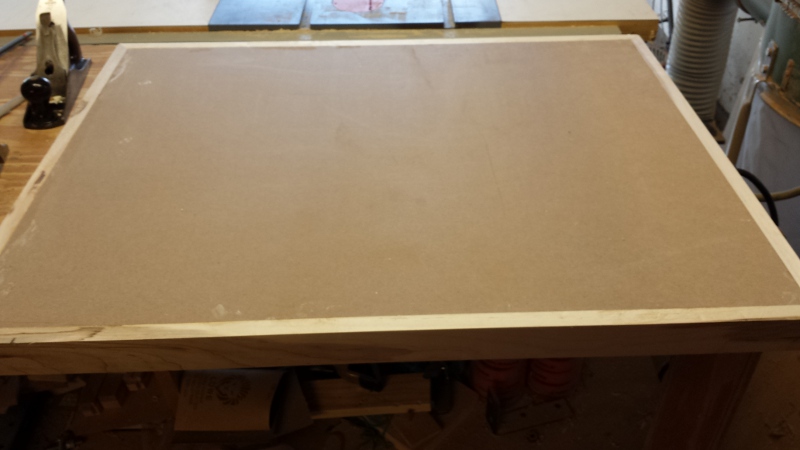
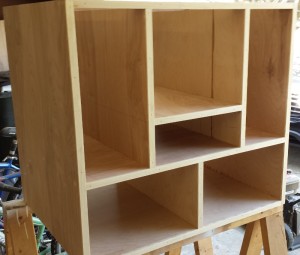 I decided against a face frame. I wanted to maximize the storage potential of the cabinet. After the glue dried I edge banded all the front facing plywood edges with a hardwood. This is largely so I don’t have to look at the plywood edges every day. 🙂 I fitted each piece individually, and just simply glue and nailed each one in place. (Hey it is a shop project after all!)
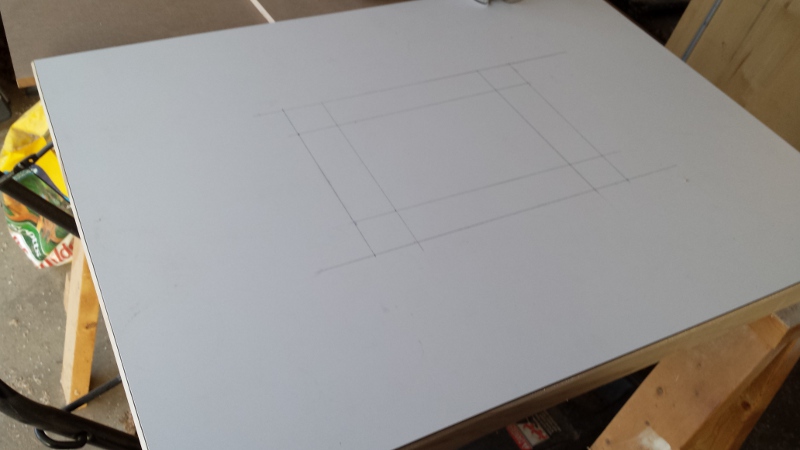
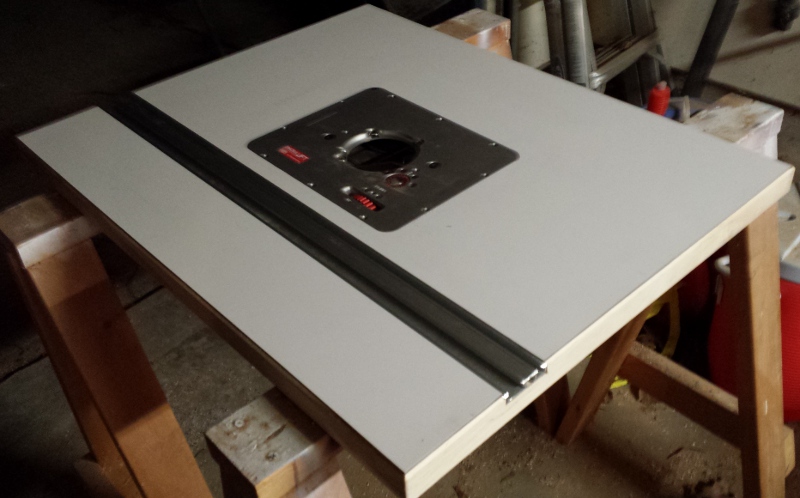
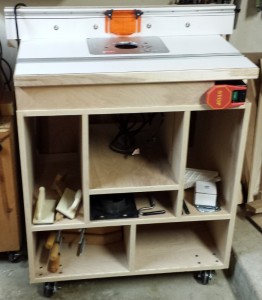 Finally, the top simply sits on top of the table. There are blocks that hold the table in place laterally, but it just simply uses gravity to hold it in place. I made sure that there was no lateral movement (side to side and front to back) at all.