 Woodworking is often an activity of solidarity. However, that does not mean we as woodworkers want to be alone in our shops. In fact, I love it when I have a guest in the shop, not just to show off what I am working, but perhaps to also have them try something new as well. The best times are when one of the kids spend time in the shop with me.
Go back a few weeks ago, my step son happened to glance through a copy of the Penn State Industrial catalog. Being the typical teenaged male, he has a fascination with guns, and he found a pen kit that is made from a bullet shell. He asked me to make him one of those pens. I turned it around on him and told him HE could make one himself. With the help of a friend (Thank you Jerry!) I started procuring everything I needed to turn a pen.
After I got everything needed I made a few test pens on my own, as I have not yet turned one myself! Finally during his spring break as he was feeling a bit board I called him out to the shop. This isn’t the first time he has been in the shop as he has helped me in the past, including operating a few of the machines in the shop. This, however, would be the first time he turned something.
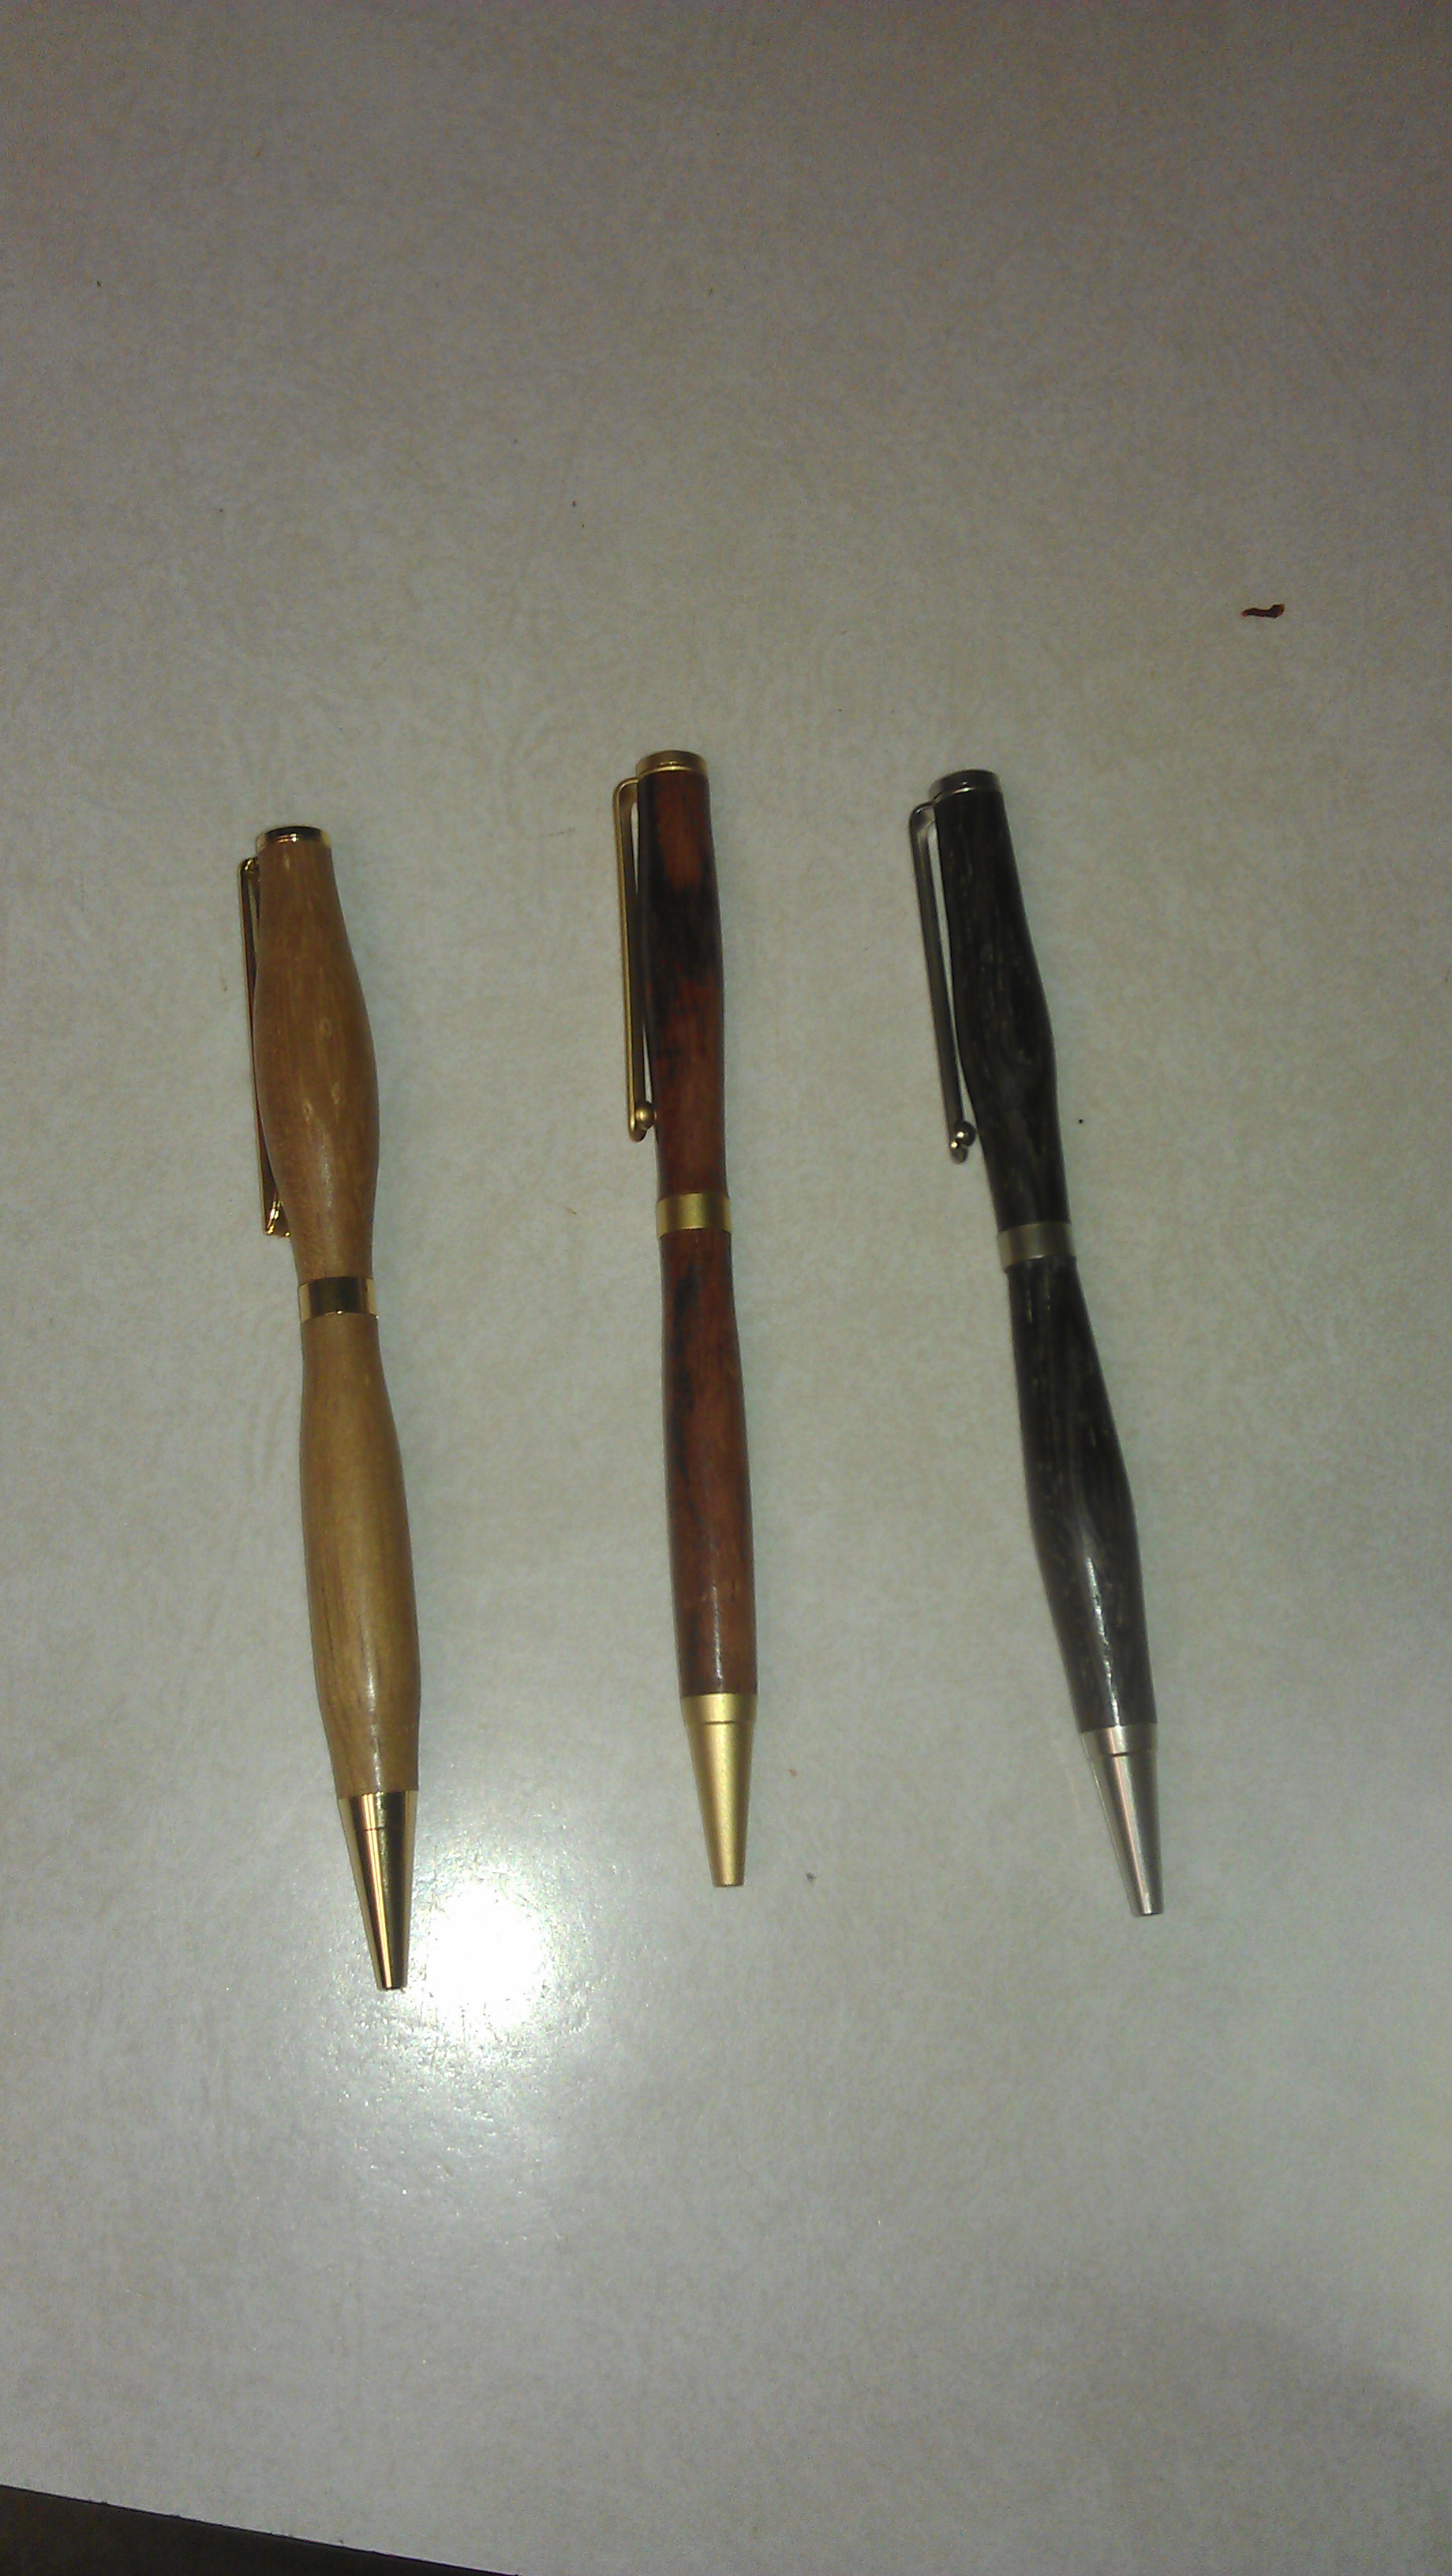
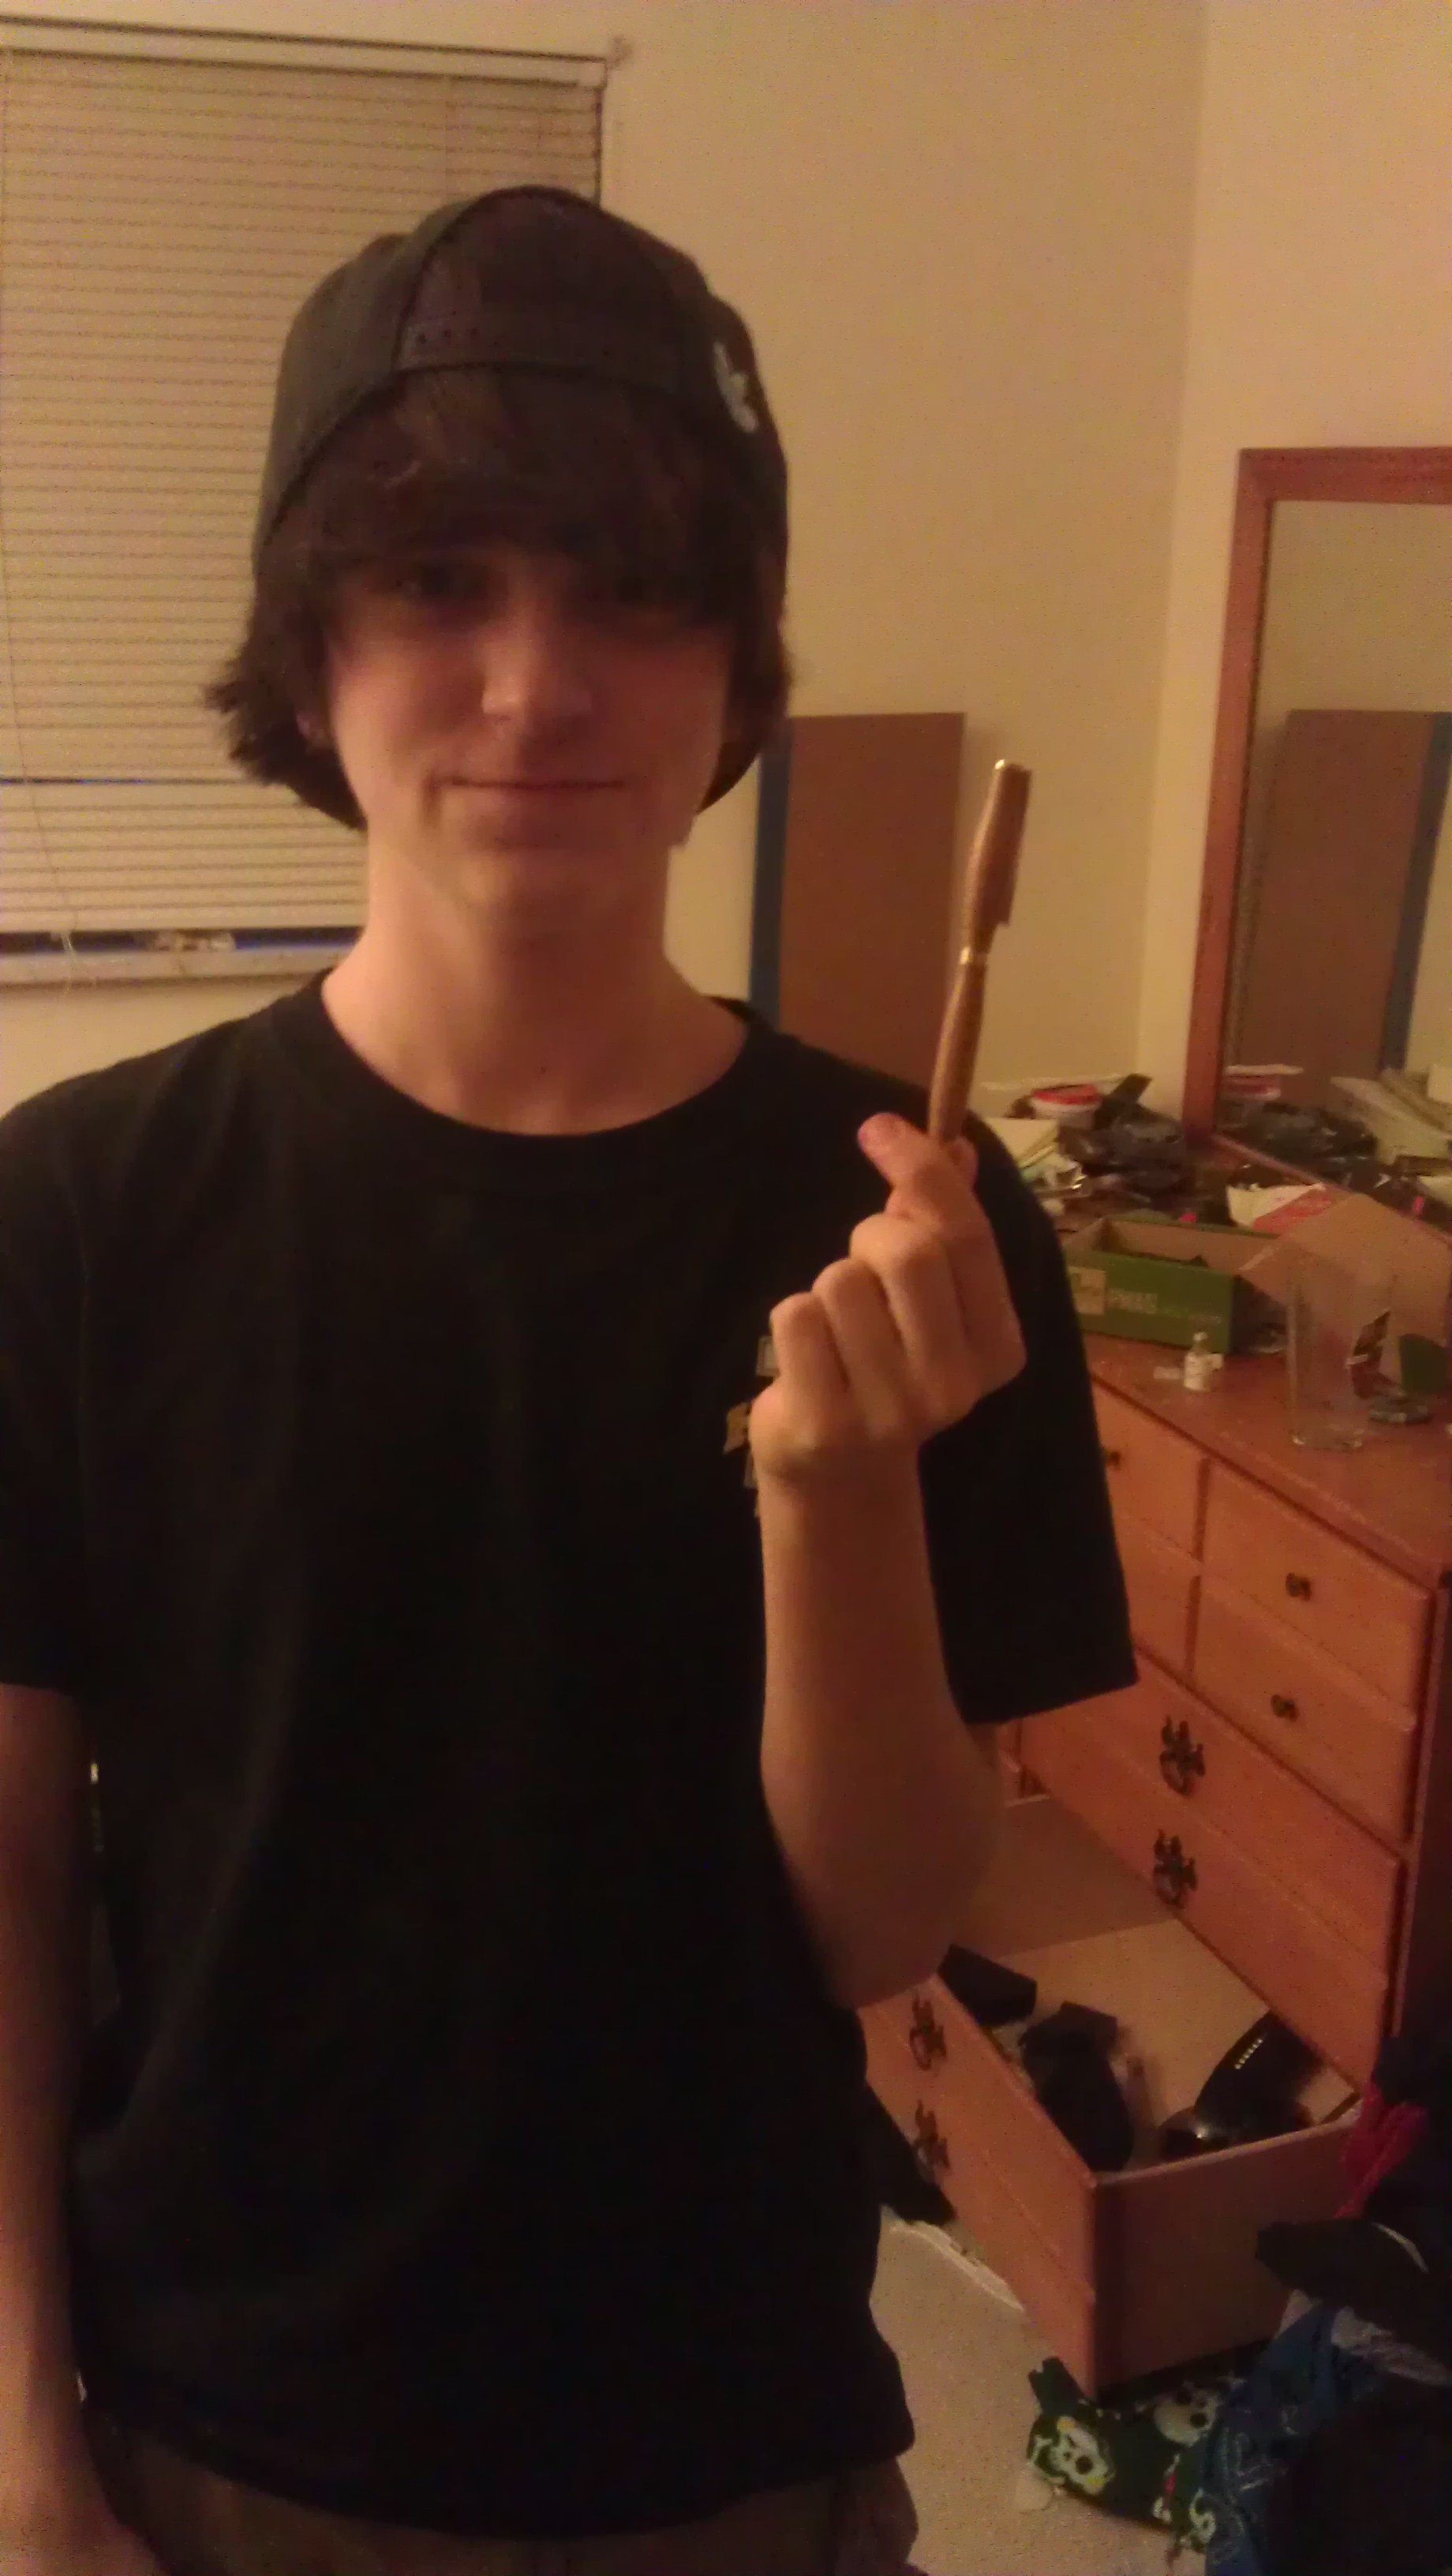
Once I got him out there, I had him pick out a blank, and stepped him through the process of prepping the blank. During the process, he was indifferent to it (okay, down right bored, lol), as most of these operations he has done many times before until we finally we get the blanks on the lathe. After a thorough safety discussion, I have him start slowly start turning. He starts taking very light passes, and over the next few minutes the square blanks start becoming smooth cylinders. This is when he starts getting very excited about his progress! He progresses from turning to sanding, and finally to the finish. What really made him excited was that the final assembly was fairly quick and easy, and in the same evening he would complete an entire pen! His excitement that he made his own pen was uncontainable!
 The next evening, after showing off his first pen to everyone he could, he had a few orders to make some more pens. So we started out at Woodcraft where he picked out several more blanks and a couple more pen kits to match the orders for pens he received. This evening, I set him a bit more free on the lathe, standing by if he had any questions, or if I need to show him a better way to accomplish something. It really was an awesome feeling watching him take what I showed him the previous evening and build on it. He started experimenting with the tool, getting a better feel for what it is capable of doing, even to the point where he could tell the tool was ready to be resharpened. The result of this was he turned two more very well done pens, that he was very proud to deliver to their intended recipients that same evening.
I am really looking forward to getting to spend more time with him in the shop! I know I will cherish every minute he is out there with me!