Adirondack Chair

Published on by Mike  (Leave a comment)

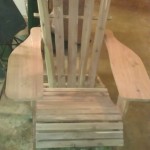
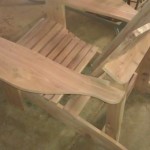
I built this chair following along with The Woodwhisperer Guild build of a Green  & Green style adirondack char.  While it is a traditional design, many of the tips given by Marc still applied while building this one, such as how to position where the screws for the back slats. If i hadn’t caught that video, I guarantee you I would have had a screw or two blow through.

The only issue I ran into was I should have cut my boards down sooner after planing. As stresses released, and the dramatic change in humidity I ended up having a couple boards that badly split. The adjustment I made as a result, otherwise, i wasn’t going to have enough wood is the number of back slats. The plans called for 7, I made 5. It was either that, or not have enough for the seat slats.

However, as you can see in the pictures, the chair is very comfortable to sit in! It was a fun project to complete!

Smoothing Plane Restoration

Published on by Mike  (Leave a comment)

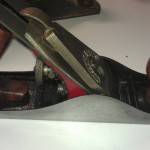
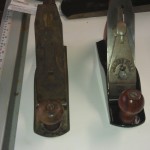
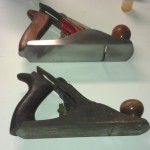
Awhile back my Dad gave me two smoothing planes (Stanley #4 equivalents).  Today I finished restoring the first, which is a Miller Falls 9.  The main body and sole I used sandpaper on a granite block, from a really low grit to get the rust and tarnish of all the way up to 2000grit to get a mirror like finish on it again.  The plane was well used by its original owner, so it will never be perfect again, but I think I got it looking pretty good.  For the parts that the sandpaper method would work, I used evaporust.  That stuff is great, as it works well, and is non-toxic!  The knob and tote were in bad shape.  The wood was very dry with a crack in the base of the knob.  I was concerned that they would break.  So I bought a 6″x6″x2″ turning blank.  Used the band saw to get a 2″x2″x6″ turning blank that I cut down and used to turn the knob on the lathe.  I resawed the remaining piece on the band saw, cut a blank to size for the tote.  The tote was a real challenge to make, and took a lot of hand work to get it to the right shape.  However, I believe the effort has paid off!  I have included pictures of both smoothing planes, as they were both in pretty much the same bad shape when I got them, including the paint on the bottom!


Chisels in their new home!

Published on by Mike  (Leave a comment)

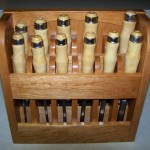
Haven’t figured out where I am going to hang it yet, but today I sharpened all the chisels, put some oil on them, and put them in their permanent home!

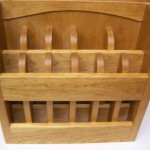
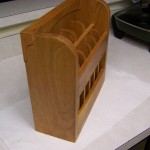
Chisel Rack With a Couple Coats of Shellac

Published on by Mike  (Leave a comment)

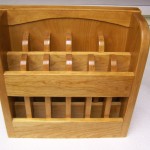
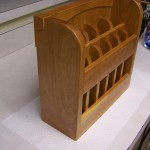
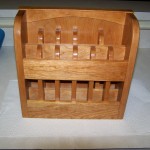
The coats of shellac have been applied, and I very lightly sanded the last coat with 400 grit sand paper.  The result is a finish that has just the right amount shine to it.  In fact if it is in the right light, you can see a little bit of a reflection in the finish!  The last picture was taken with the flash, and you can see some of that reflection happening!  I did cut up a foam rubber mouse pad, and covered the bottoms of each slot with that so that will help protect the sharp edge of the chisel.  The rack itself is basically complete now.  The next step is to sharpen and hone all the chisels going into it, and to of course, find a place on the wall to hang it!  Will take and post pics once that has been completed as well.

Chisel Rack with Boiled Linseed Oil

Published on by Mike  (Leave a comment)

Today, I applied Boiled Linsee Oil to my project.  I am very happy with with how it turned out so far!  Next I will be spraying on a few coats of Shellac.