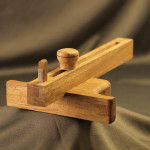
 One of the joys I have found with my journey as a woodworker is making my own tools. A few years ago I turned a mallet that I use all the time. This is the same mallet that appears in my blog’s logo. I have also made making knives as well. One thing I had wanted to try to make is a marking gauge. After finishing the hand tool cabinet, I took some scraps I had lying around the shop and started planning one out. In the research I did, I see a lot of people making the “bat” design marking gauge. While it was an interesting design, I decided it wasn’t for me. What I came up with is really what I consider a hybrid of a traditional marking gauge and the newer bat design.
 From a tooling point of view, while most of sizing and shaping was done with power tools, the majority of the work was done with hand tools. In fact the channel for the main bar was made completely with hand tools. This actually allowed me to get the channel perfectly sized to the sliding bar. The main face that register to the work piece was then made 90 degrees to the bar by using a smoothing plane. This also got that face nice and smooth to help it glide along the work piece. I used a card scraper to get all the remaining surfaces nice and smooth.
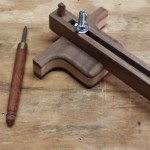
 The blade was actually made from a jigsaw blade that I shaped using my bench grinder and dremel tool. I had noticed that the modern marking gauges had a rounded blade vs. a straight angled blade on the traditional marking gauge. I decided to give that design a try. I found to very positive advantages to that. First, the rounded blade was easy to make, and fairly easy to sharpen. Next, this allows the marking gauge to be used in either hand without changing the blade around, and allows the user more freedom on how the marking gauge is held.
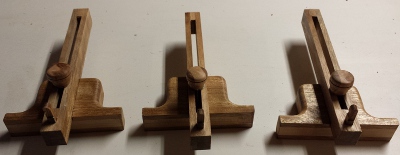
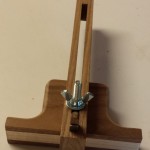
 On the first marking gauge I made, I just used a simple wing nut to lock the bar in place. I ended up making several more that I used some of the cutoff scrap from the bodies, and turned them into knobs. I was a little hesitant at first as I wasn’t sure if a wood knob would be able to lock down tight enough. But with the first couple experiments I did, I found they did the job very well. Plus they look a lot better then a wing nut!
This was definitely a fun project to take on. Plus, it does give me an additional feeling of pride that I put into my work when I use a hand tool that I made with my own hands.
 A quick note, the first picture was beautifully taken by Karen Mack. Thank you Karen for allowing me to use this picture!
