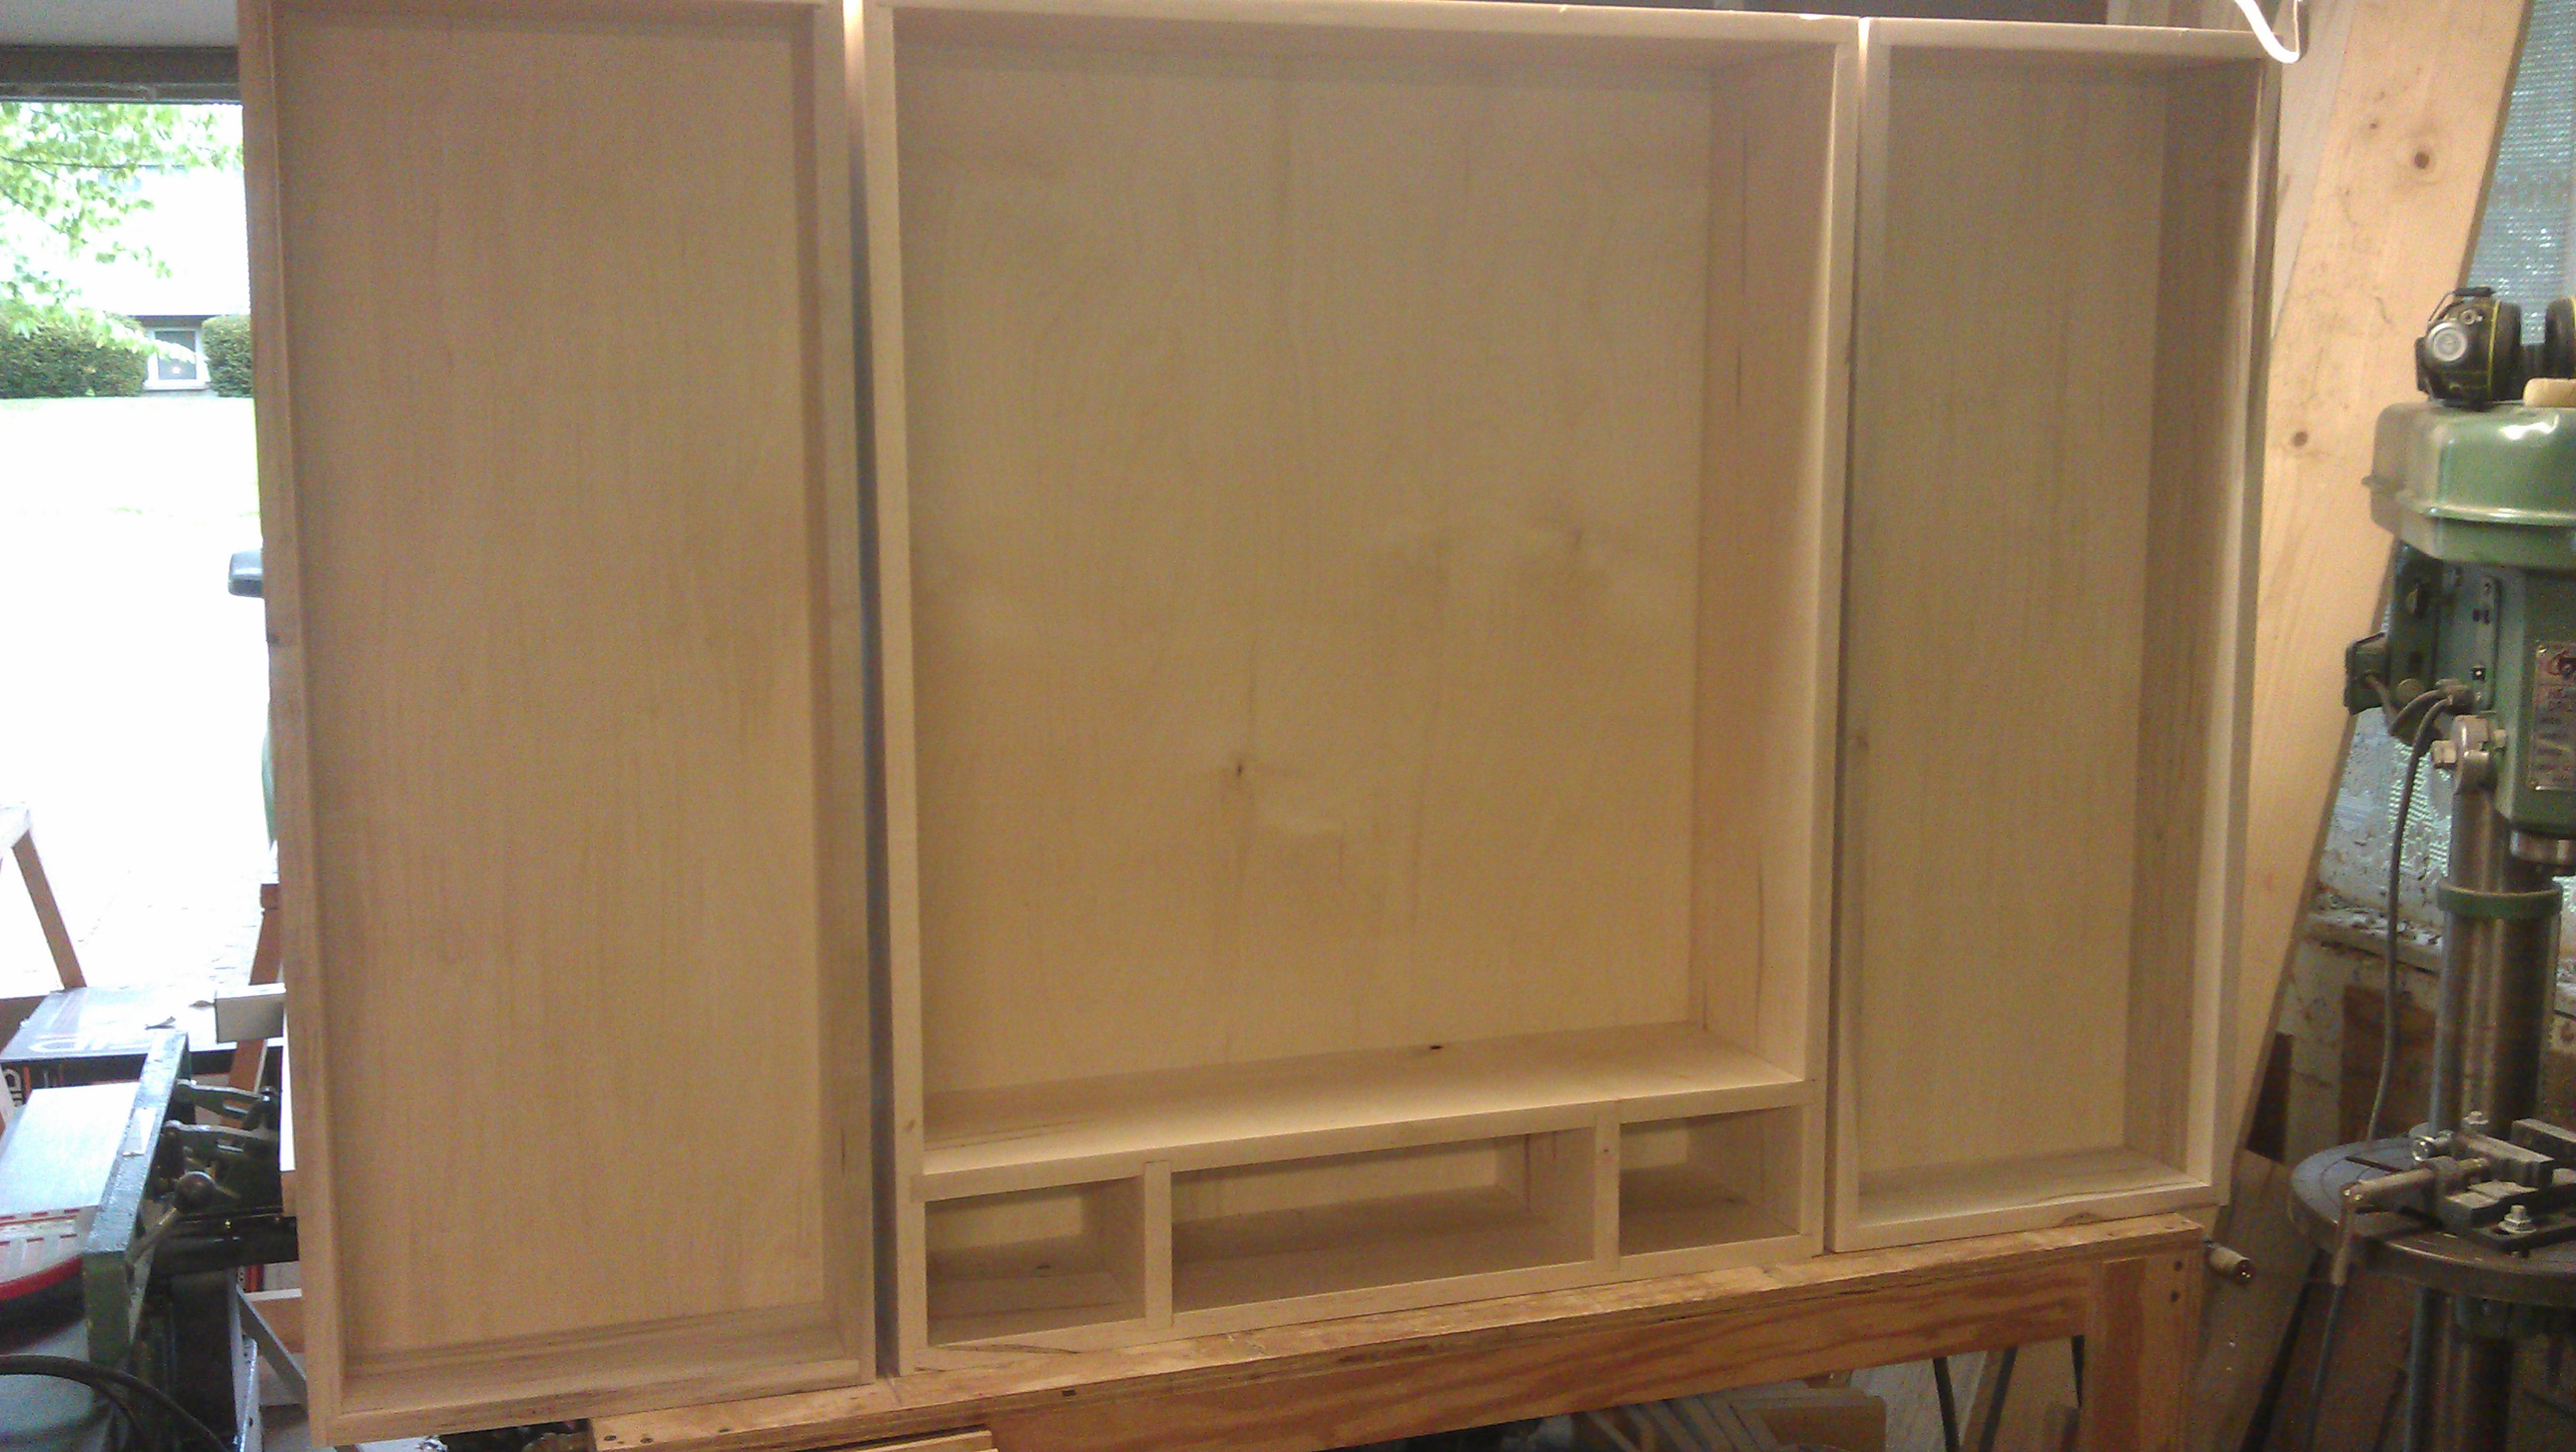
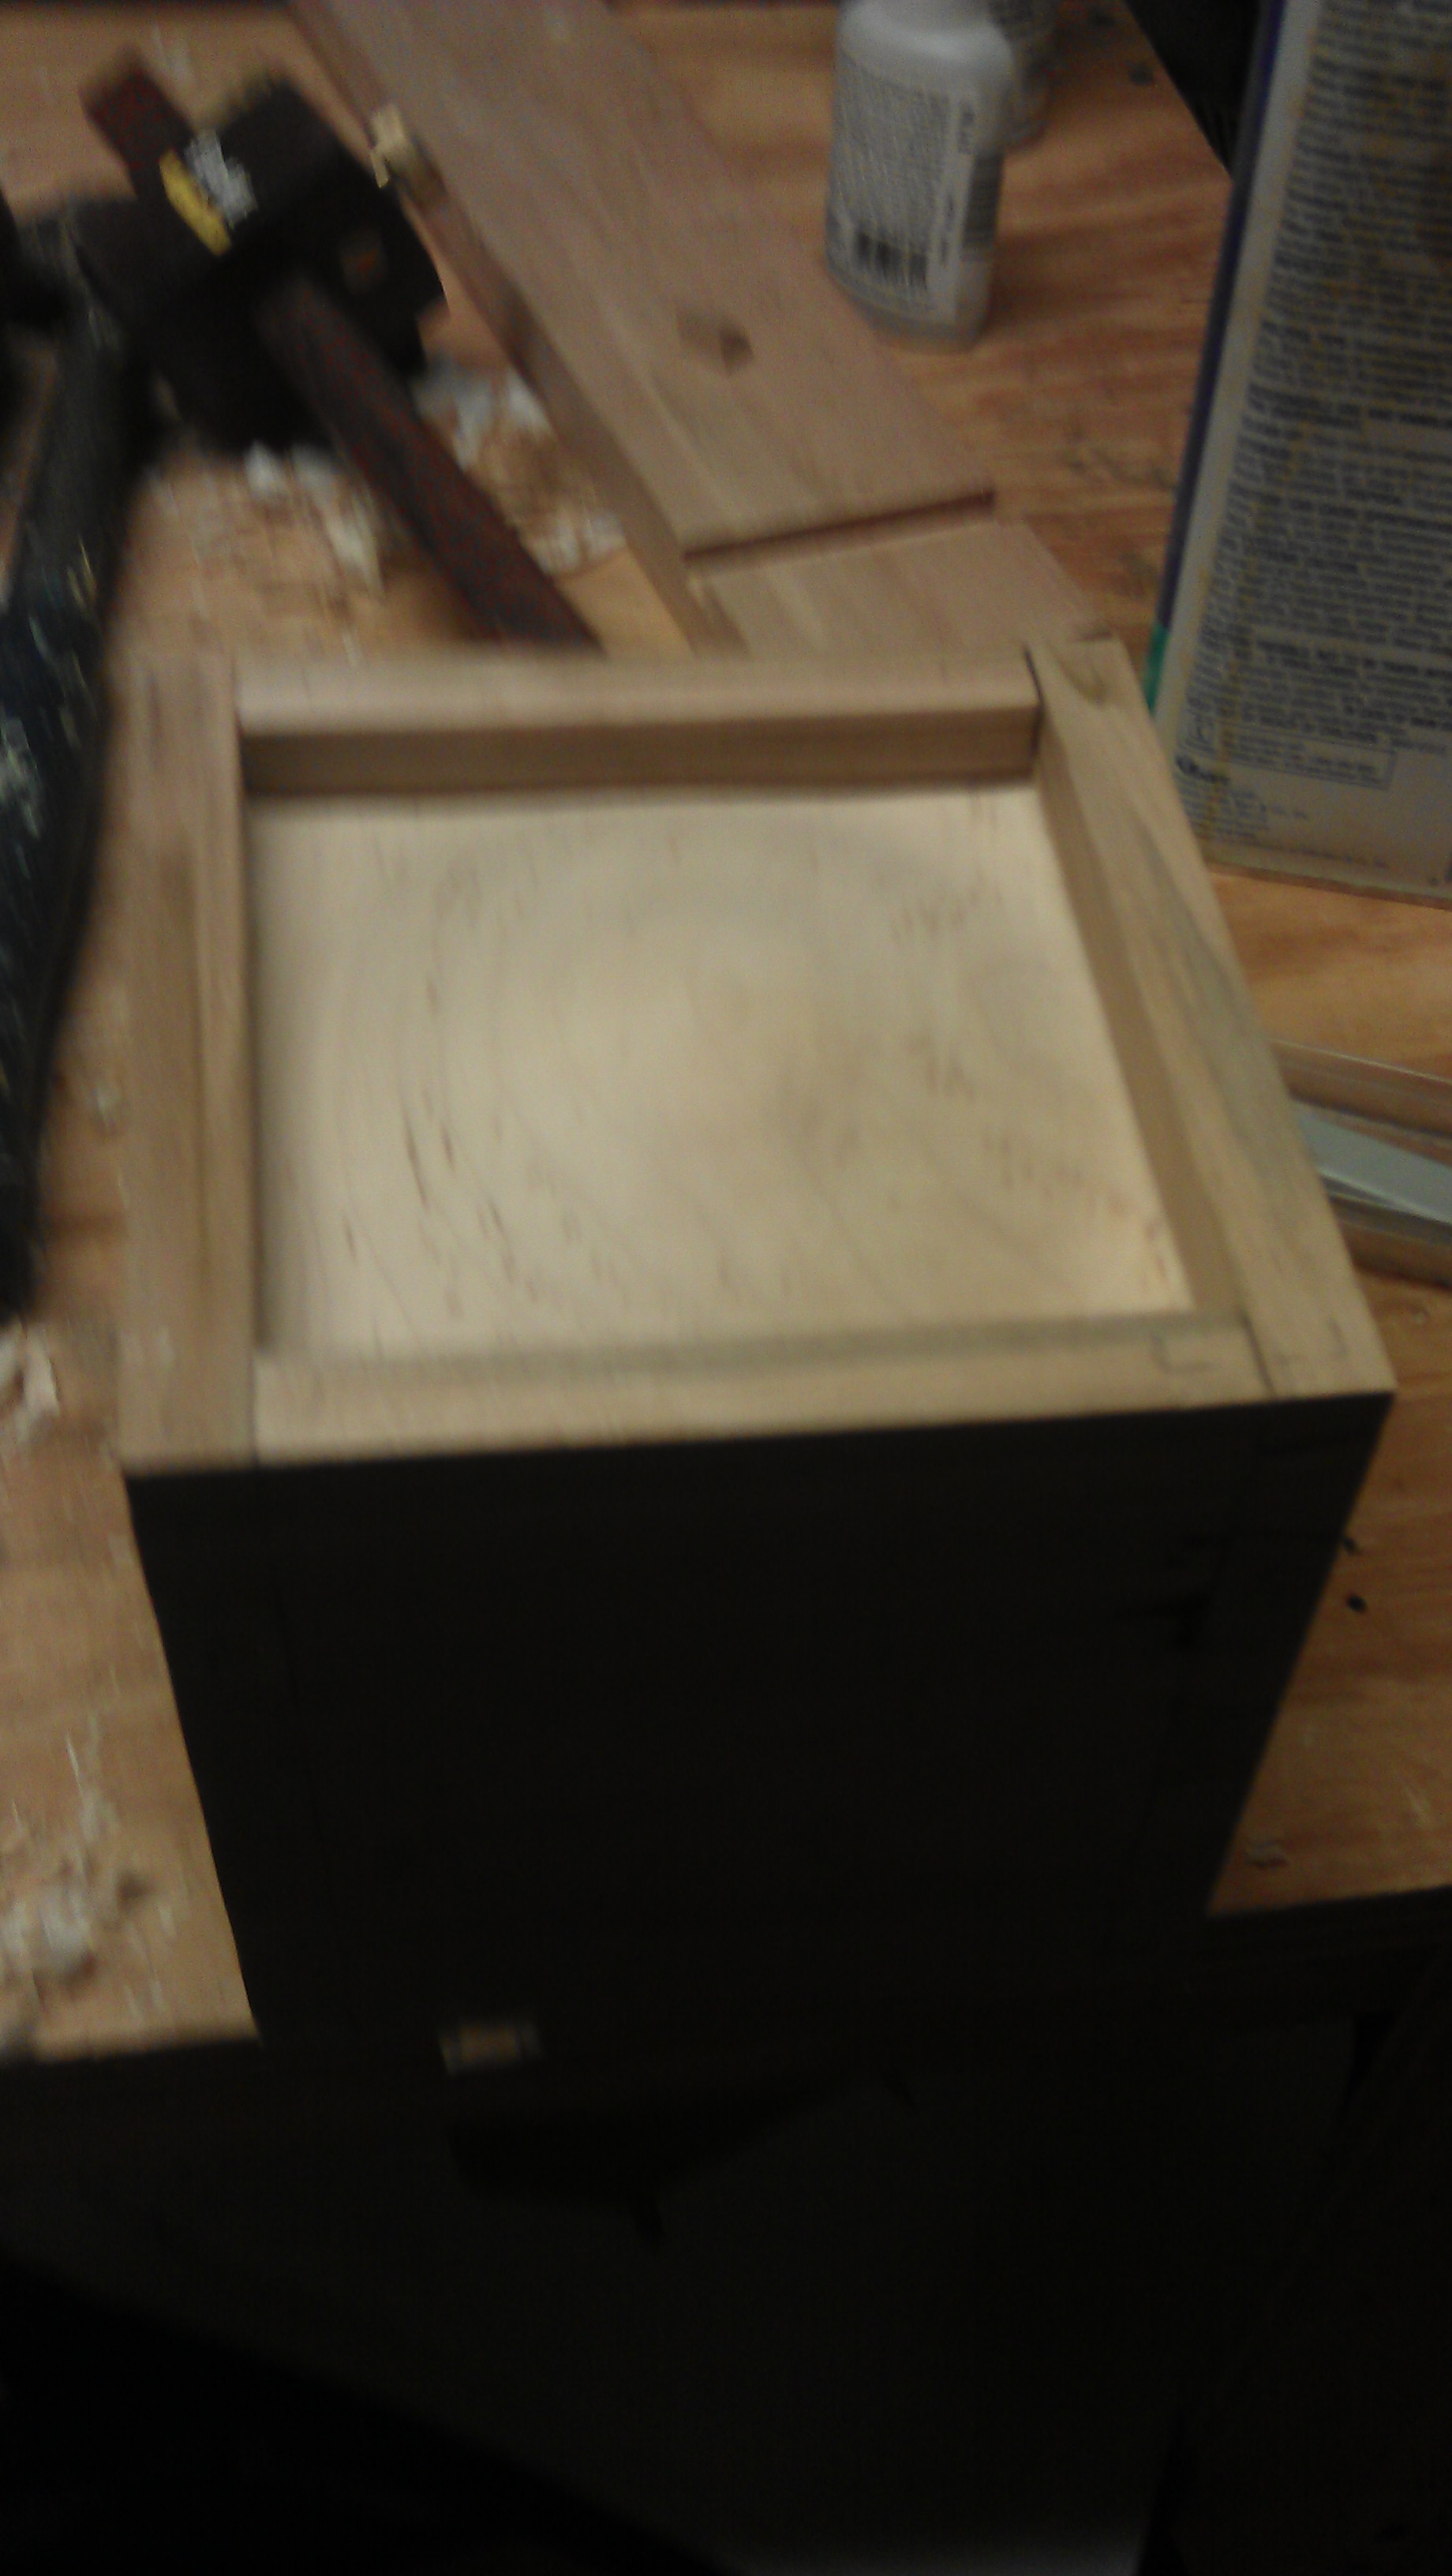
 After completing the door boxes, I started working on the false fronts. The false fronts are actually serving 2 purposes. The first is to make the cabinet look nice when the doors are closed. The second is to hide any potential screw or nail penetration.
 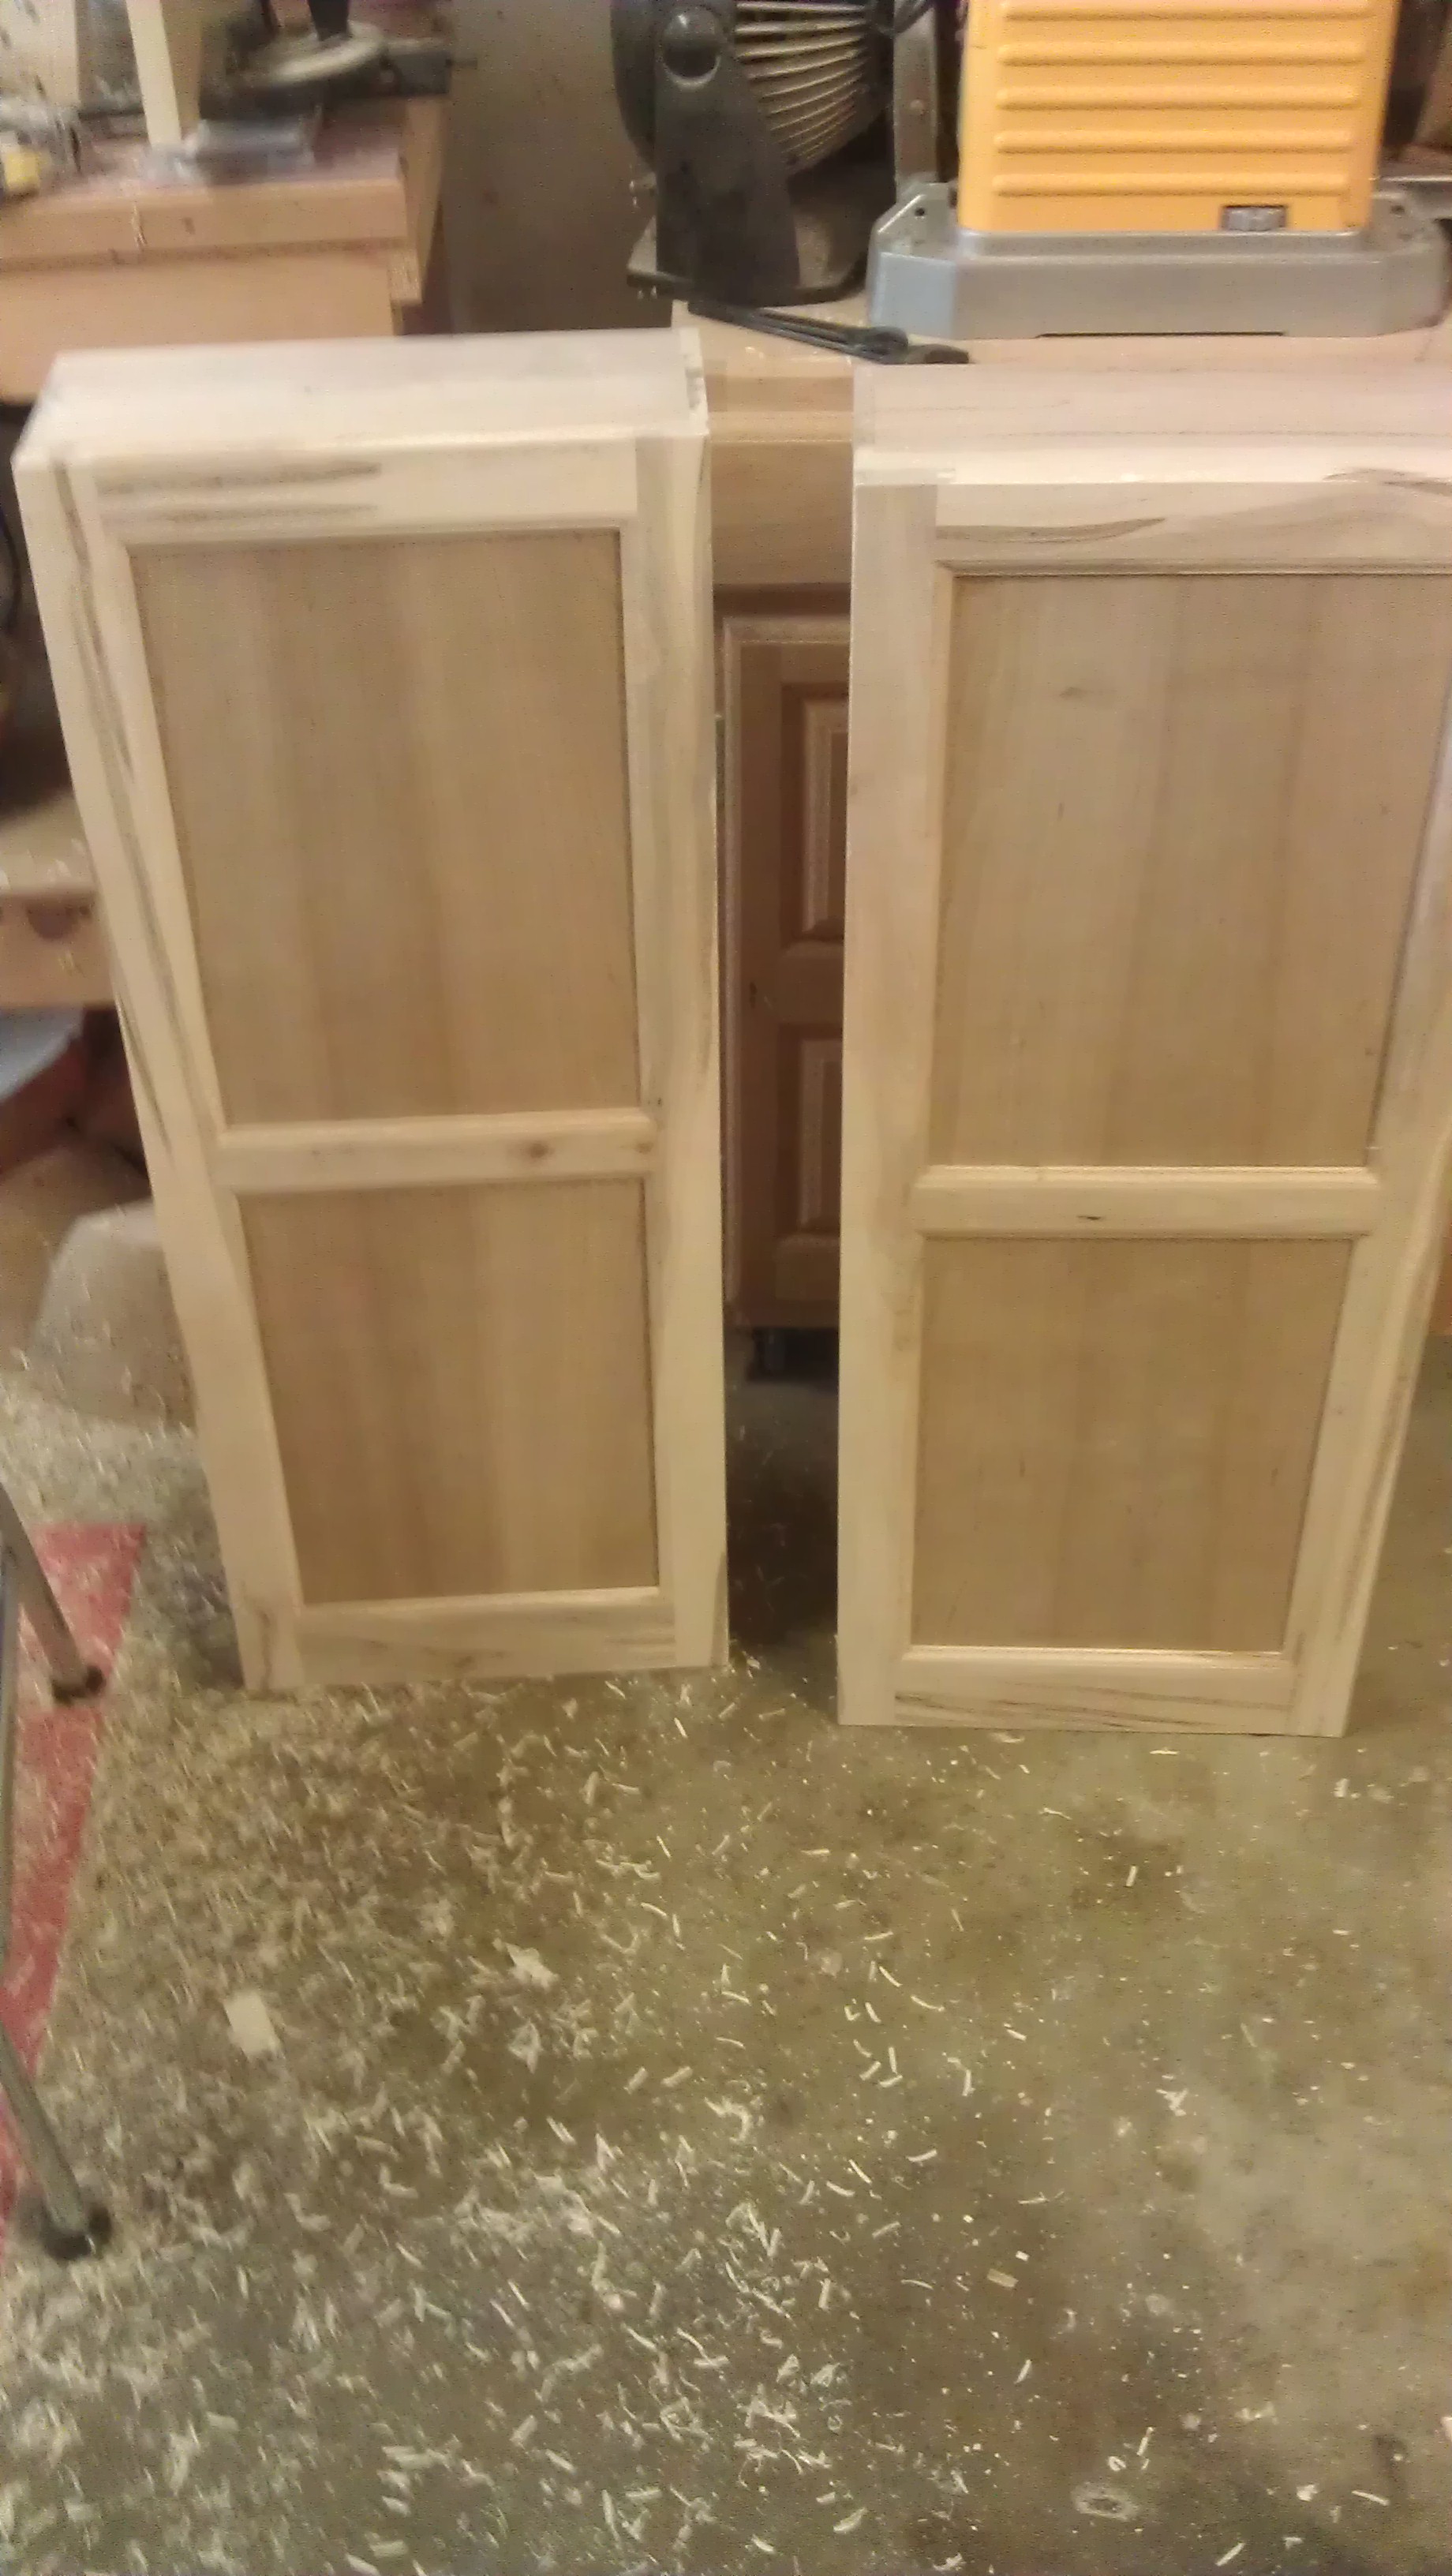 The back of the door boxes is 1/2″ baltic birch ply and is meant for me to hang tools off of. So, it is very possible a screw may poke through, which the false fronts will hide that. The false fronts are made with a frame and panel design, using an ogee style router bit set. The panels themselves are cherry plywood that I had left over from the cradle. This adds a nice contrast to the ambrosia maple from the rest of the cabinet.
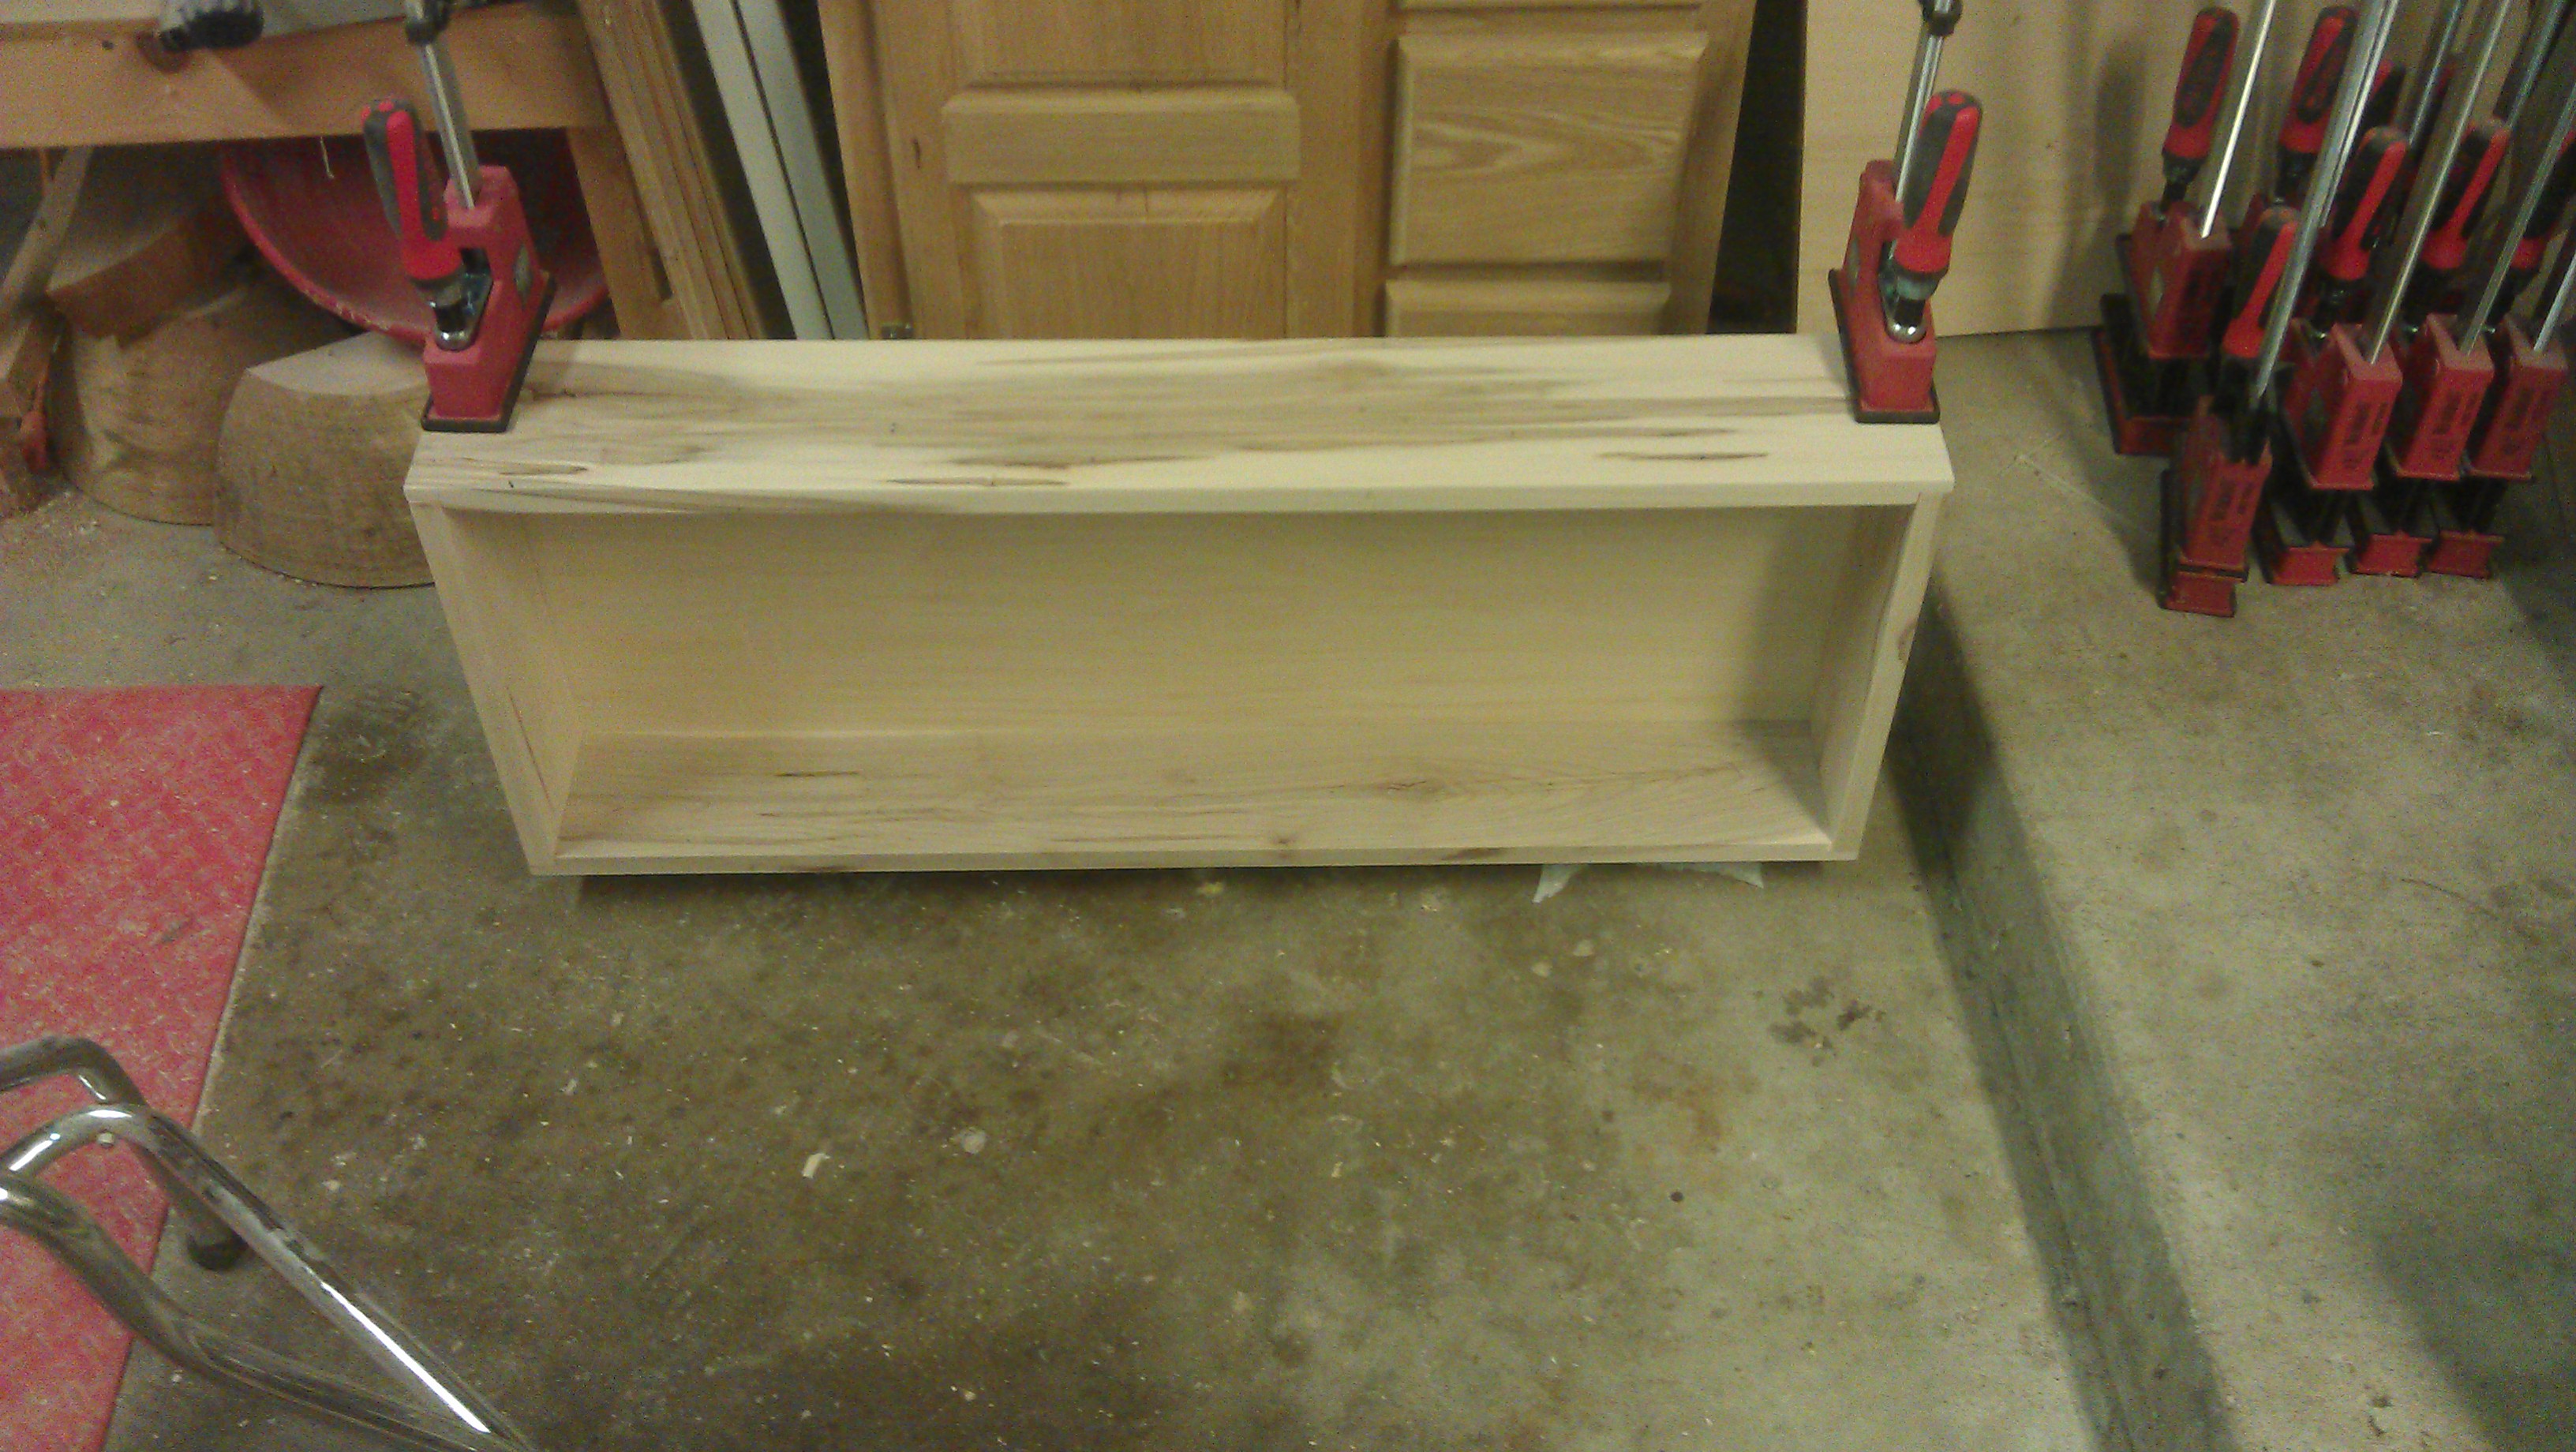
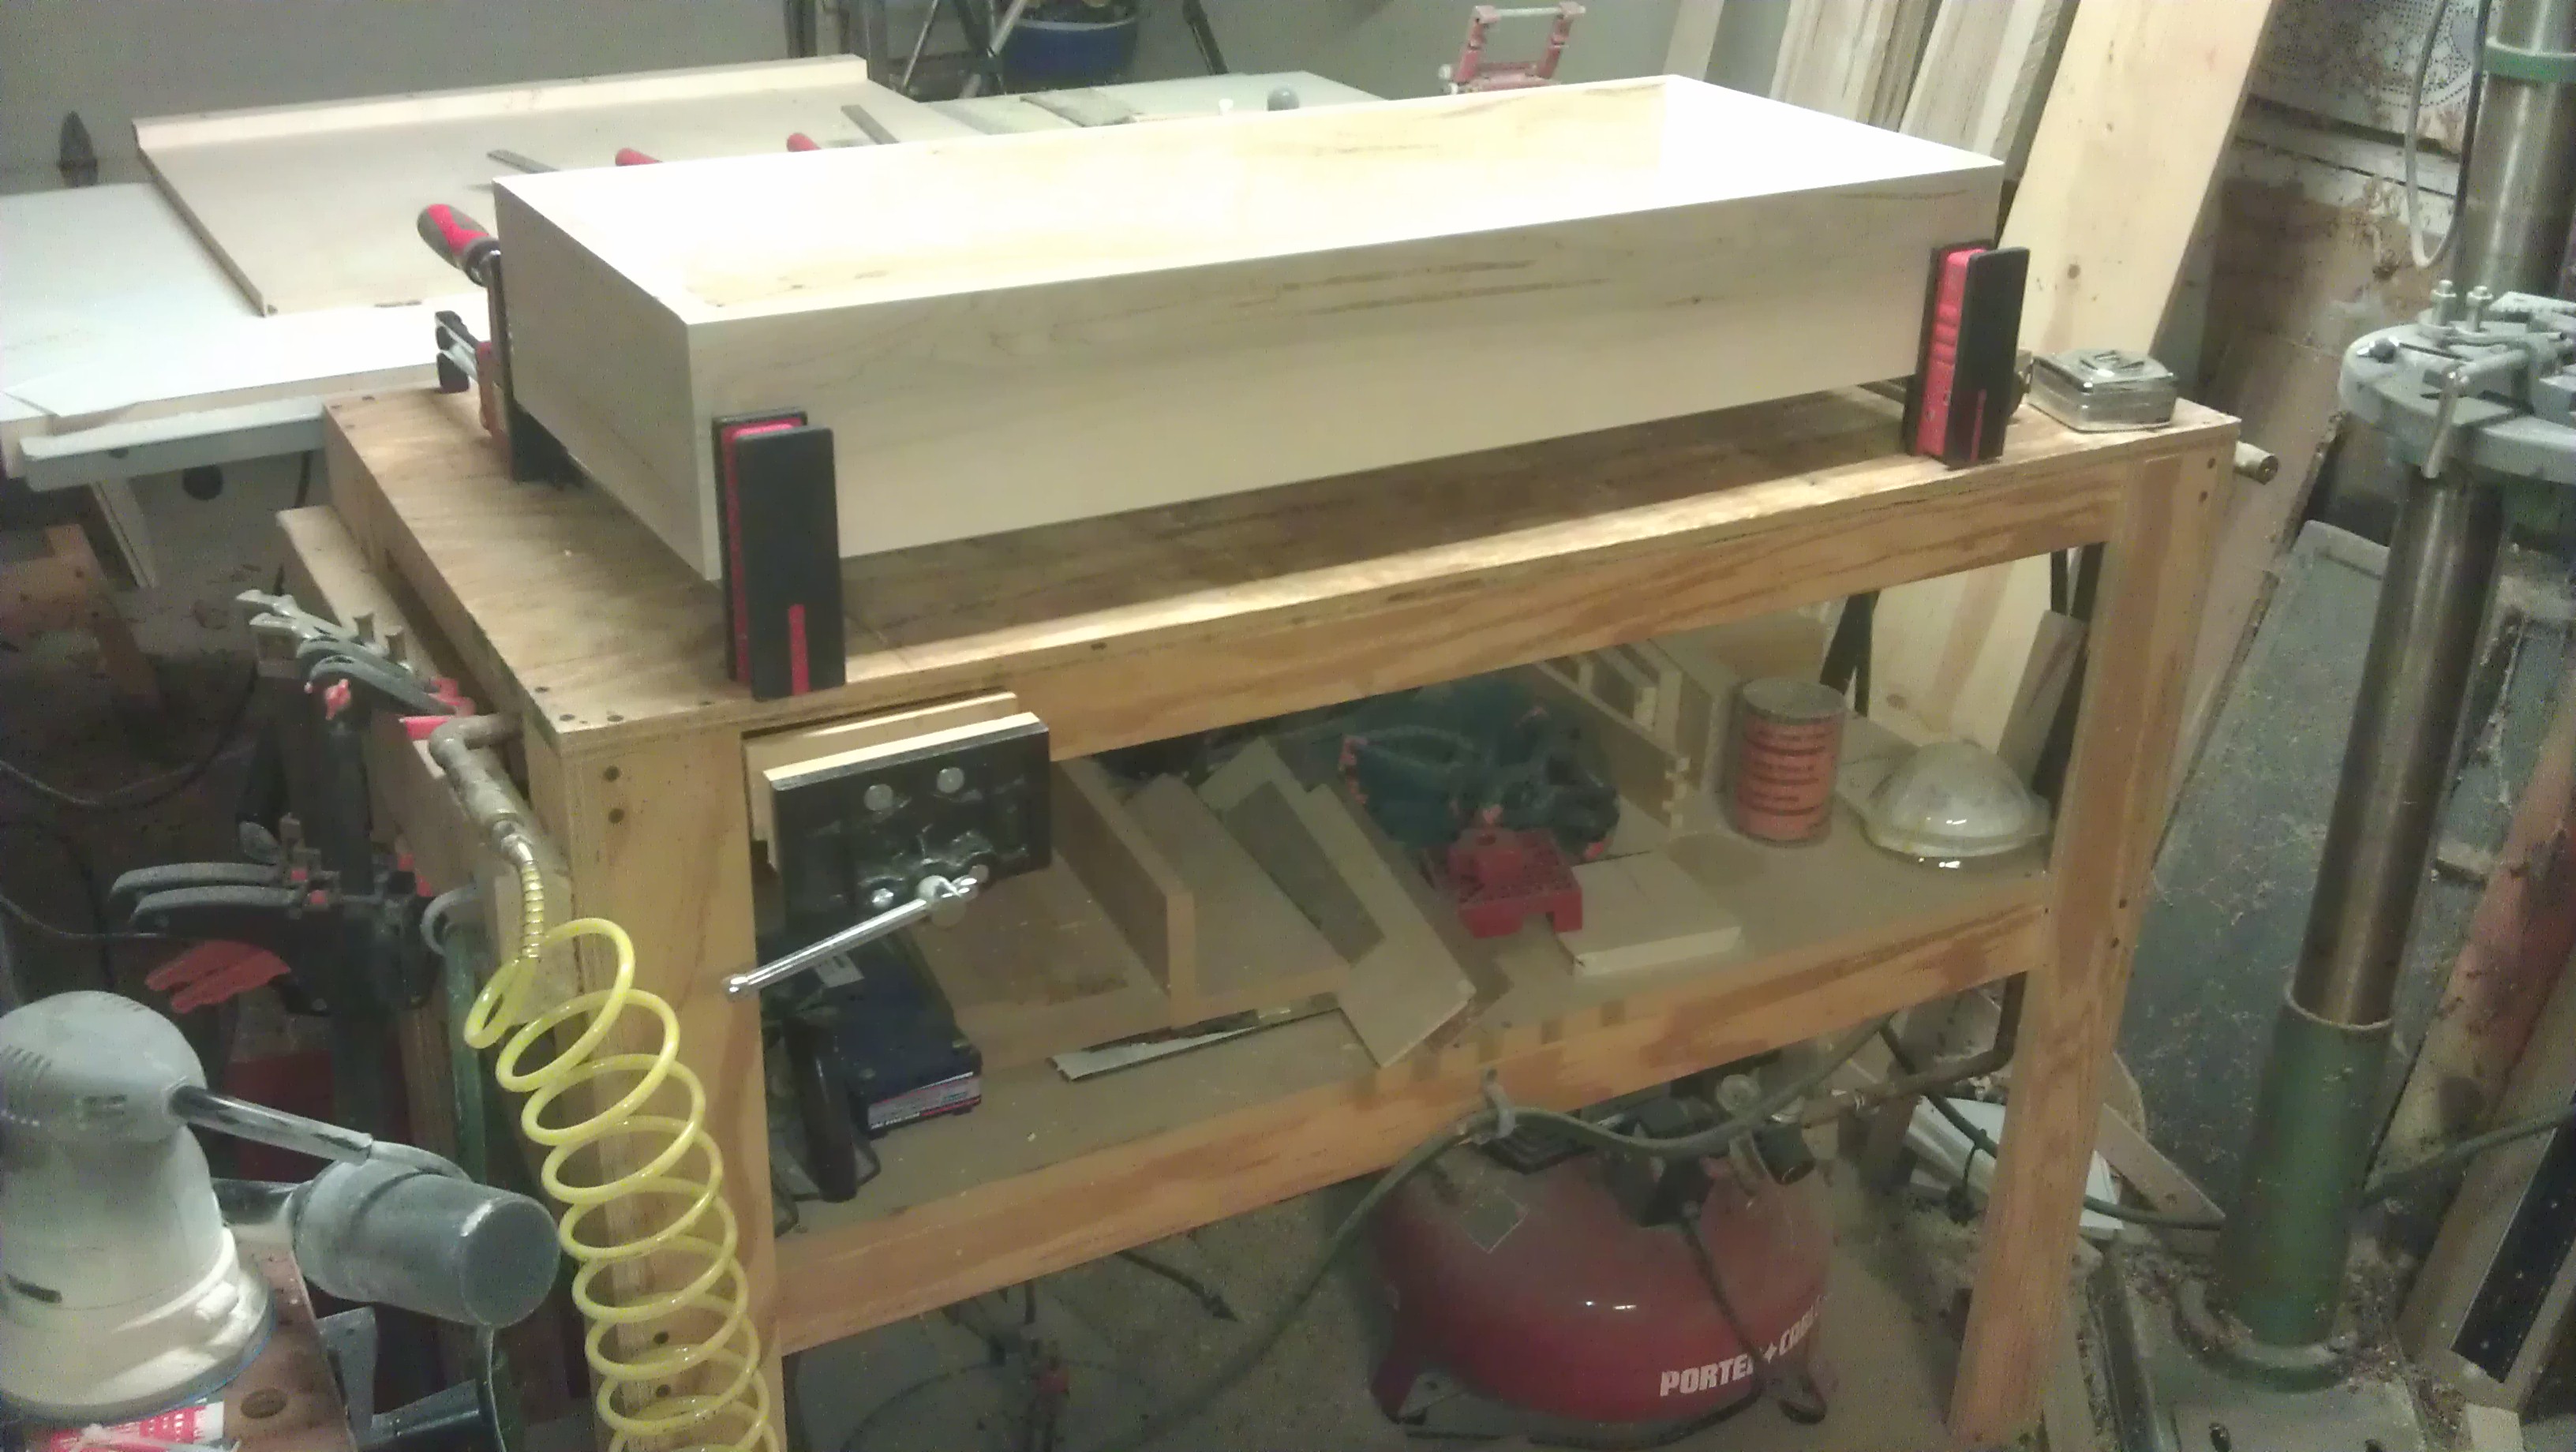
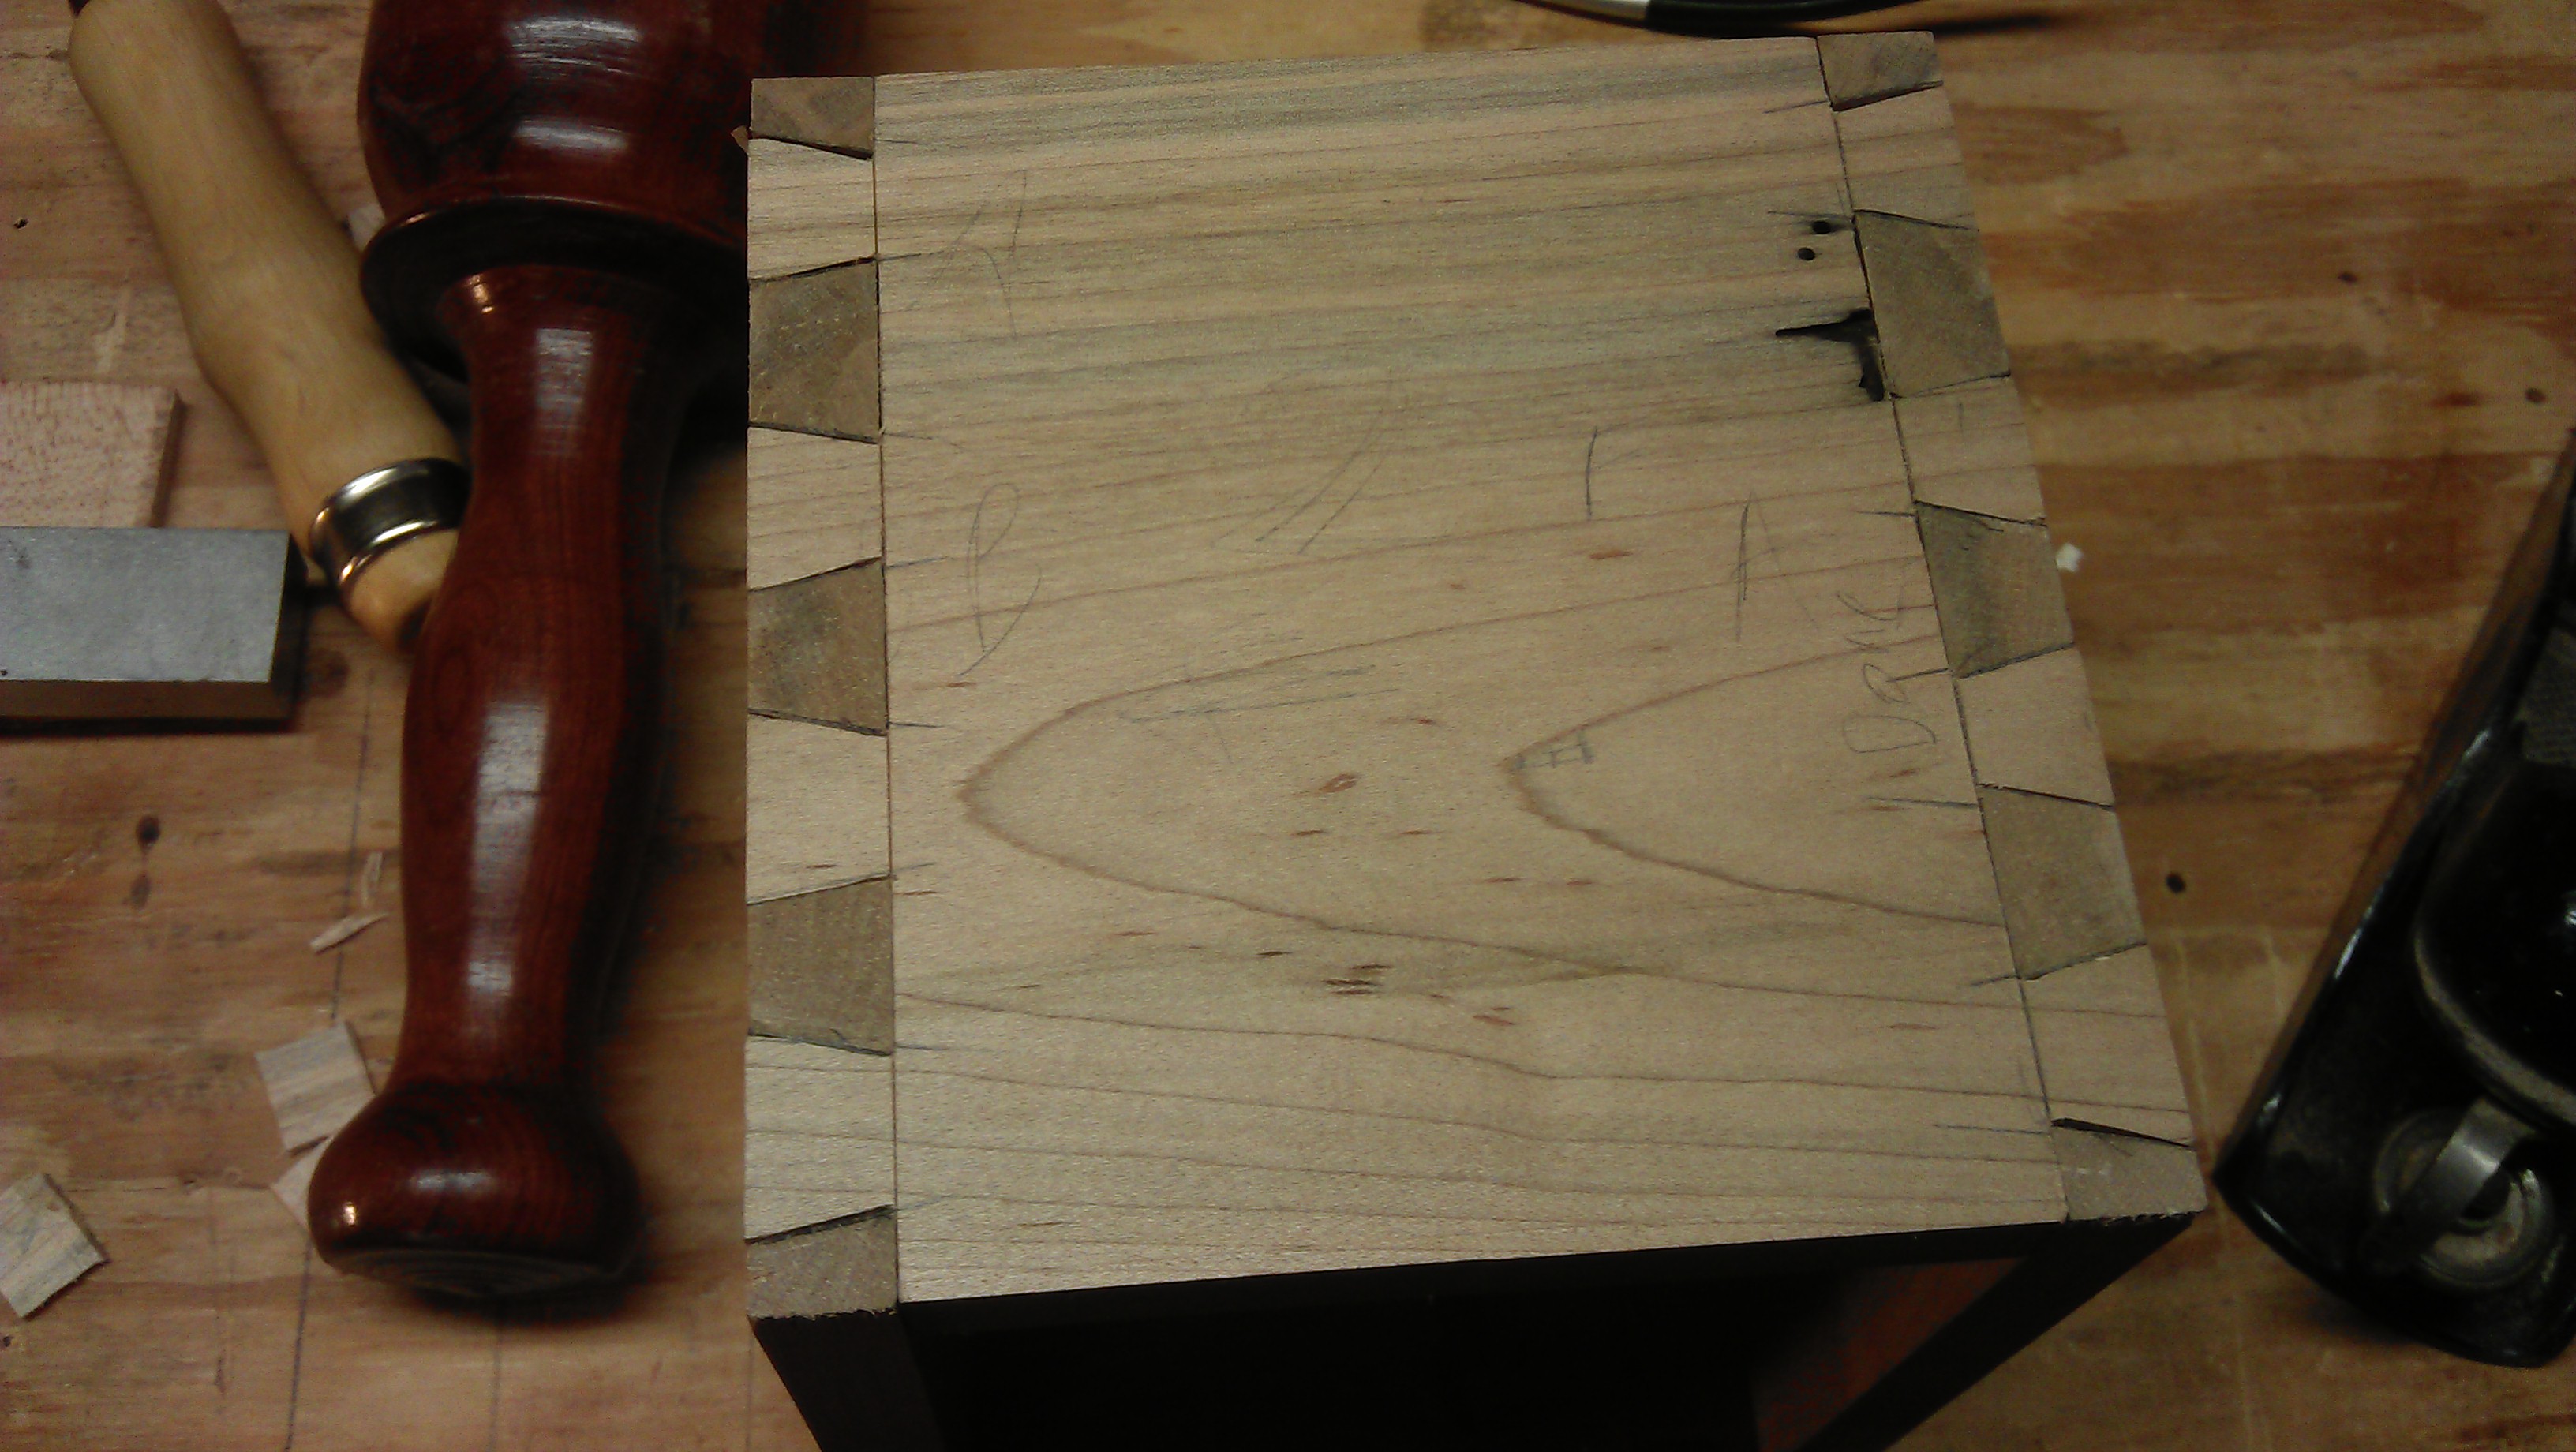
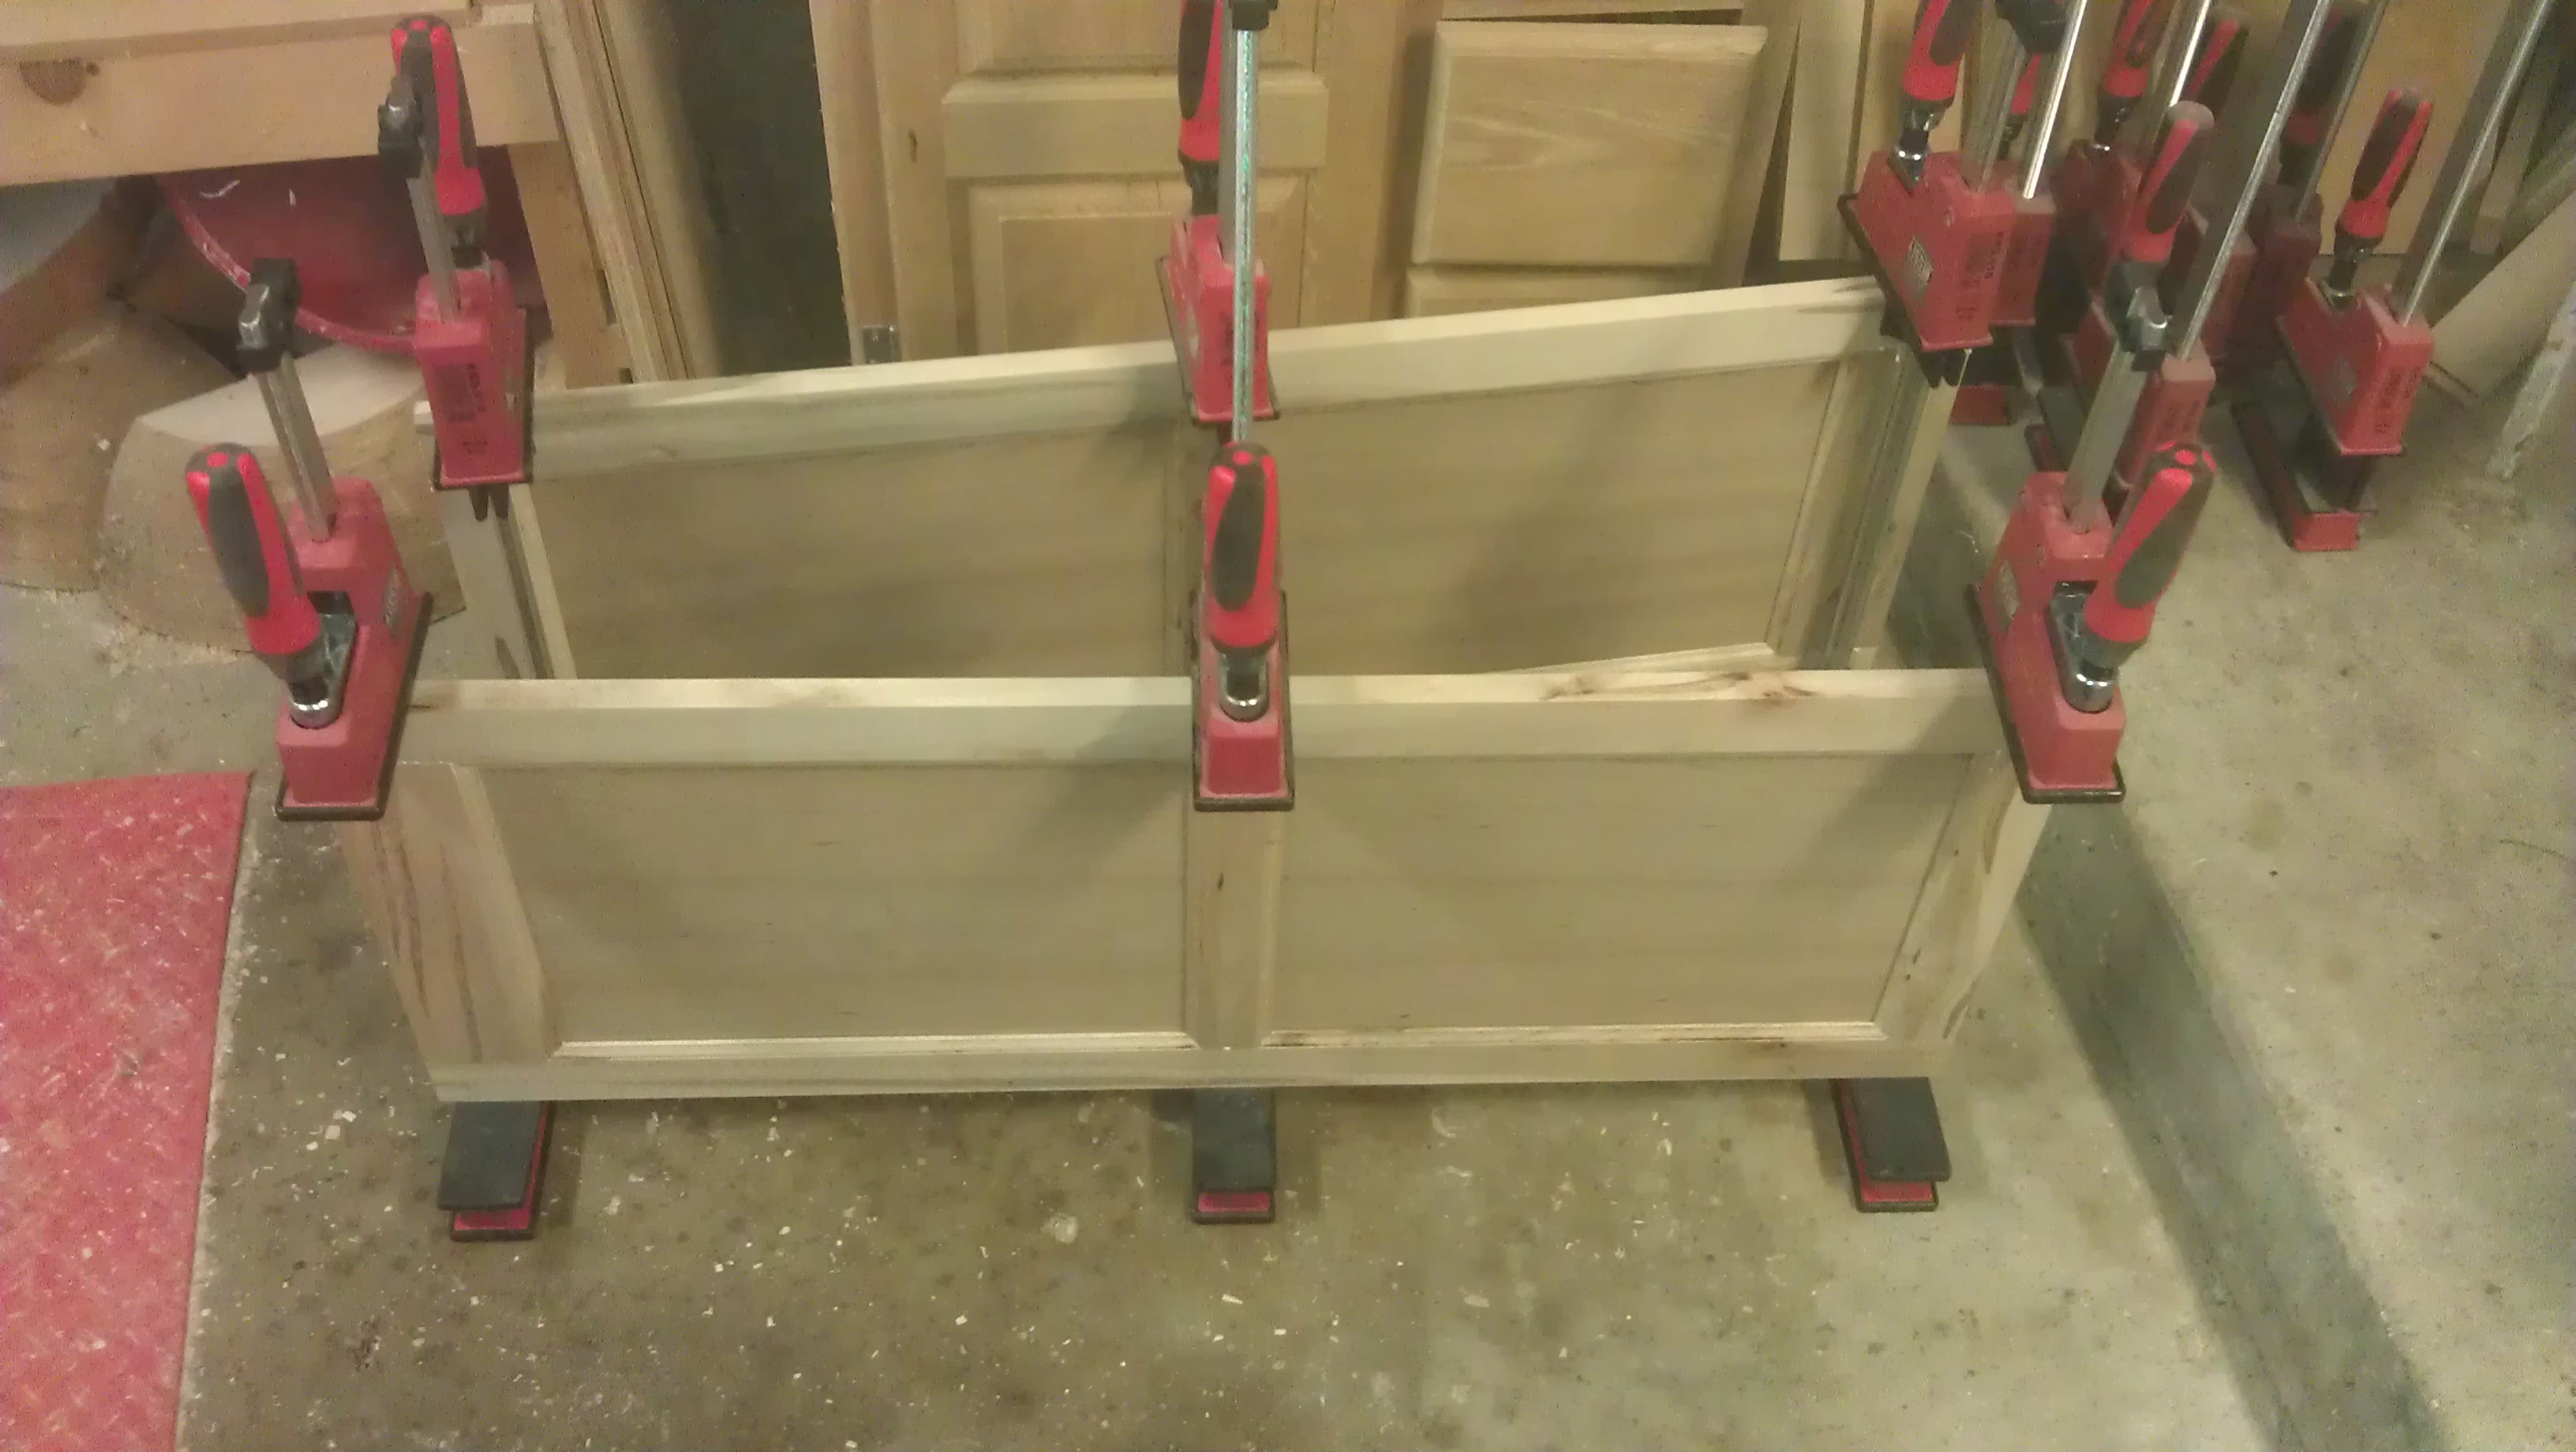
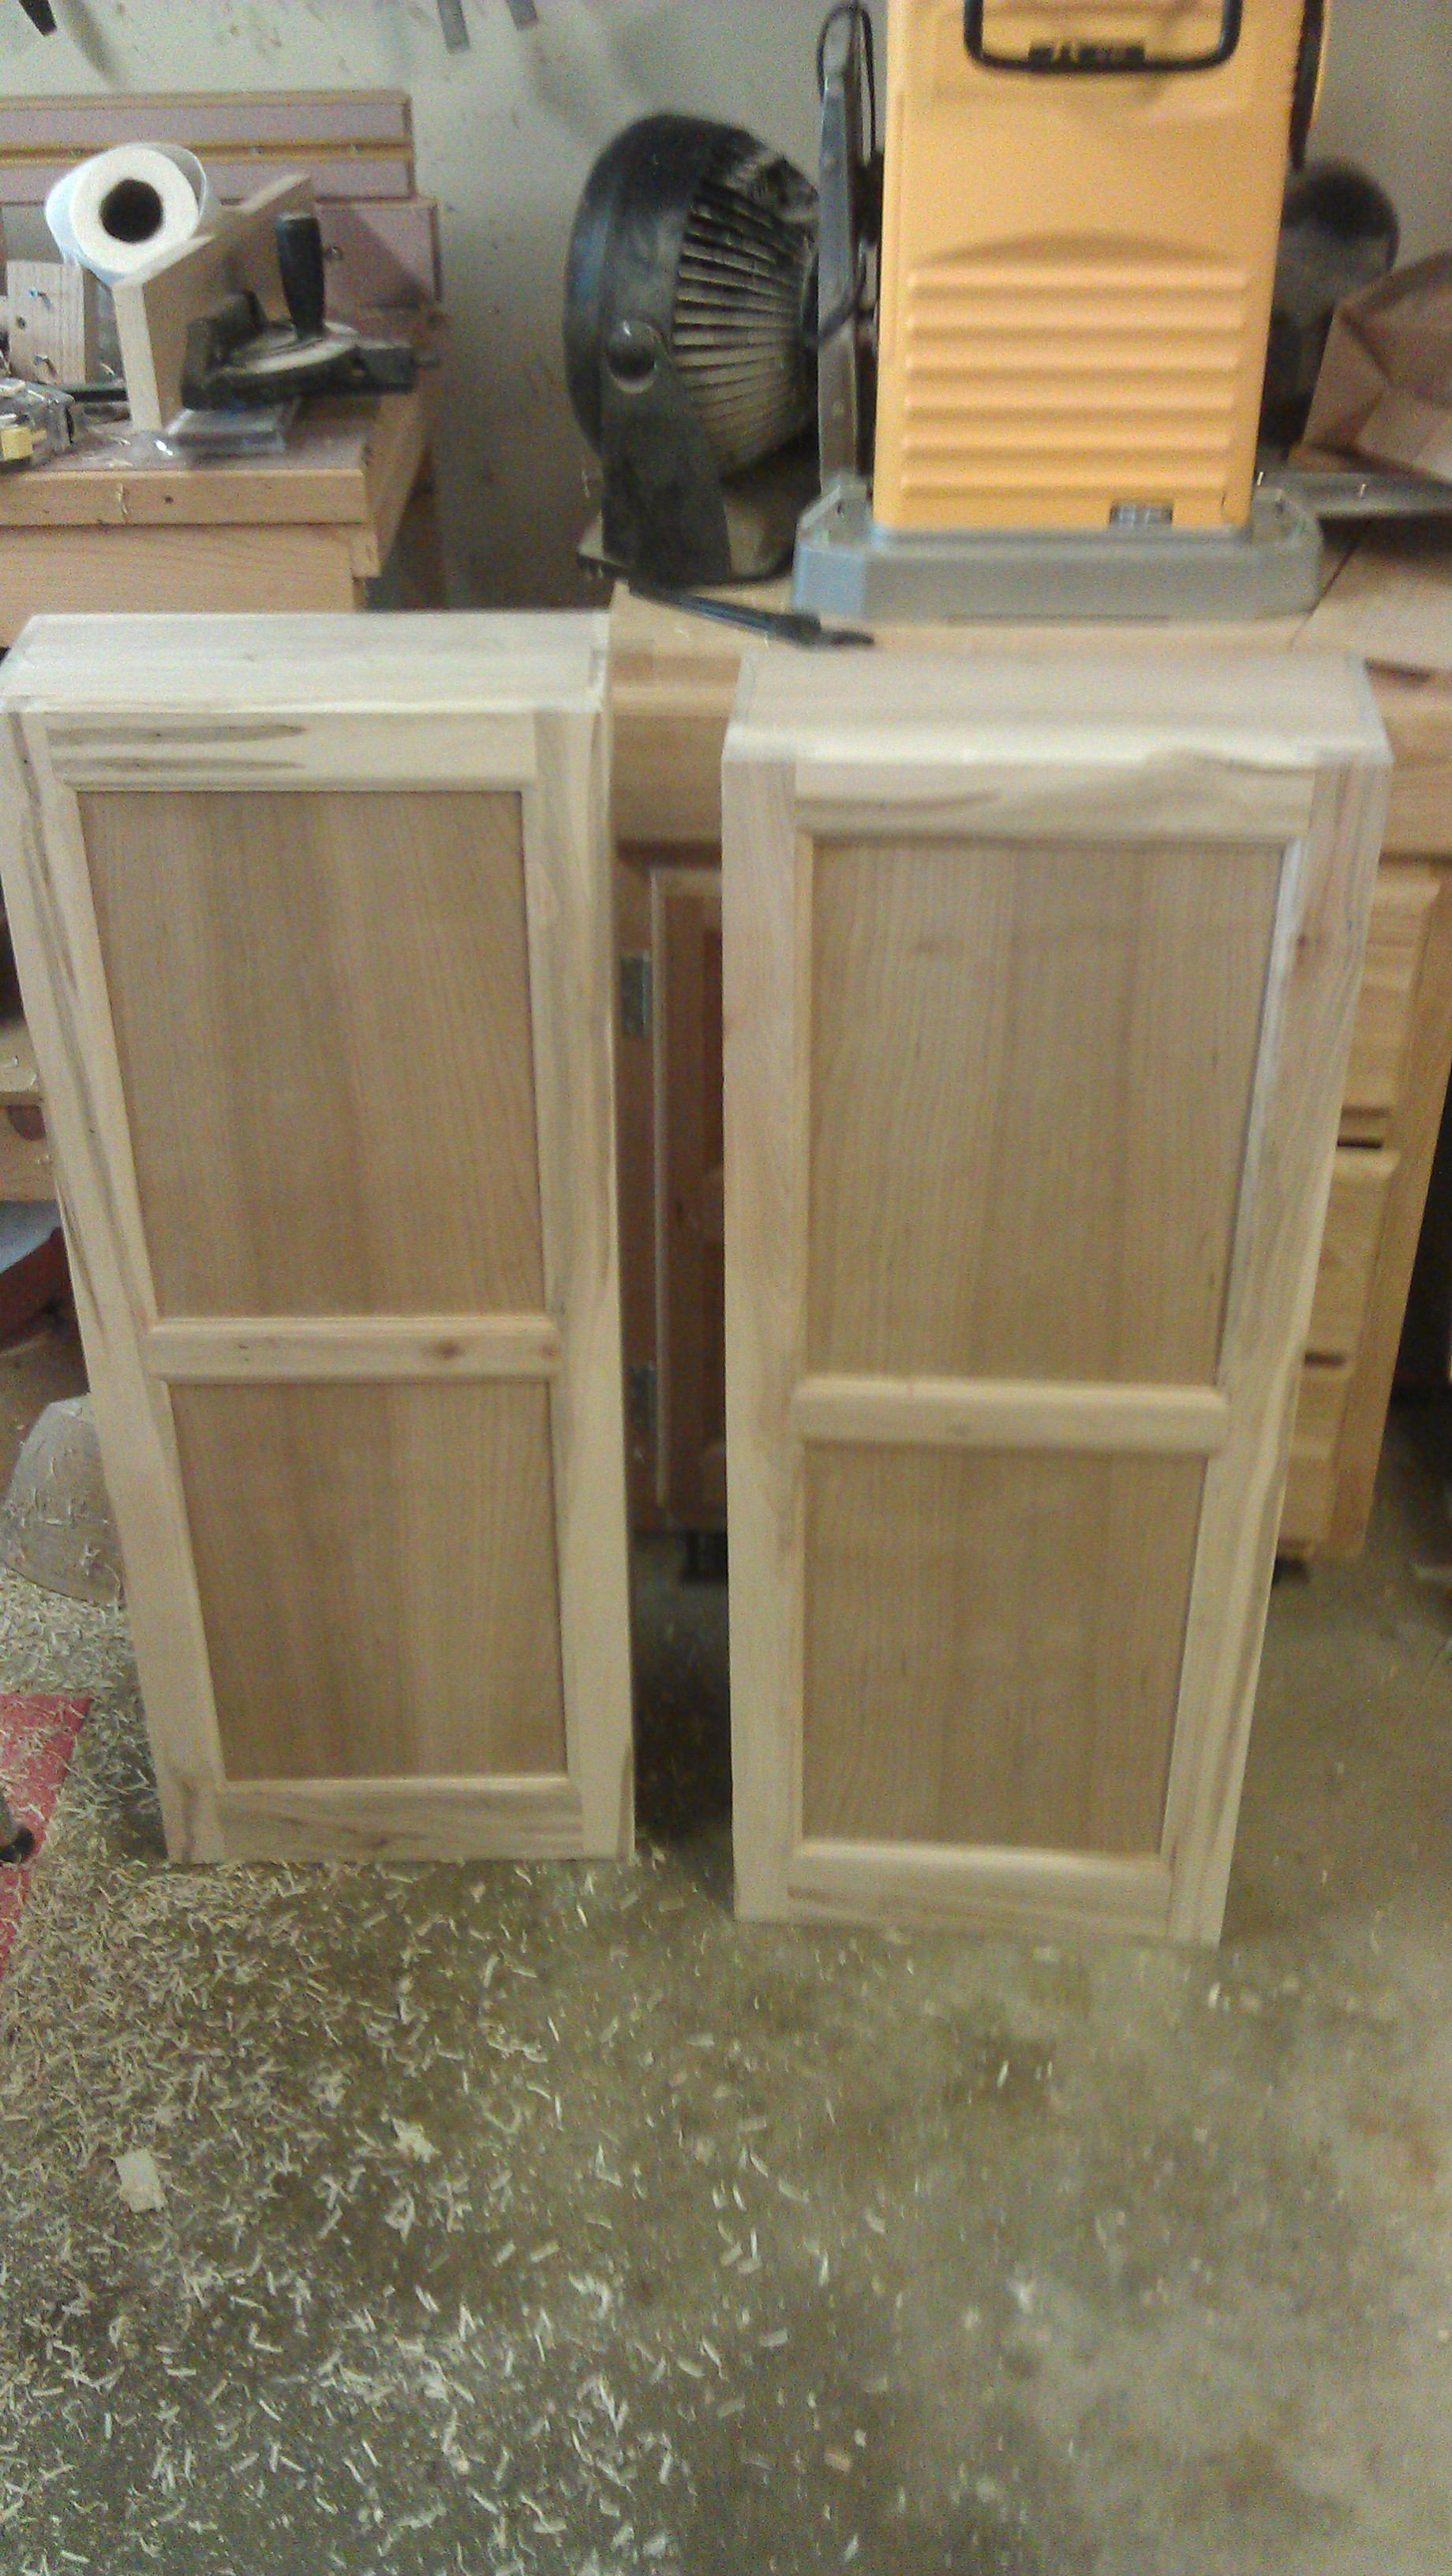 Once I had those completed, I readied the table saw to cut a rabbet around the entire perimeter of the fronts so that they would fit into cavity left for them in the door boxes. After getting getting it setup and making a few test cuts, I decided to not do the rabbets. The reason being is I realized this was going to look funky where you could see the joinery. While it was not going to be that obvious, I felt it was still an issue. Using some thin pieces of scrap, I attached them to the underside of the fronts to use to line them up. I applied the glue and clamped them up. I made the fronts over-sized to the door boxes so that there was an 1/8″ overhang on all sides. I then used a flush-trim bit to flush everything up.
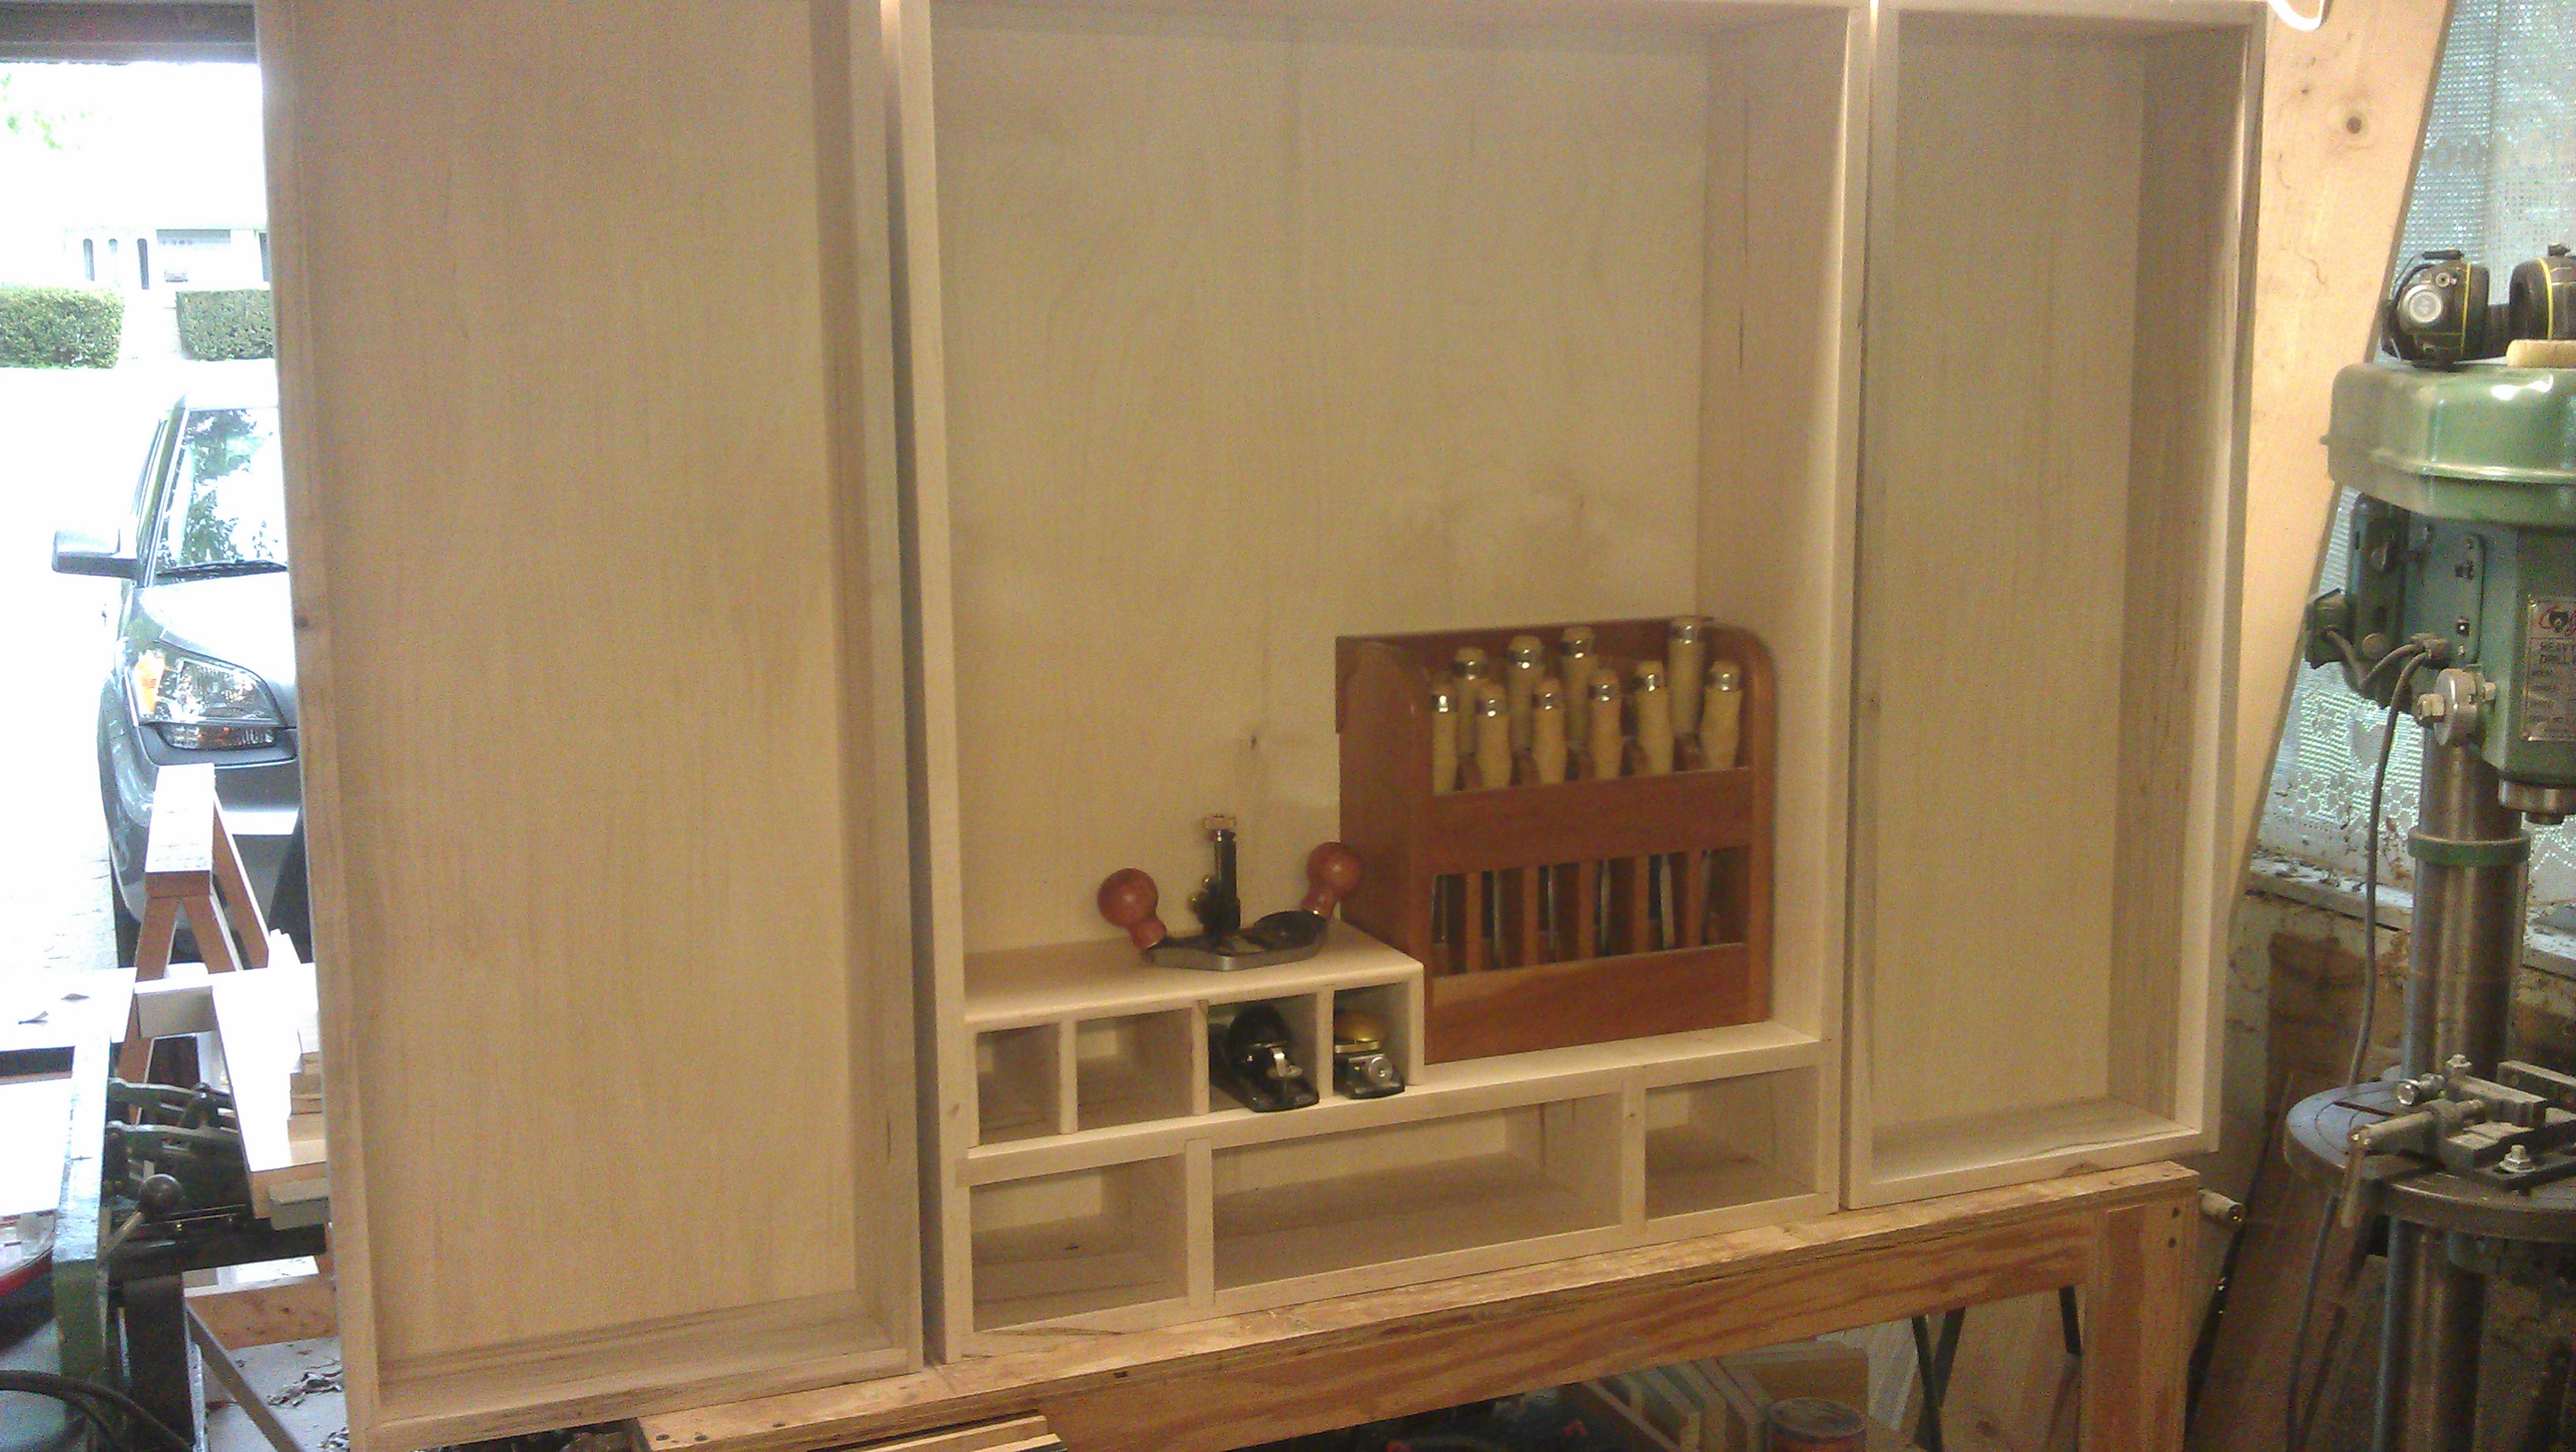
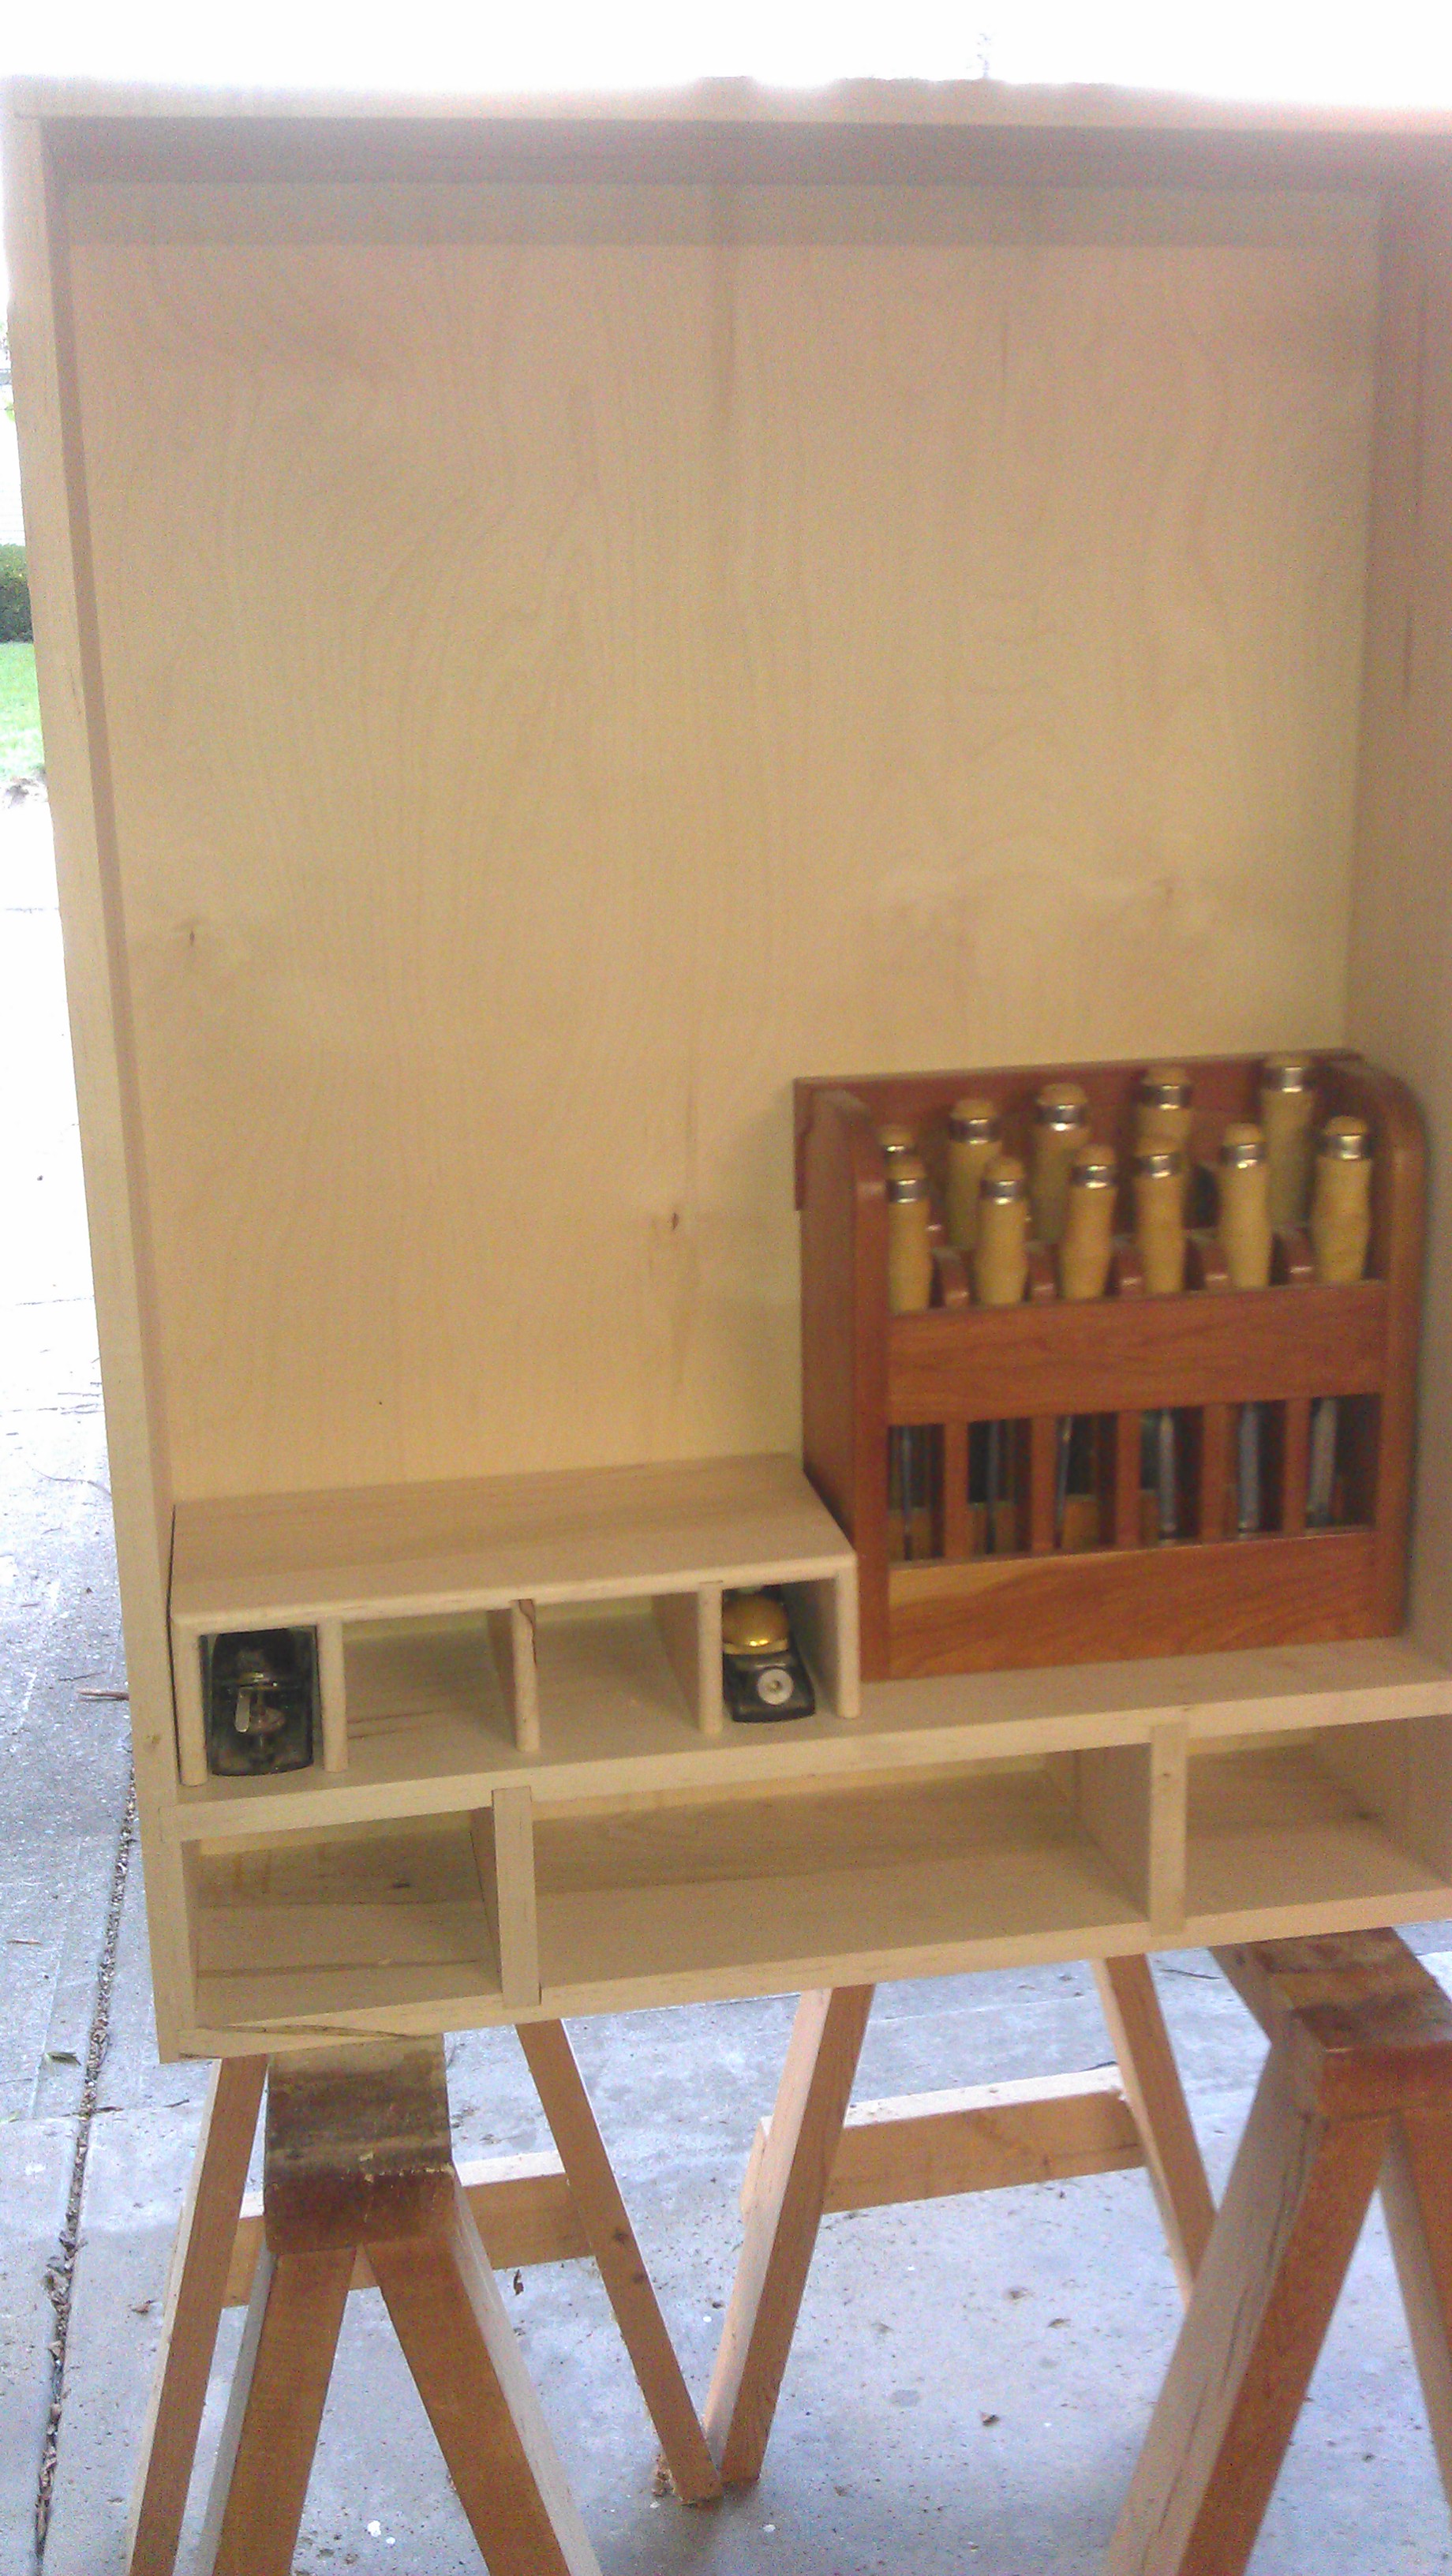
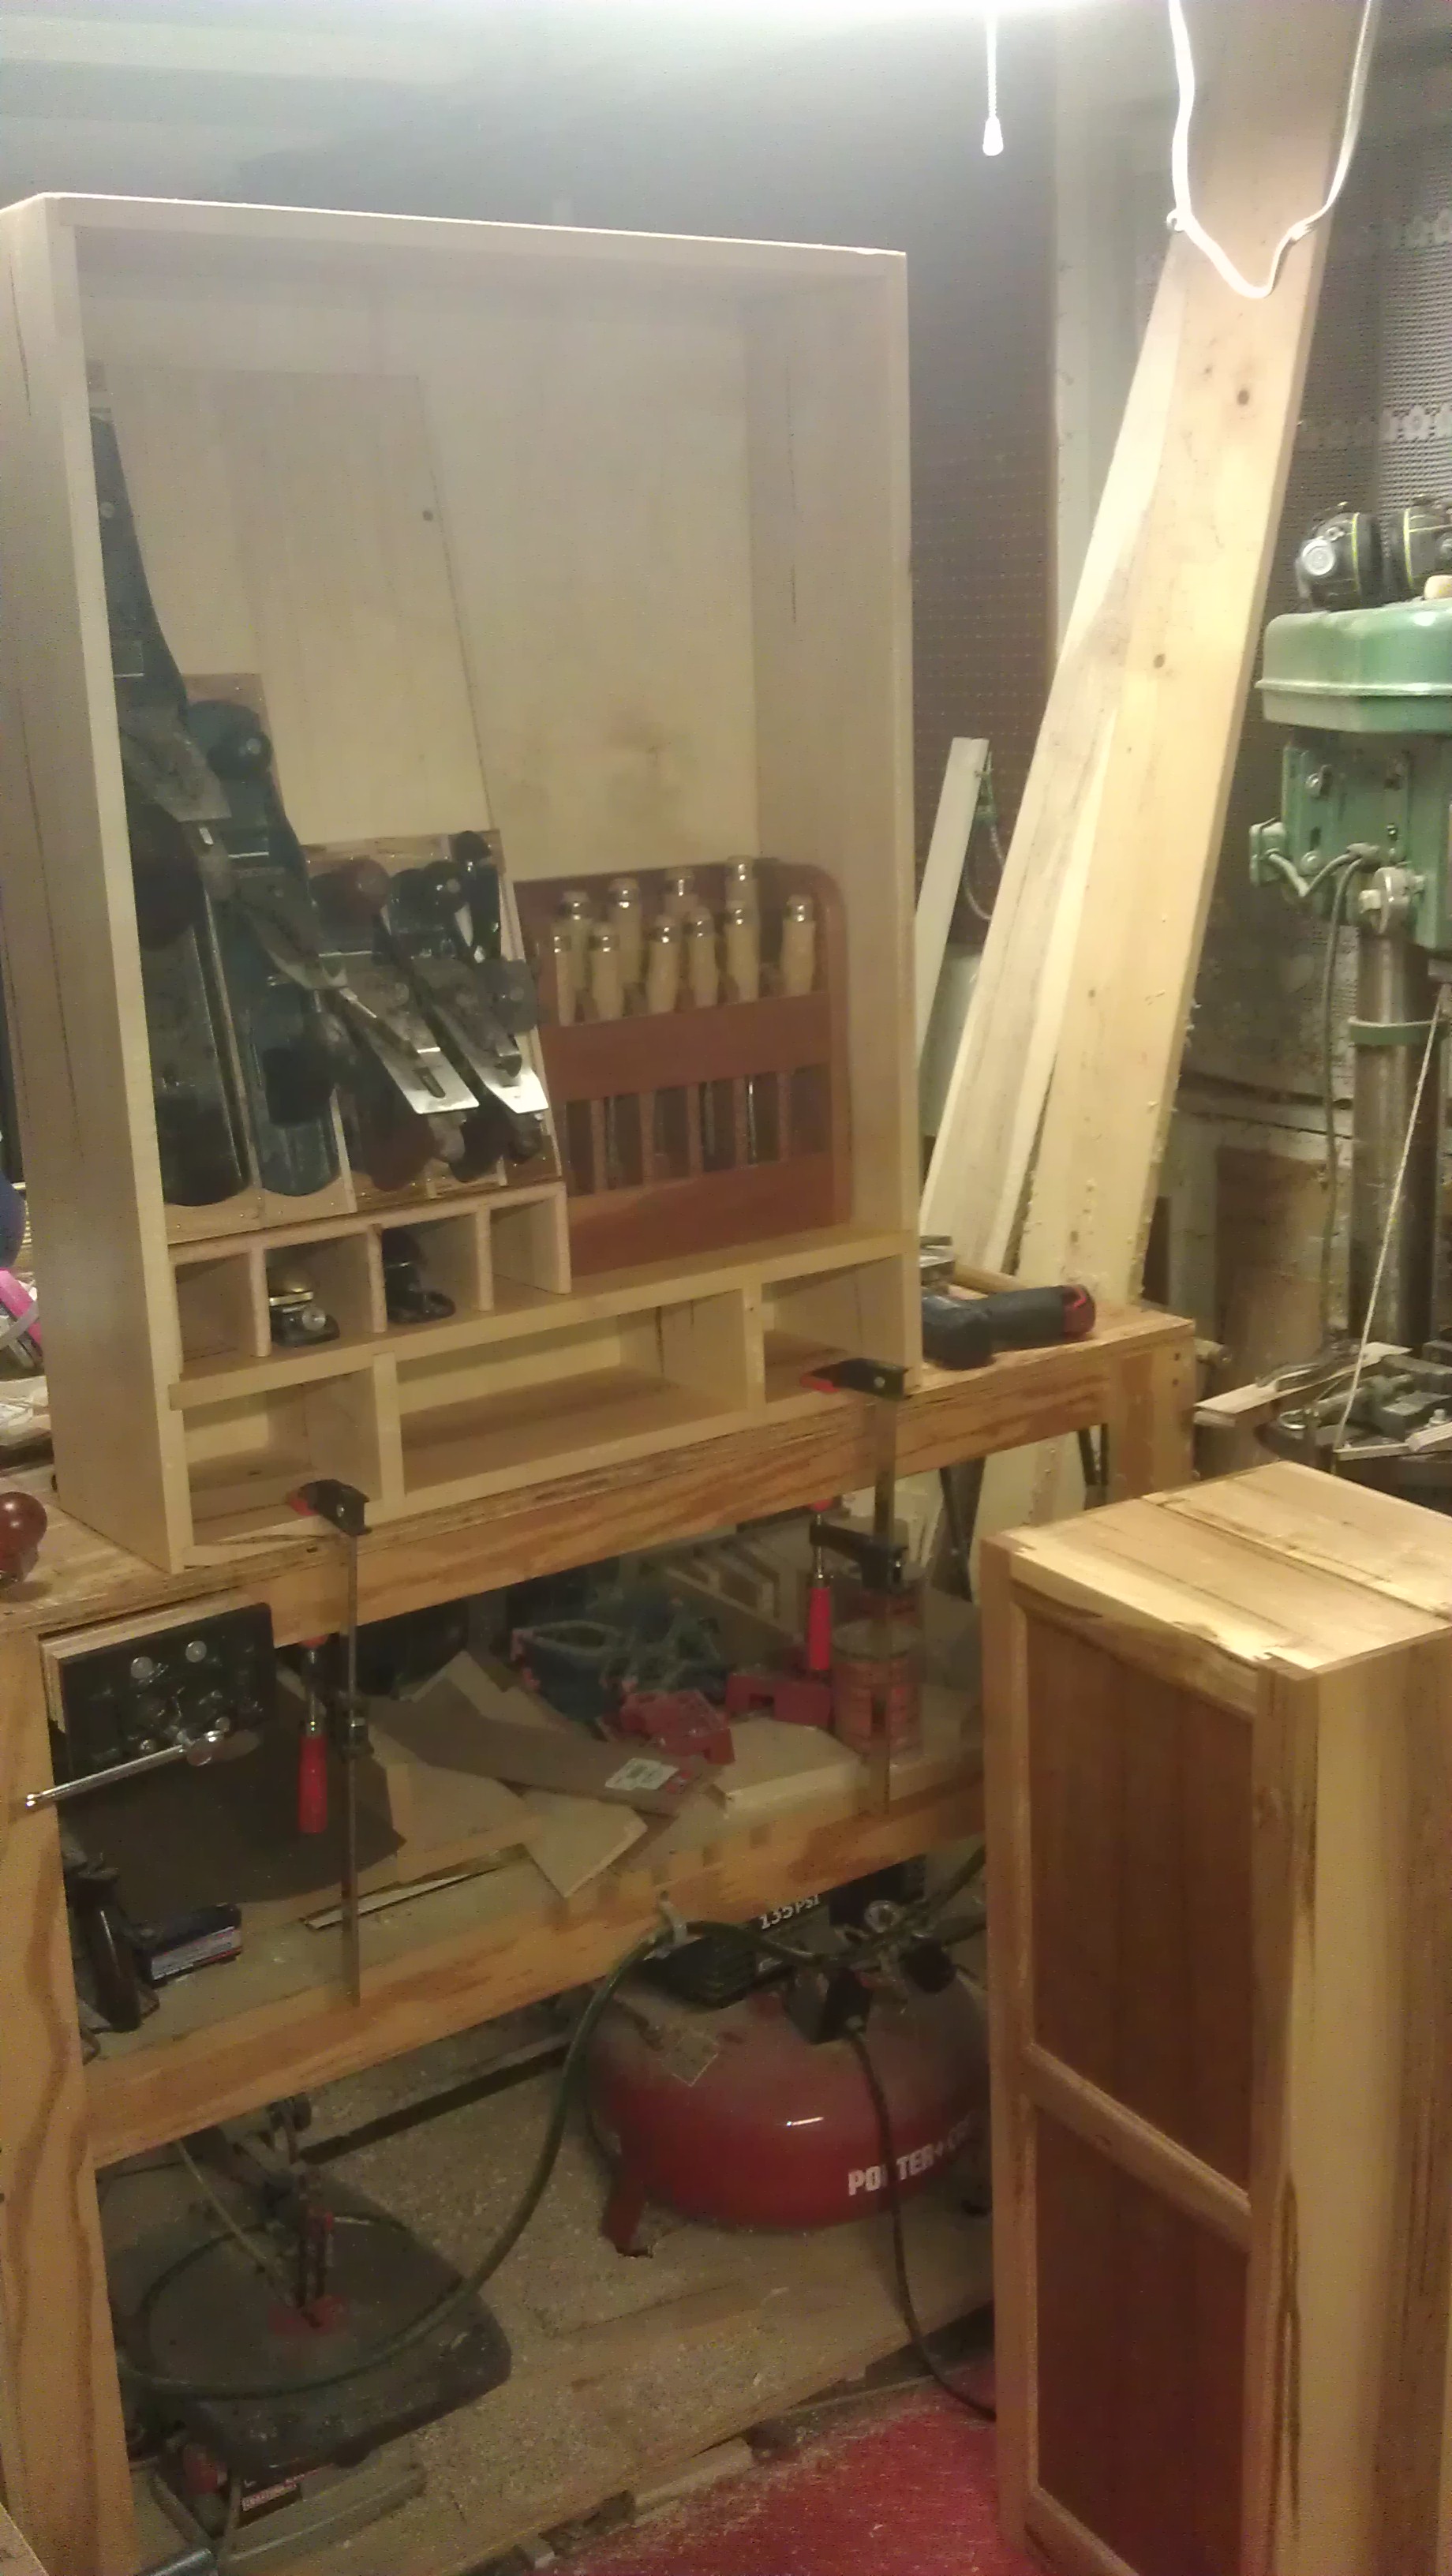
 After getting that all done, I had a lot of sanding to do. Therefore, I procrastinated. 🙂 I ended up working on the plane till to go inside the cabinet. This was another design change from the sketchup. The original design wasn’t really well thought out, and consisted of vertical slots for the planes, with no real thought into keeping them in place. I decided to go with one at an angle
 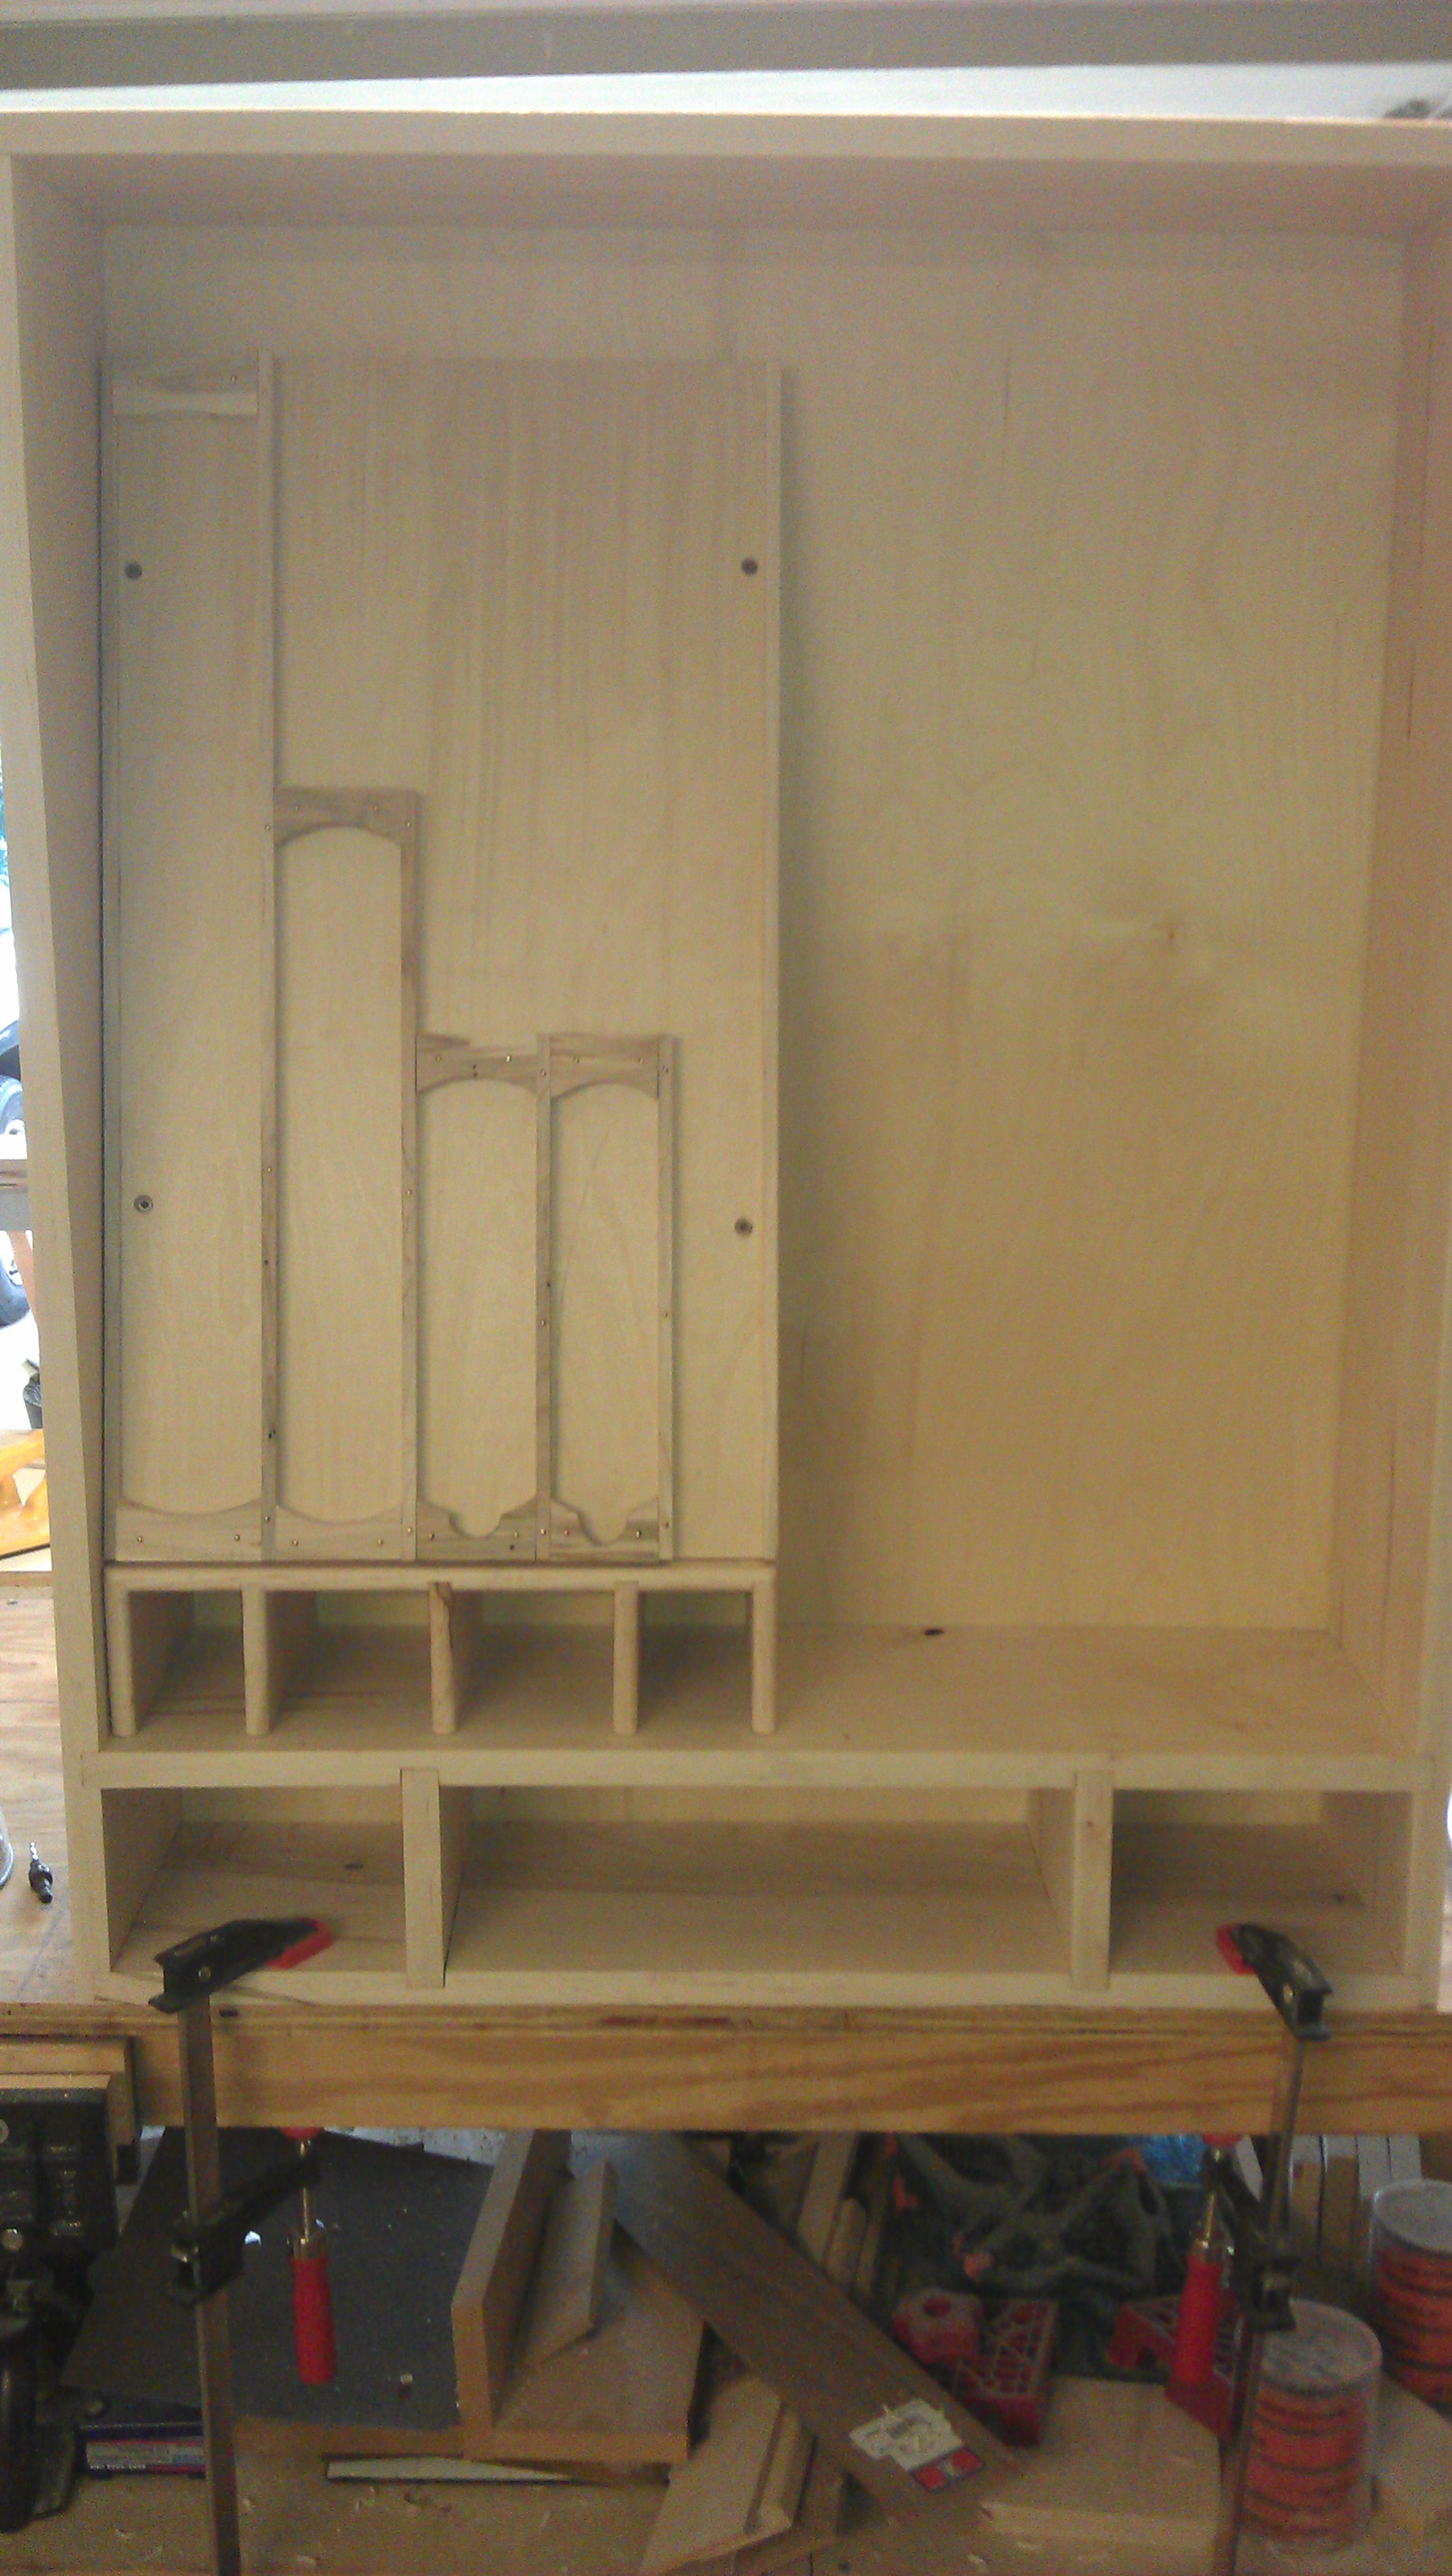 that the weight of the plane would help hold it in place. The back of the till is 1/2″ baltic birch ply screwed (yes screws) on to a couple rails to hold it in place. I then proceed to make shaped spaces for each plane to sit in. With the tight fit in the till, and the angle they are sitting at, they are secured in place. I later even worked in a place for the spoke shave. Right now I am working on figuring out where the router plane will go.
 Finally I completed the sanding. Sanding was, well it was sanding, and a lot of it. I then decided it was time to proceed with the finish. I covered everything, except the back of the main cabinet with boiled linseed oil. After giving the oil a few days to cure, I sprayed the exterior portions (except the back) and wiped on the edges of the interior. I decided it would probably be best not to shellac the interiors of cabinet and door boxes. I was concerned that this would create some barriers down the road.
So, what’s left? I need to get the piano hinges purchased and installed on the doors. I then need to complete making the french cleats and the upper portion installed on the back of the cabinet. Then the wall it is going on needs to be cleared off and the french cleat installed on that. Then, I start loading it! As I make further updates here on the blog as I make more progress.