 As I have mentioned in other posts, I am pretty active in the chat room that is associated to The Wood Whisperer. We will on occasion have challenge and trade projects, where we build something that is designed to push our skills, and then send it to another member. This time we chose to do a woodworking hand tool. Something we did a little different with this one, is we ran it similar to a secret Santa, where we found out who we would be sending our tool to before we got started. However, we did not know who we would be receiving from.
For my tool, I built an English Layout Square. Actually, I built two of them. Since I knew this project would really stretch my skills, I wanted one to practice each step, before doing the step on the piece I sent out. While the practice square has a couple obvious mistakes, it turned out well. As soon as I find a spot for it, the practice square will be hung on the wall, ready for use.
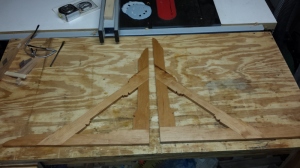
The wood I used is cherry. After milling the cherry down to 1/2″ thickness, I sized up the two main arms of the square. The joint to bring the two arms together is a bridal joint. The tenon for this bridal joint was thin, coming in about 1/8″. I made this tenon using a shop made tenon jig on the table saw. Using the same jig, I adjust the distance of the tenon jig from the blade to get the work piece as centered as possible, to allow the table saw to hog out the center.
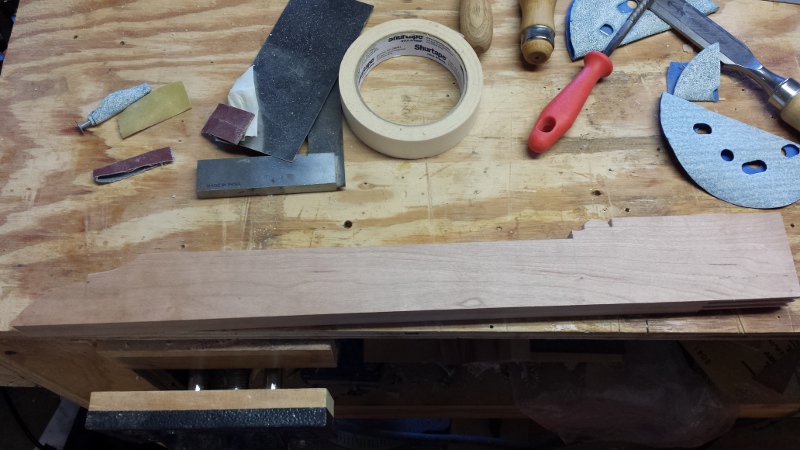
 After getting the bridal joint done, the traditional English Layout Square has a lot of ornamental detail to it. I roughed out most of this detail on the band saw, and then where I could, used the oscillating spindle sander to clean up the detail. The rest, I cleaned up by hand, using my rasp, chisels, and sand paper.
Once I got the detail work done, it was time for the first glue-up. After several dry fits, I was able to get the bridal joint to fit together well. The mistake I made was I let it be a little too tight. The problem with that is the wood swelled a bit when I applied the glue. I was able to get the pieces together, but it proved to be a challenge. The other challenge to this glue-up is making sure I got the square as close to 90 degrees as possible.
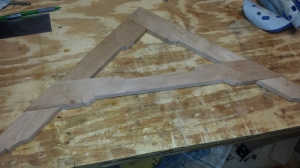 The next step was working on the cross brace. The joinery for that is two half lap joints. I did this almost entirely with hand tools. Once I establish the position of the cross brace, I stuck a line using a marking knife on the arms. I used the marking gauge to set the distance down to so that I was removing just shy of 1/4″ of material. Once I got all that indicated, I used chisels to cut small channels along the cut lines, where I then was able to follow those with my crosscut saw, and cut down 1/4″. Using my chisel and mallet, I cleared out as much material as possible. I then cleaned it up using my router plane. Once that was done, I fitted the cross brace back into the square. This allowed me to mark on the brace where I needed to cut. I again, used chisels to cut a channel, and cut down a 1/4″ with the crosscut saw. Using a resaw cut, I cut away as much of the half lap as I could, and the finished the cut using a dovetail saw. Finally I popped out the remaining piece with a chisel. I cleaned up and fitted the brace using the router plane.
Once the half laps were fitted, I completed the ornamental work using the same methods I did with the arms. Once I got it looking good, I glued the cross brace in place.
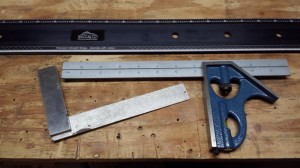
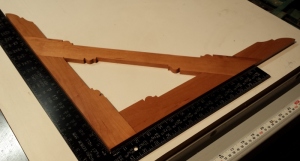 Once the glue was dried, I started cleaning up all three joints. This was mostly done with my smoothing plane and block plane. I then sanded the faces of the square to 220. Now came the square of the blade. I used my framing square as a reference for getting the layout square. After marking a line on the square as to where I needed to go down to, I used my smoothing plane to trim away some material to bring it closer to square. Then using the jack plane, I established a straight edge. I repeated this a few times till the square was, well, square.
 The finish was fairly simple. I wiped on a coat of boiled linseed oil, and let it set for a week. On a very sunny day, I set the square out in the sun to let the cherry darken a bit. Once the oil had cured, I buffed it out using the Beall buffing system.
This turned out to be a very fun project for me, as well as a good challenge. I accomplished making some joinery that I have never done before, as well as pushed my hand tool skills further along.

 blog is about trying new things, pushing ones skills, and making something out of nothing. In a way, that is what a newbie is, someone who is trying something new to learn from it. So regardless of my skill level, I feel that SawdustNewbie is still very relevant for what I am trying to accomplish.
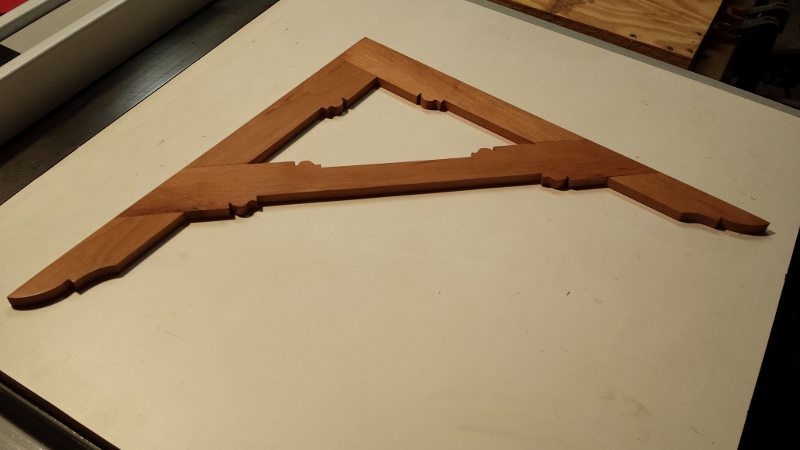 While I don’t want this, or any of my posts about making money, I do still think it is worthwhile, I have started looking into selling some projects I have made. Any sales I make will go right back into my woodworking or this blog. Currently I have a very small Etsy store, but I am exploring other avenues as well.
 Finally, but most importantly, thank you for taking the time to read my blog! I enjoy my time in my shop and I find it encouraging that I am able to share my experiences so that you can enjoy time in your shop as well! To all my readers a huge THANK YOU! Looking forward to the next 100 posts!
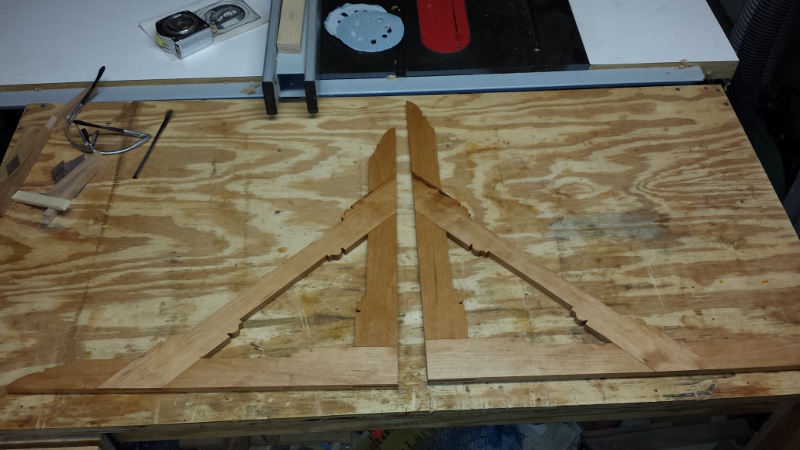


 I have had many conversations about machine setup and have found many strong opinions on this subject. Therefore this could prove to be my most controversial article to date! 🙂
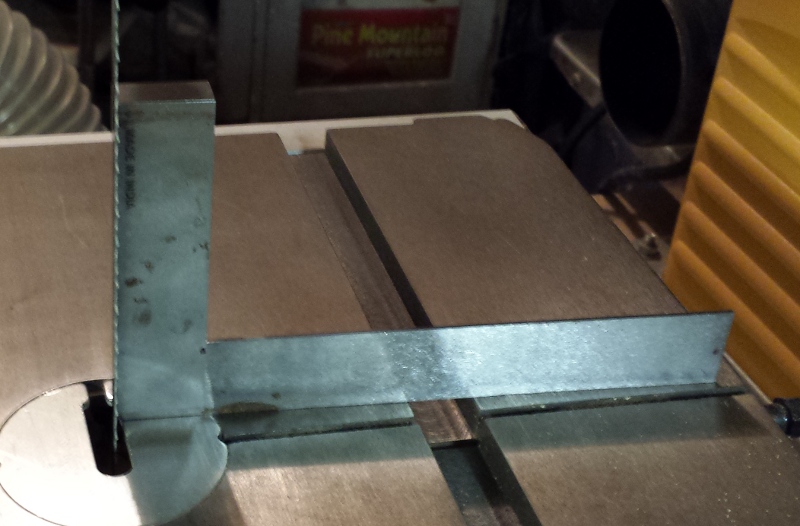
 The next step after aligning my machines is to send test pieces though. Whether you are setting up machines with just the tools I have mentioned, or you are using dial indicators to get everything within the nearest thousandth of an inch, this is the most critical step in setting up a machine. The proof is in the results. What you may think is a perfectly dialed in machine could be proven wrong with the test piece. The good news is, if it is off, the error in the test piece will help indicate what needs to be adjusted.
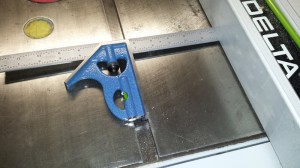 The next aspect is keeping a machine tuned. Most decent machines will hold their setups well over time, however that doesn’t mean that they will always stay perfectly aligned. There are many things that can cause a tool to come out of alignment. Things like adjusting settings, vibration, bumping into the machine, and changes in temperature can all take a machine out of alignment. It is good to set a schedule for each machine to double-check alignments. Also, if you start to see you are not getting the expected results from machine operations, it is good to start checking up on alignments as well.