
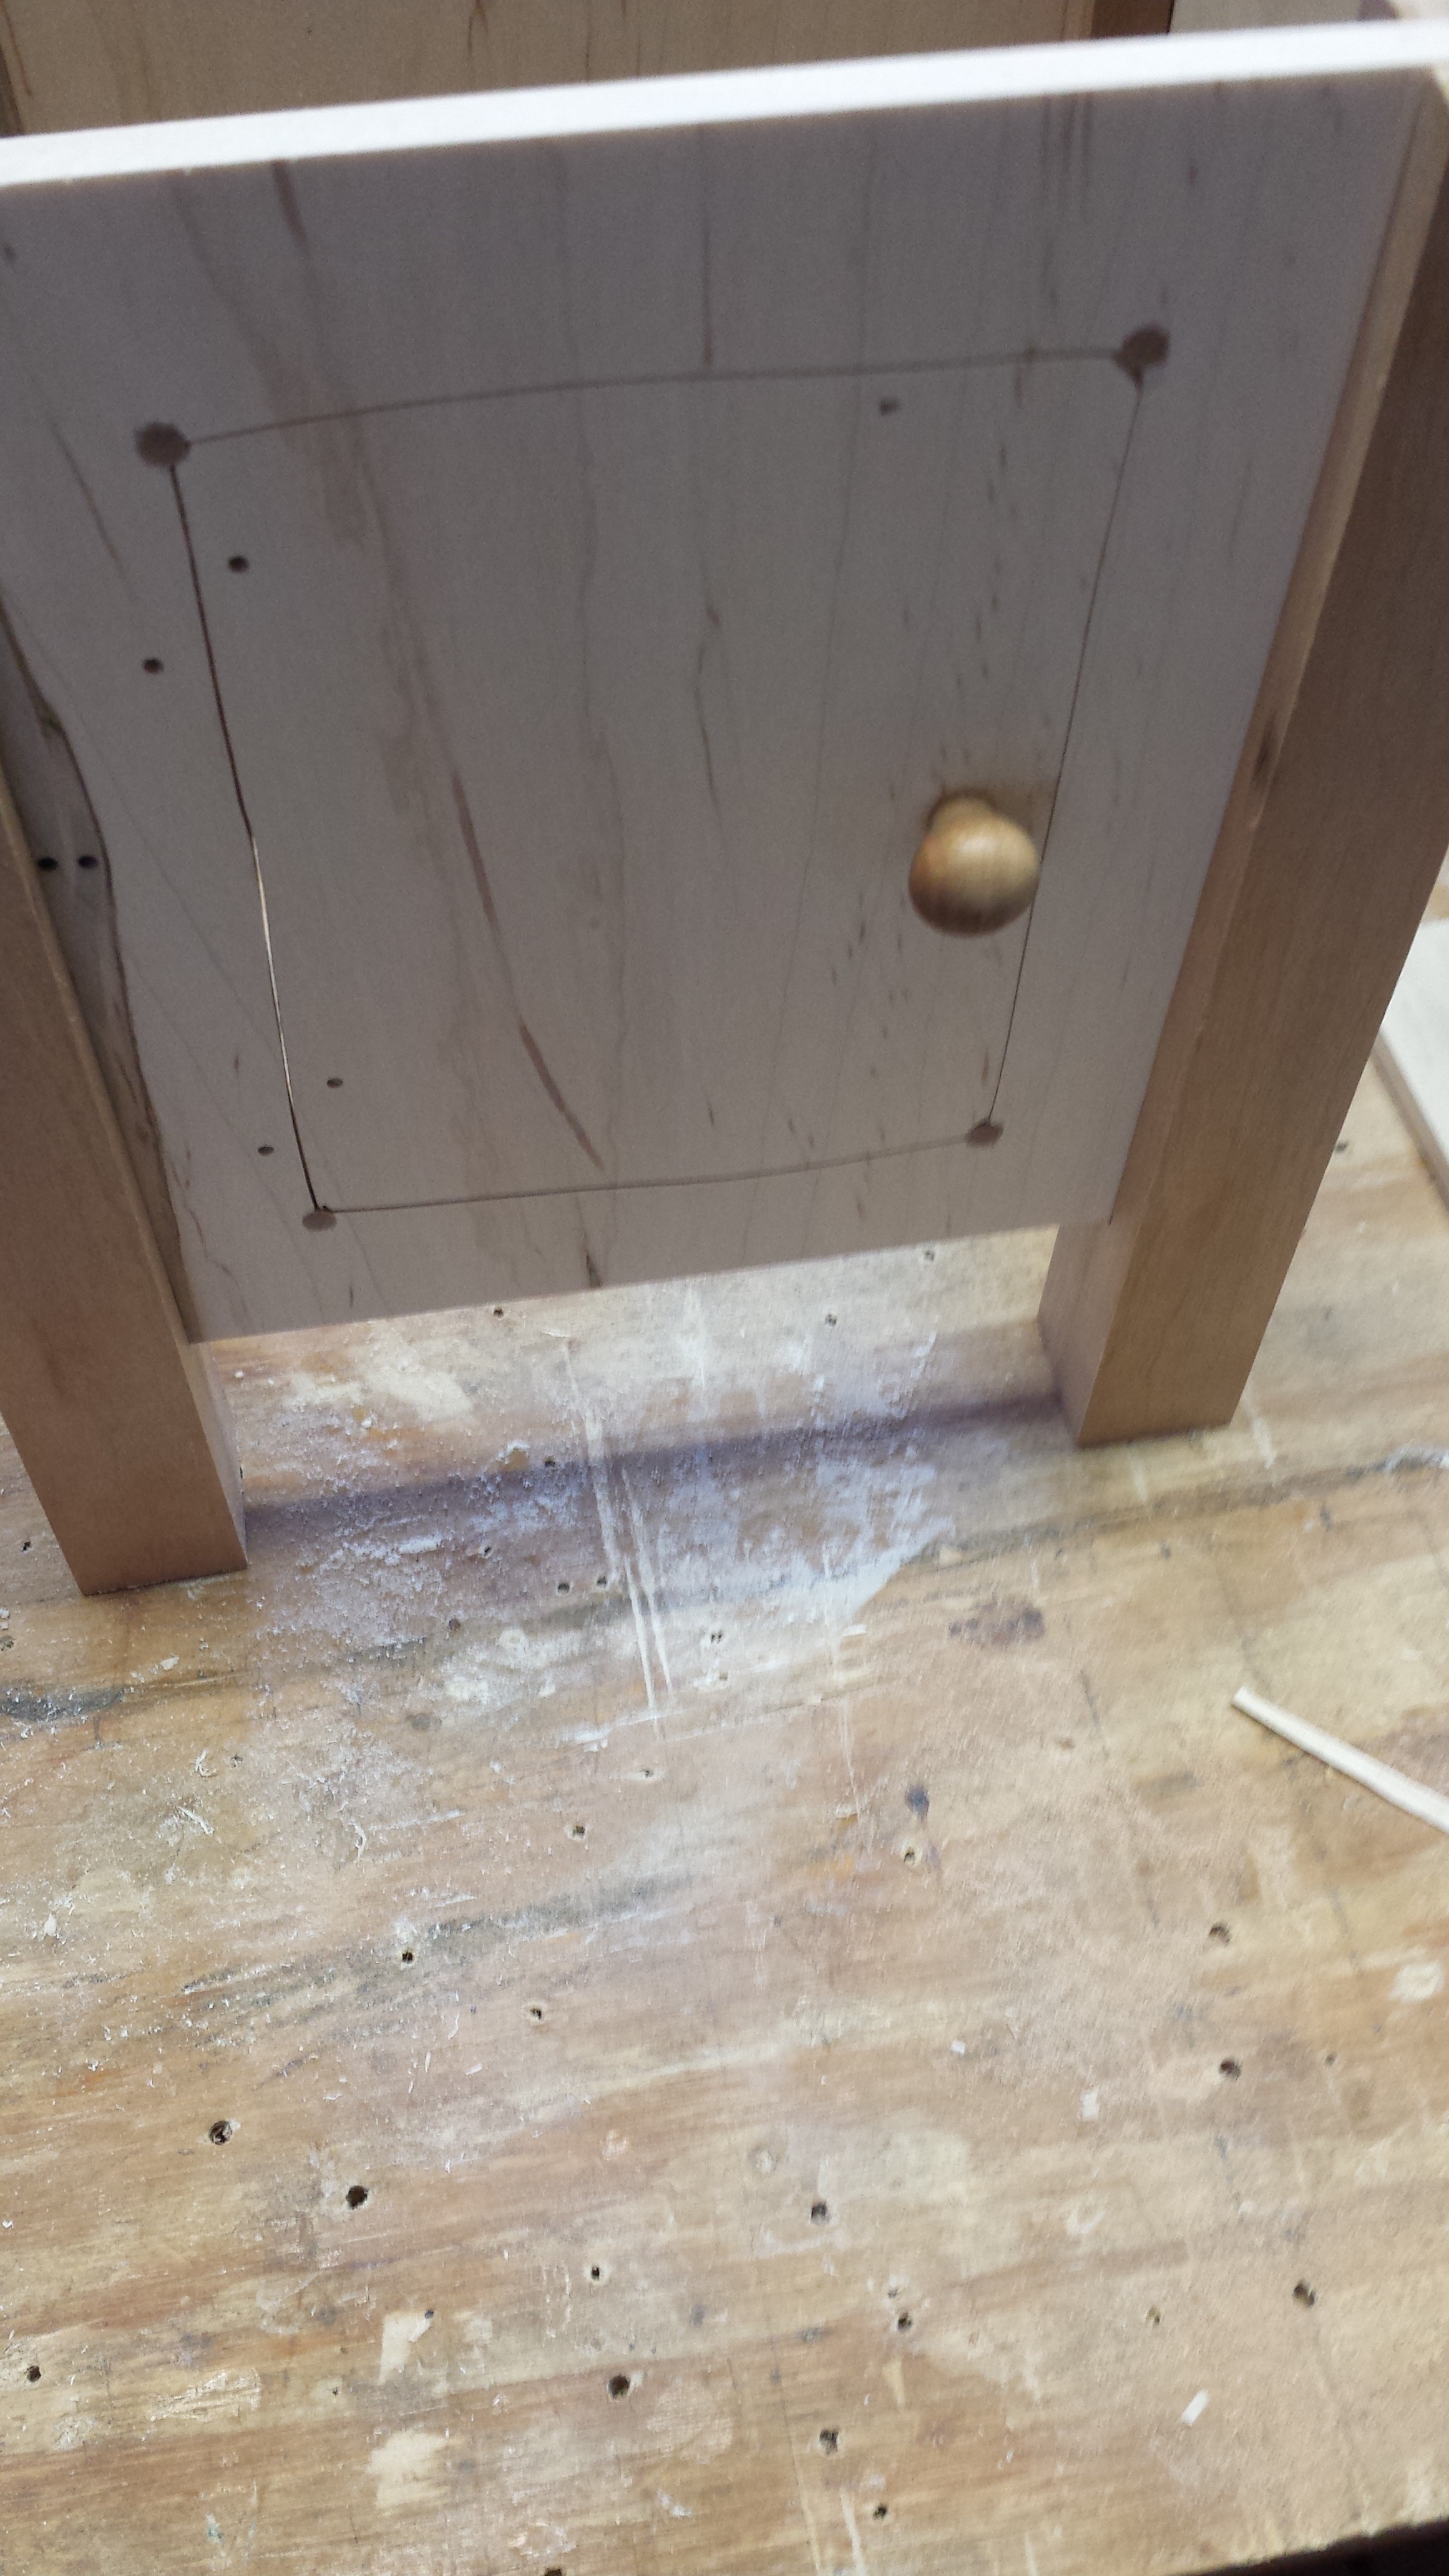
 After completing work on the panels, I turned a knob for the back door, as well as making a closer that utilizes a rare earth magnet to keep it closed. I also filled the corner holes that I drilled for the scroll saw with cherry pegs, similar to the pegs used for the face. Once that was completed I started the glue-up
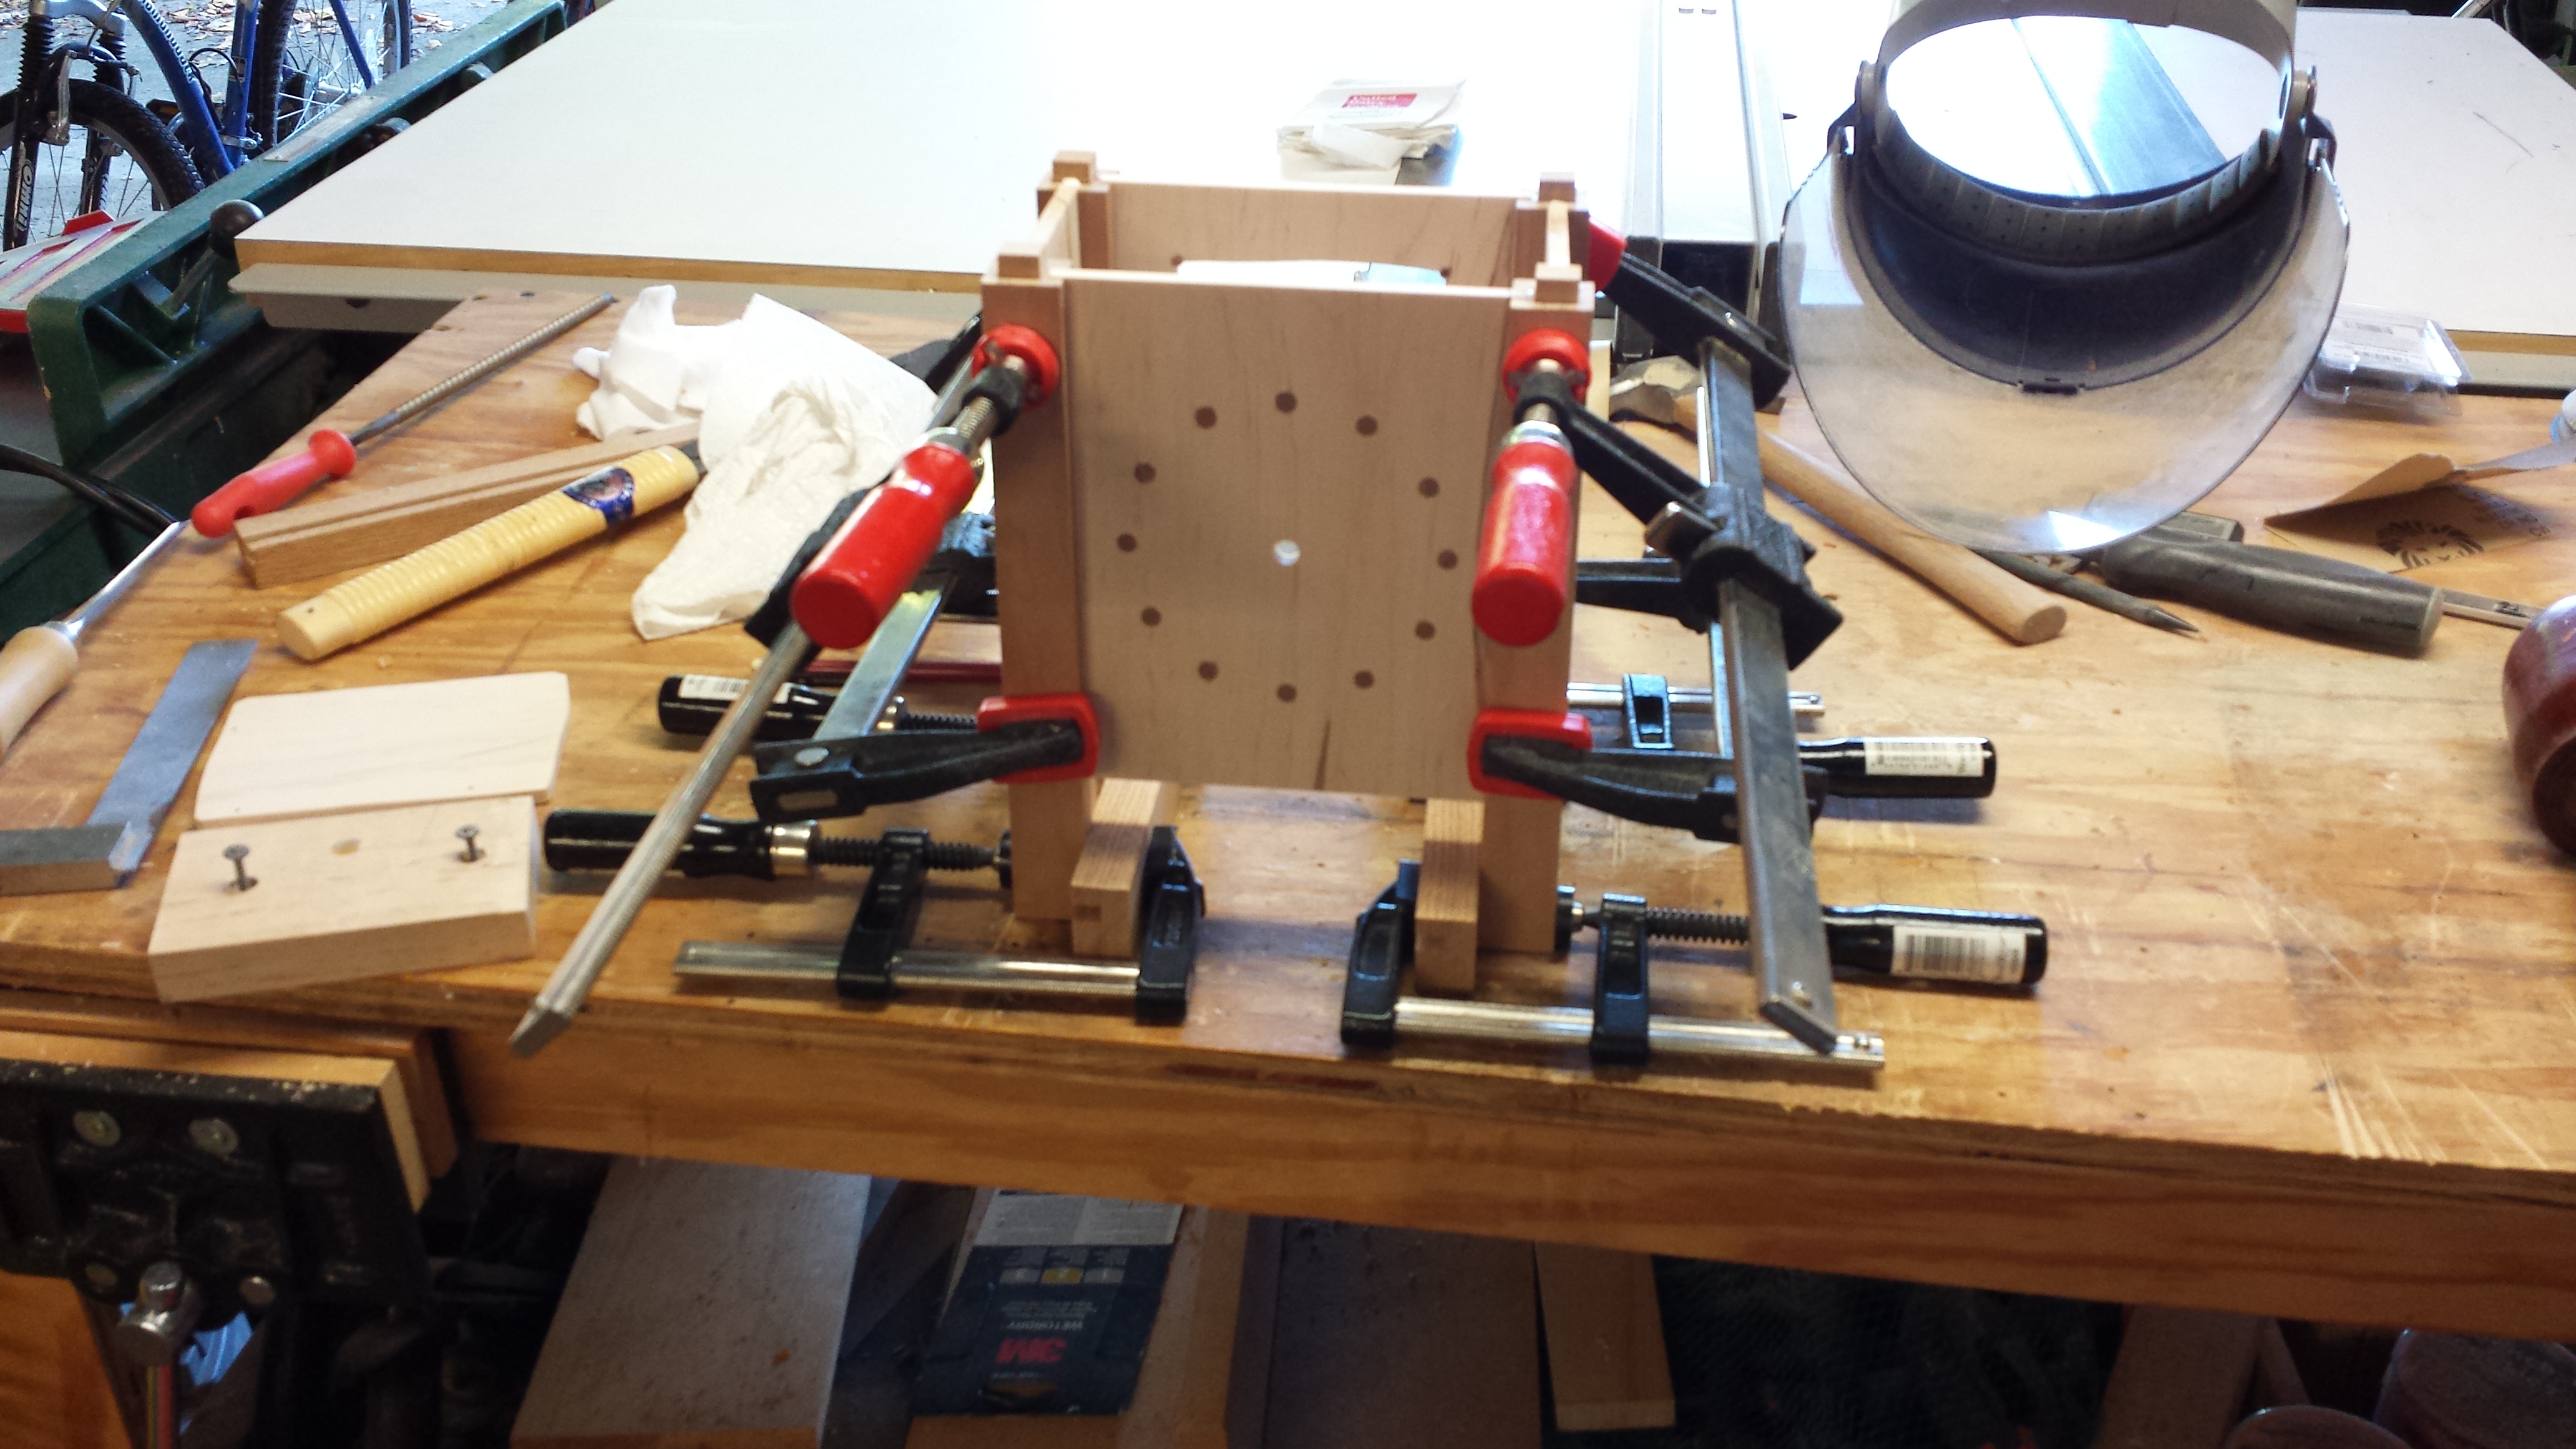
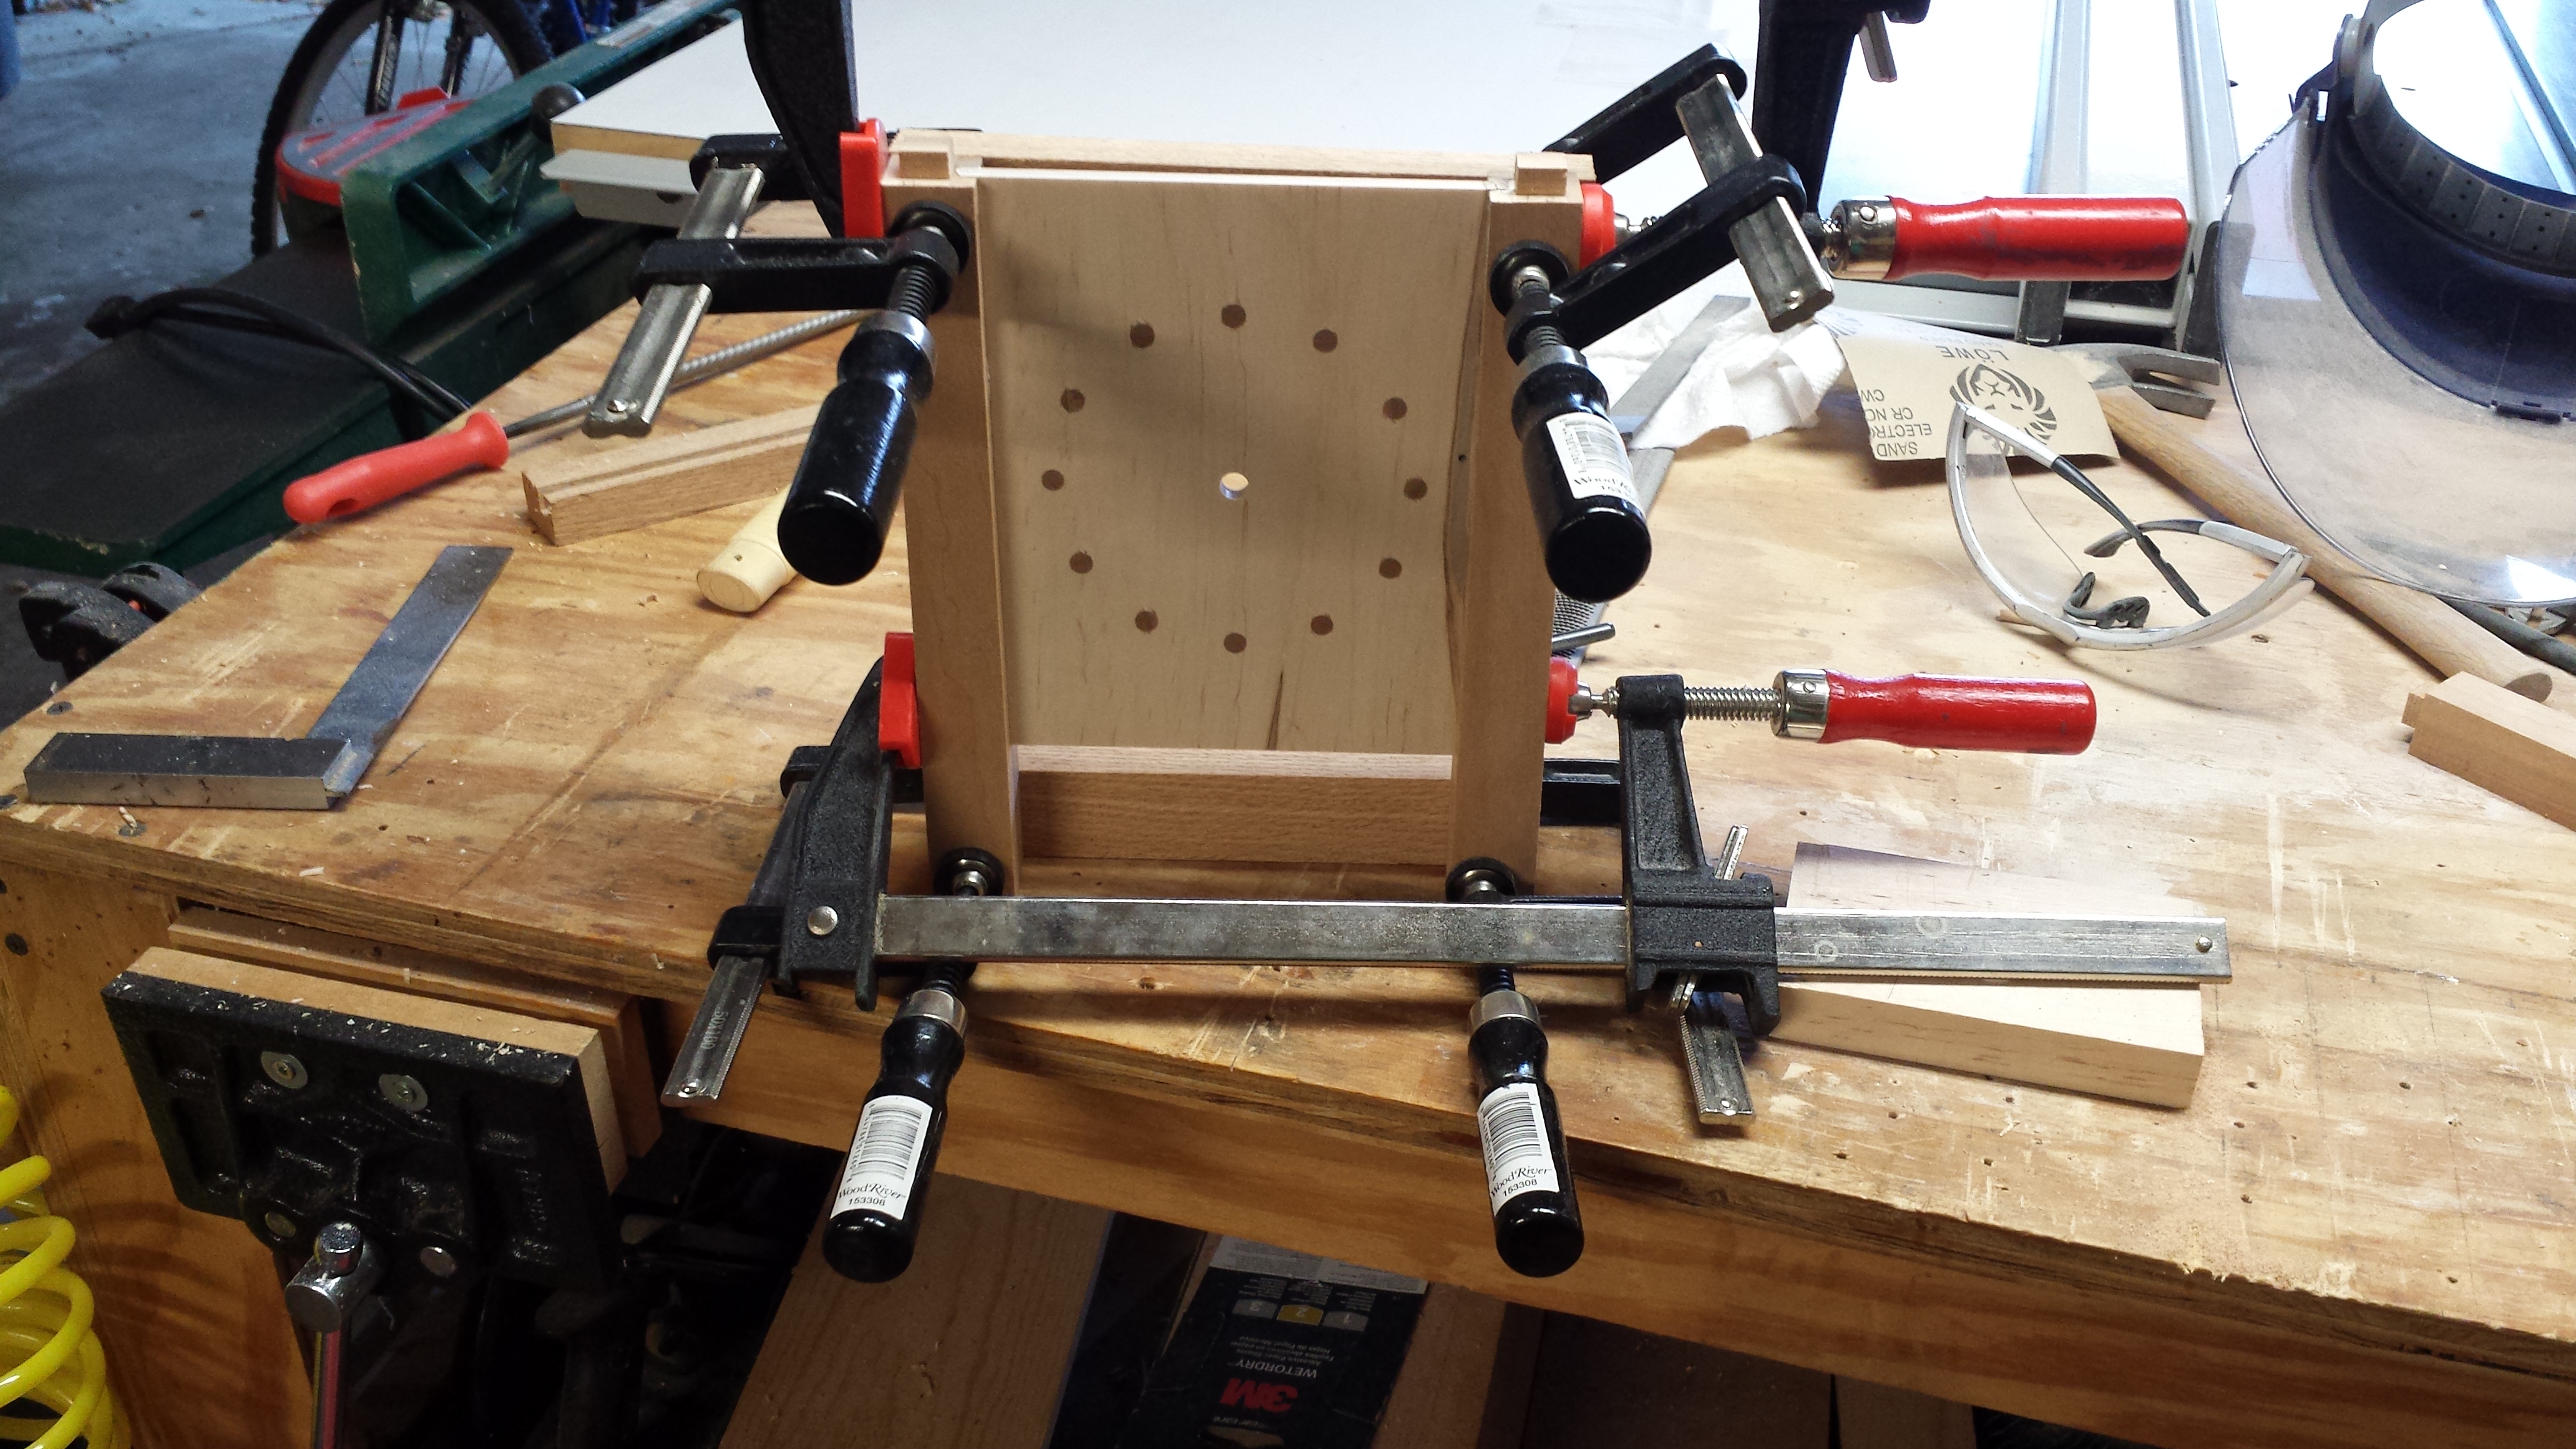 of the panels to the legs. I did the front and back panels to start out with first. This was so I could use cauls to keep the glue-ups flat and square. After the front and back panels were glued together, I glued the rest of the base together, again using cauls where I could. Once I got the base out of clamps, I held my breath and set it on a flat surface. Turned out the prep work I had done really paid off and it sat flat without making any tweaks to the columns!
 In the spirit of this project, with no plans or drawings, I still hadn’t come up with a top. I had thought about a domed top, but didn’t want the clock to follow too closely the clock I used for inspiration. Inspiration can come from many places, and in the case for the top, it came from my wife. She gave me a few ideas as to how I could go with it. I was really toying around with the idea o
 f doing a multi-layered top. I then cut out the first piece that would attach to the columns of the base, and cut the mortises for the tenons, and then spent some time on the router table creating a profile. After a dry fit, I really like how it looked. So I let it sit for awhile. It was a tough call as to weather I should go further with it or not. I showed it to my wife as a dry fit, and she liked it too. So , realizing that sometimes the most difficult aspect of design is knowing when to stop, I decided, it was time to go with it, and glued it to the base.
Next post I will discuss the finish.