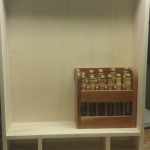
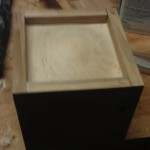
 Since my shop is in a garage, and in Ohio, I am don’t know that I will get much if any woodworking done this week. Much of it depends if my kerosene heater can compensate for cold air outside. However, I think it is worth talking about my current project, which is part of a box challenge that a group of us are participating in. The idea of the challenge is to build a box that pushes your skills.
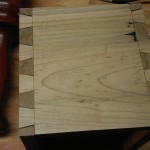 The first skill challenge for me was hand cut dovetails. I took a class a couple years ago, and made several practice bookends, but never actually did a project with DTs on all four corners. The answer to the top question is tails first. 🙂 I spent a lot of time being extra careful, with both the DT saw and chisels to get the joints as clean as possible. The only area that I consistently had issues with were the half pins on the ends. This is where I had the worse gaps. The rest of the DTs ended up reasonably tight. I haven’t glued the box up yet, so I have decided yet how I will close up those gaps.
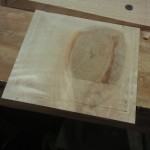 After completing the four sides, I started working on top and bottom pieces. The top I ended up doing a square turning to make it domed shape. The I started working on the bottom. I couldn’t bring myself to just making it from plywood. It had to be solid wood. I started out just rabbeting the bottom piece to fit in the dados in the sides. I didn’t like how it looked. So I grabbed my #3 and started working away at it. I marked some guidelines, and next thing I know, I had a raised panel for the bottom!
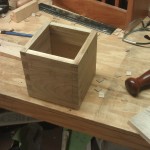 I still have some work to do on the box, and any more work I do on it this week, I will update as another GWW post.

